1
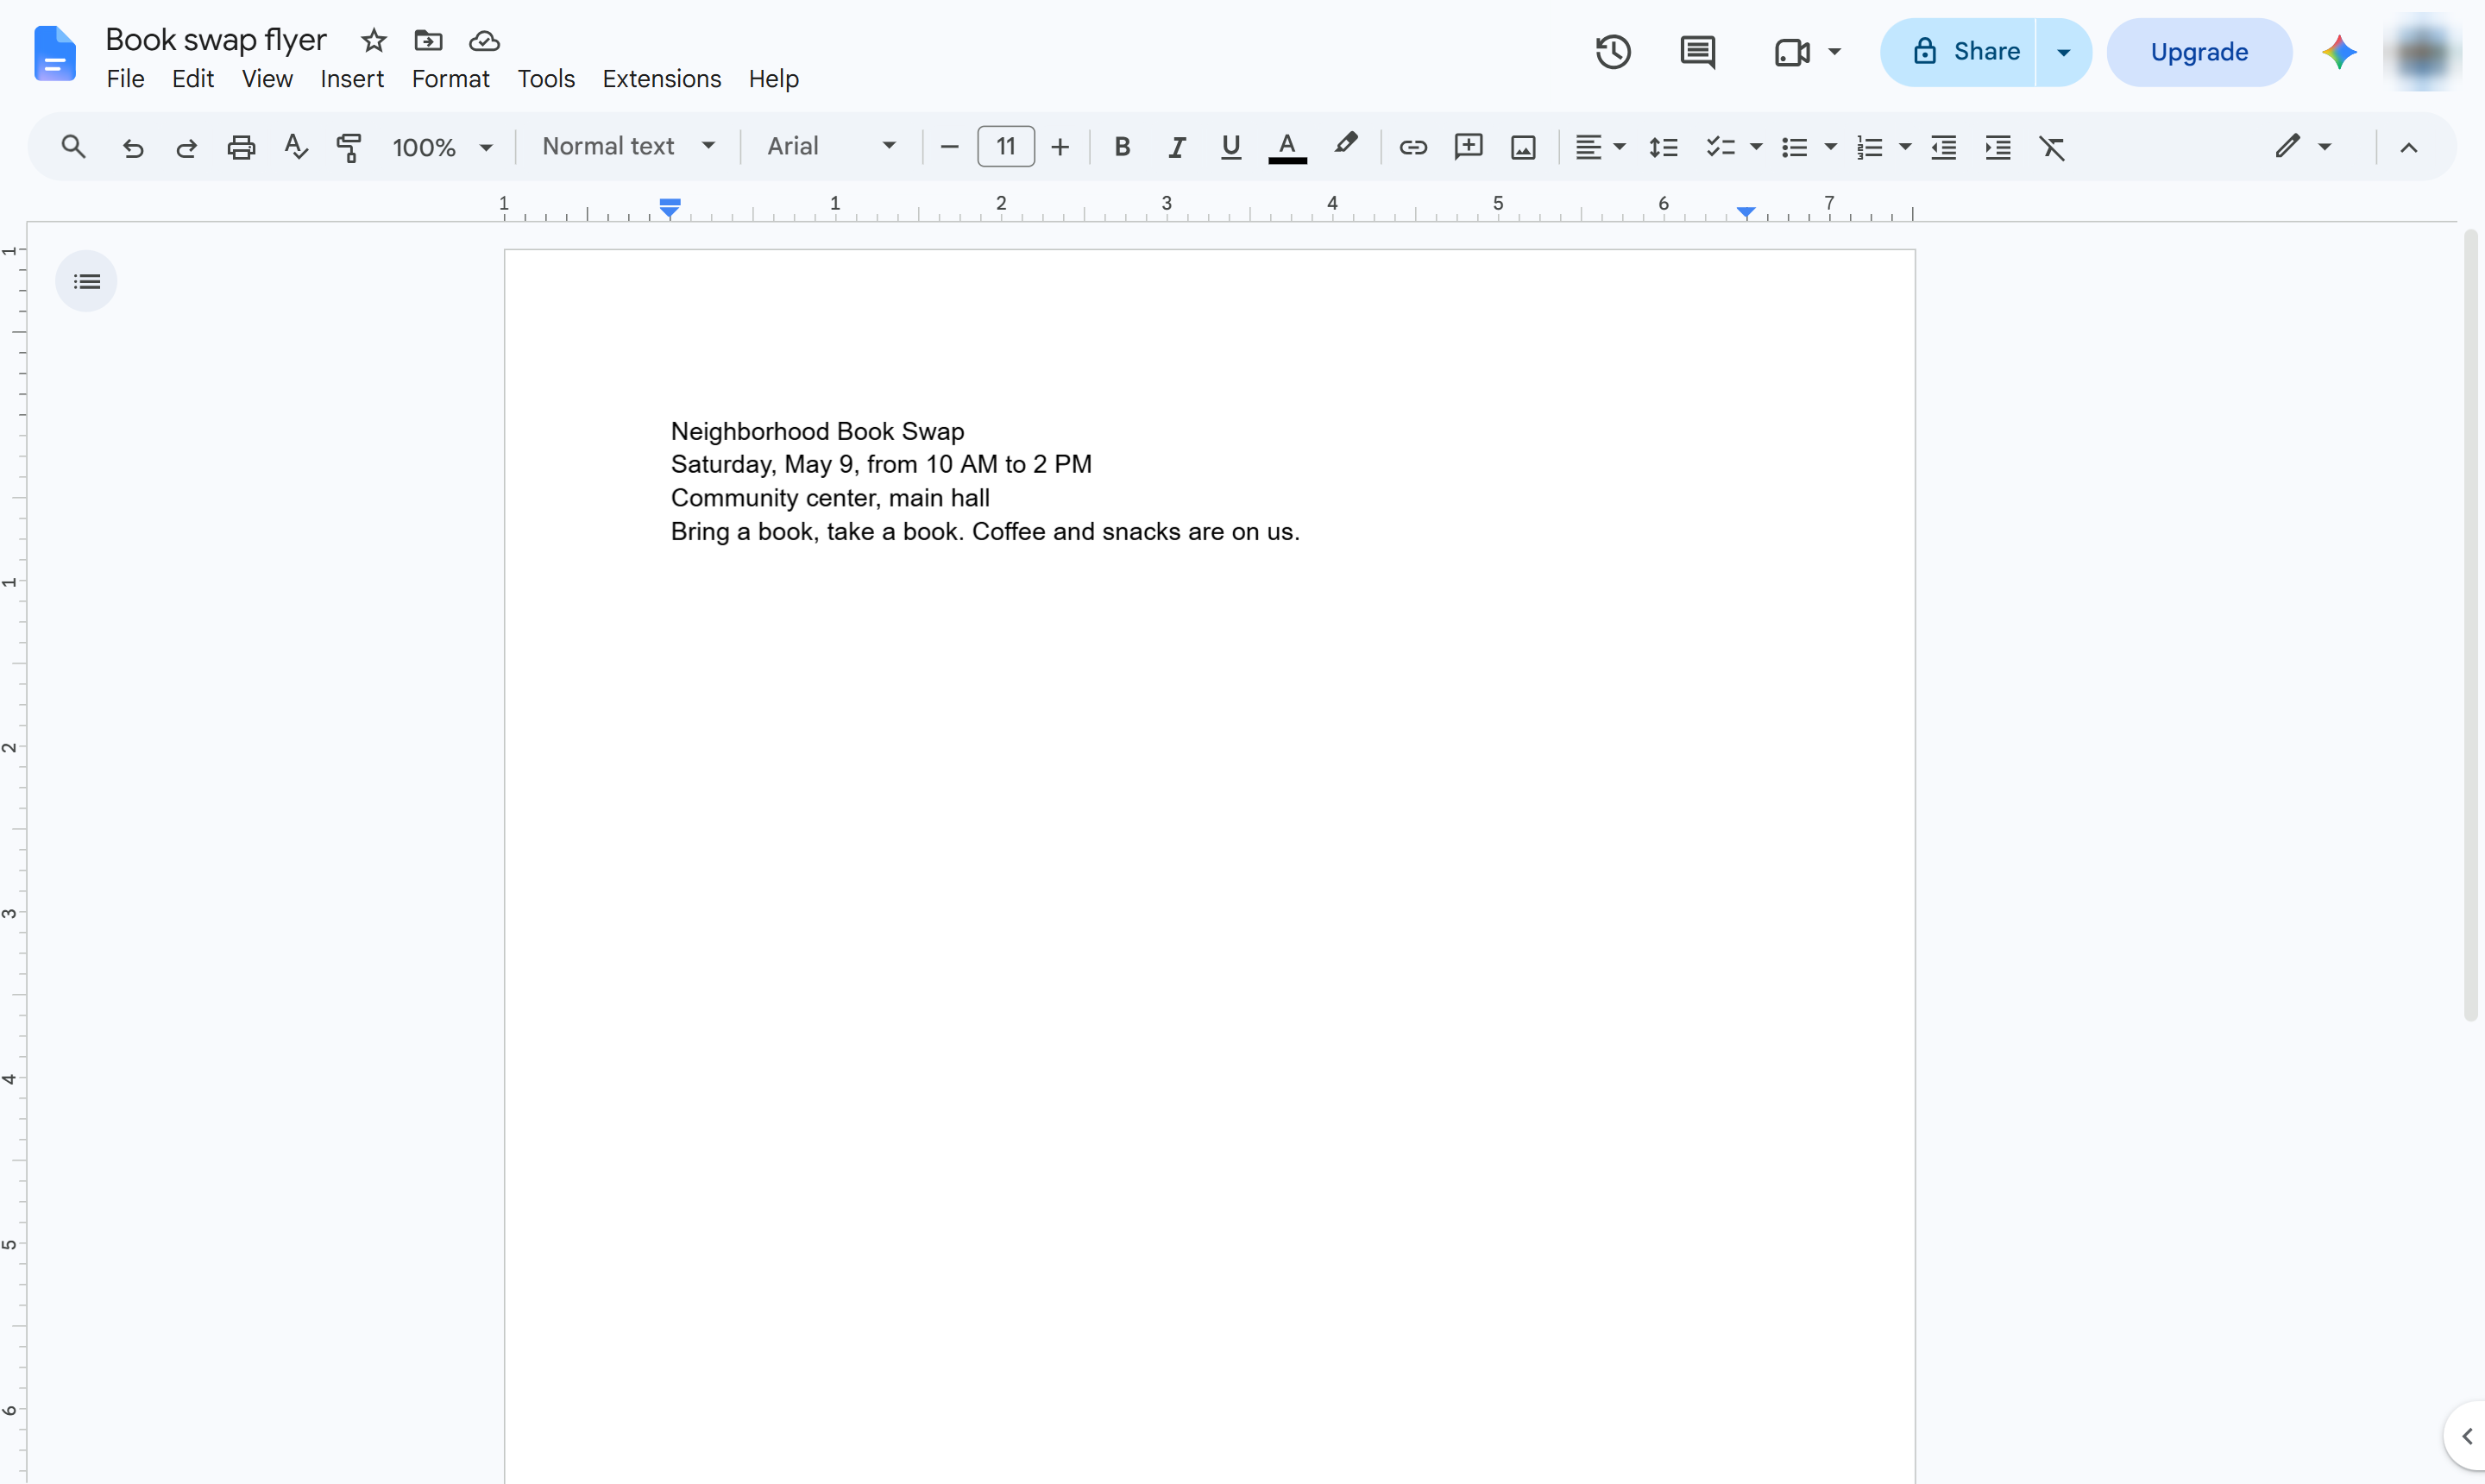
Select the headline
Highlight the line that should stand out.

Turn a few lines of text into an eye-catching flyer with a big headline, centered text and a picture.
Highlight the line that should stand out.
In the toolbar, click the font size box (11).
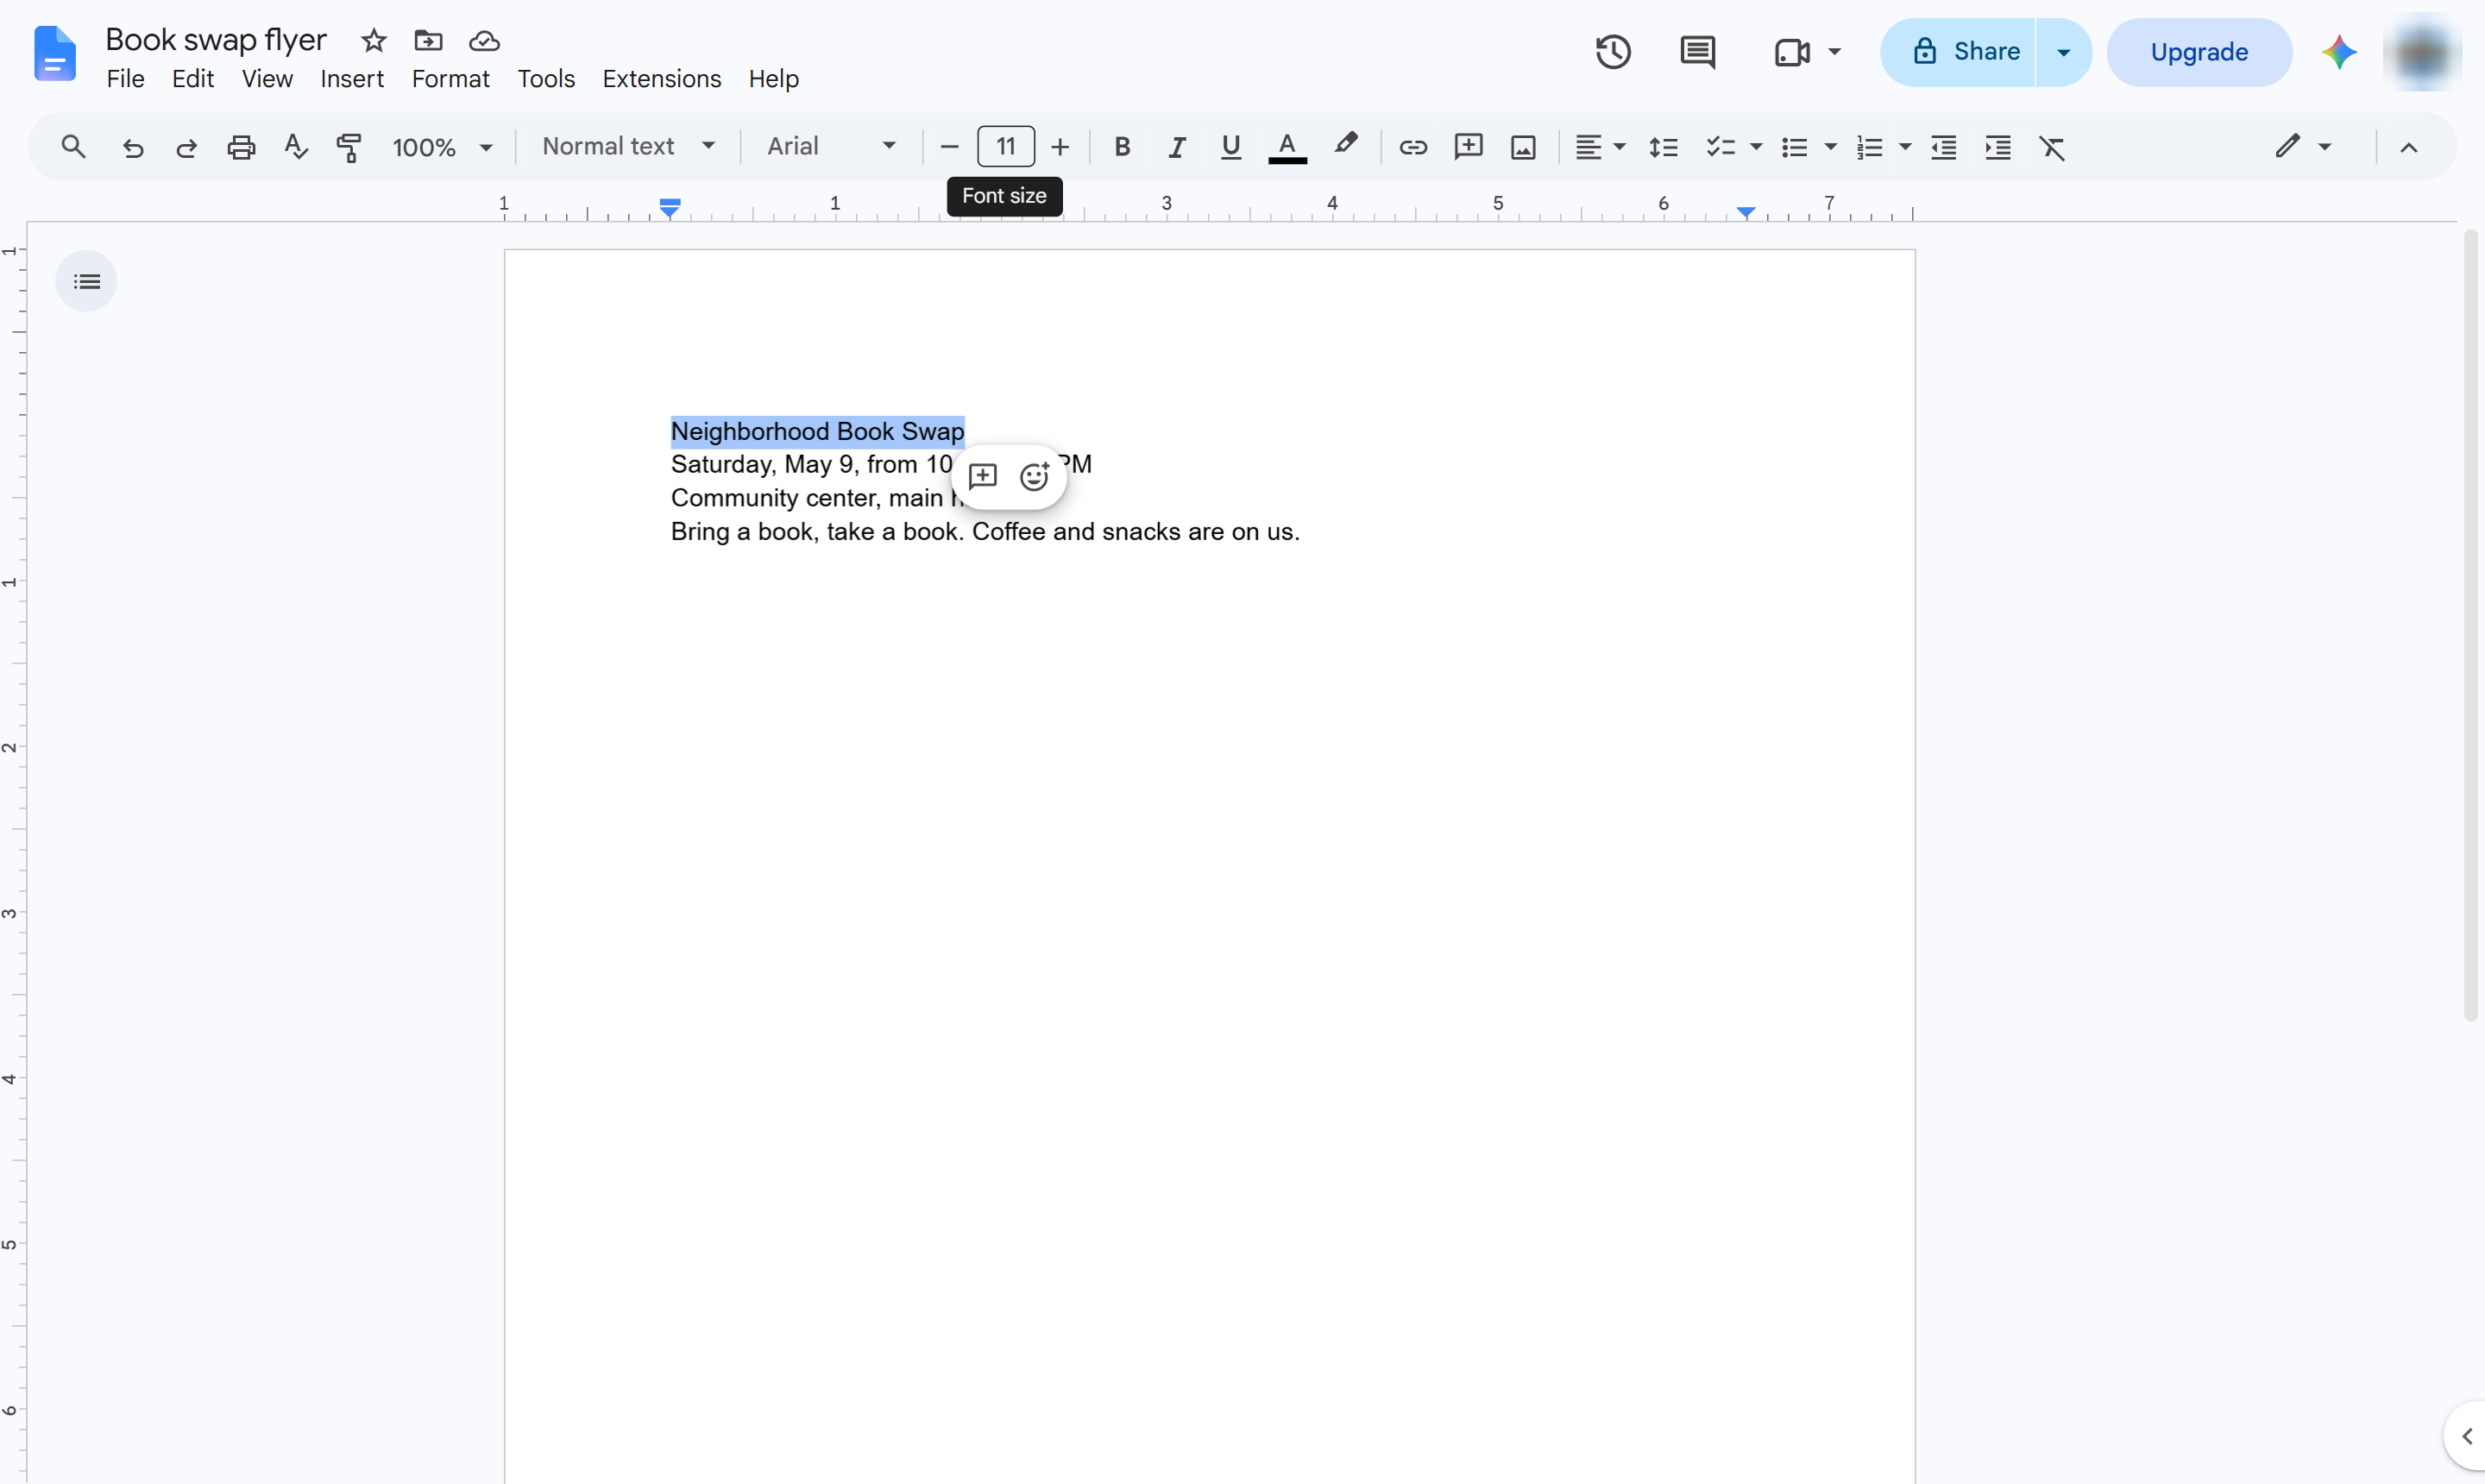
Type a large size such as 36 and press Enter.
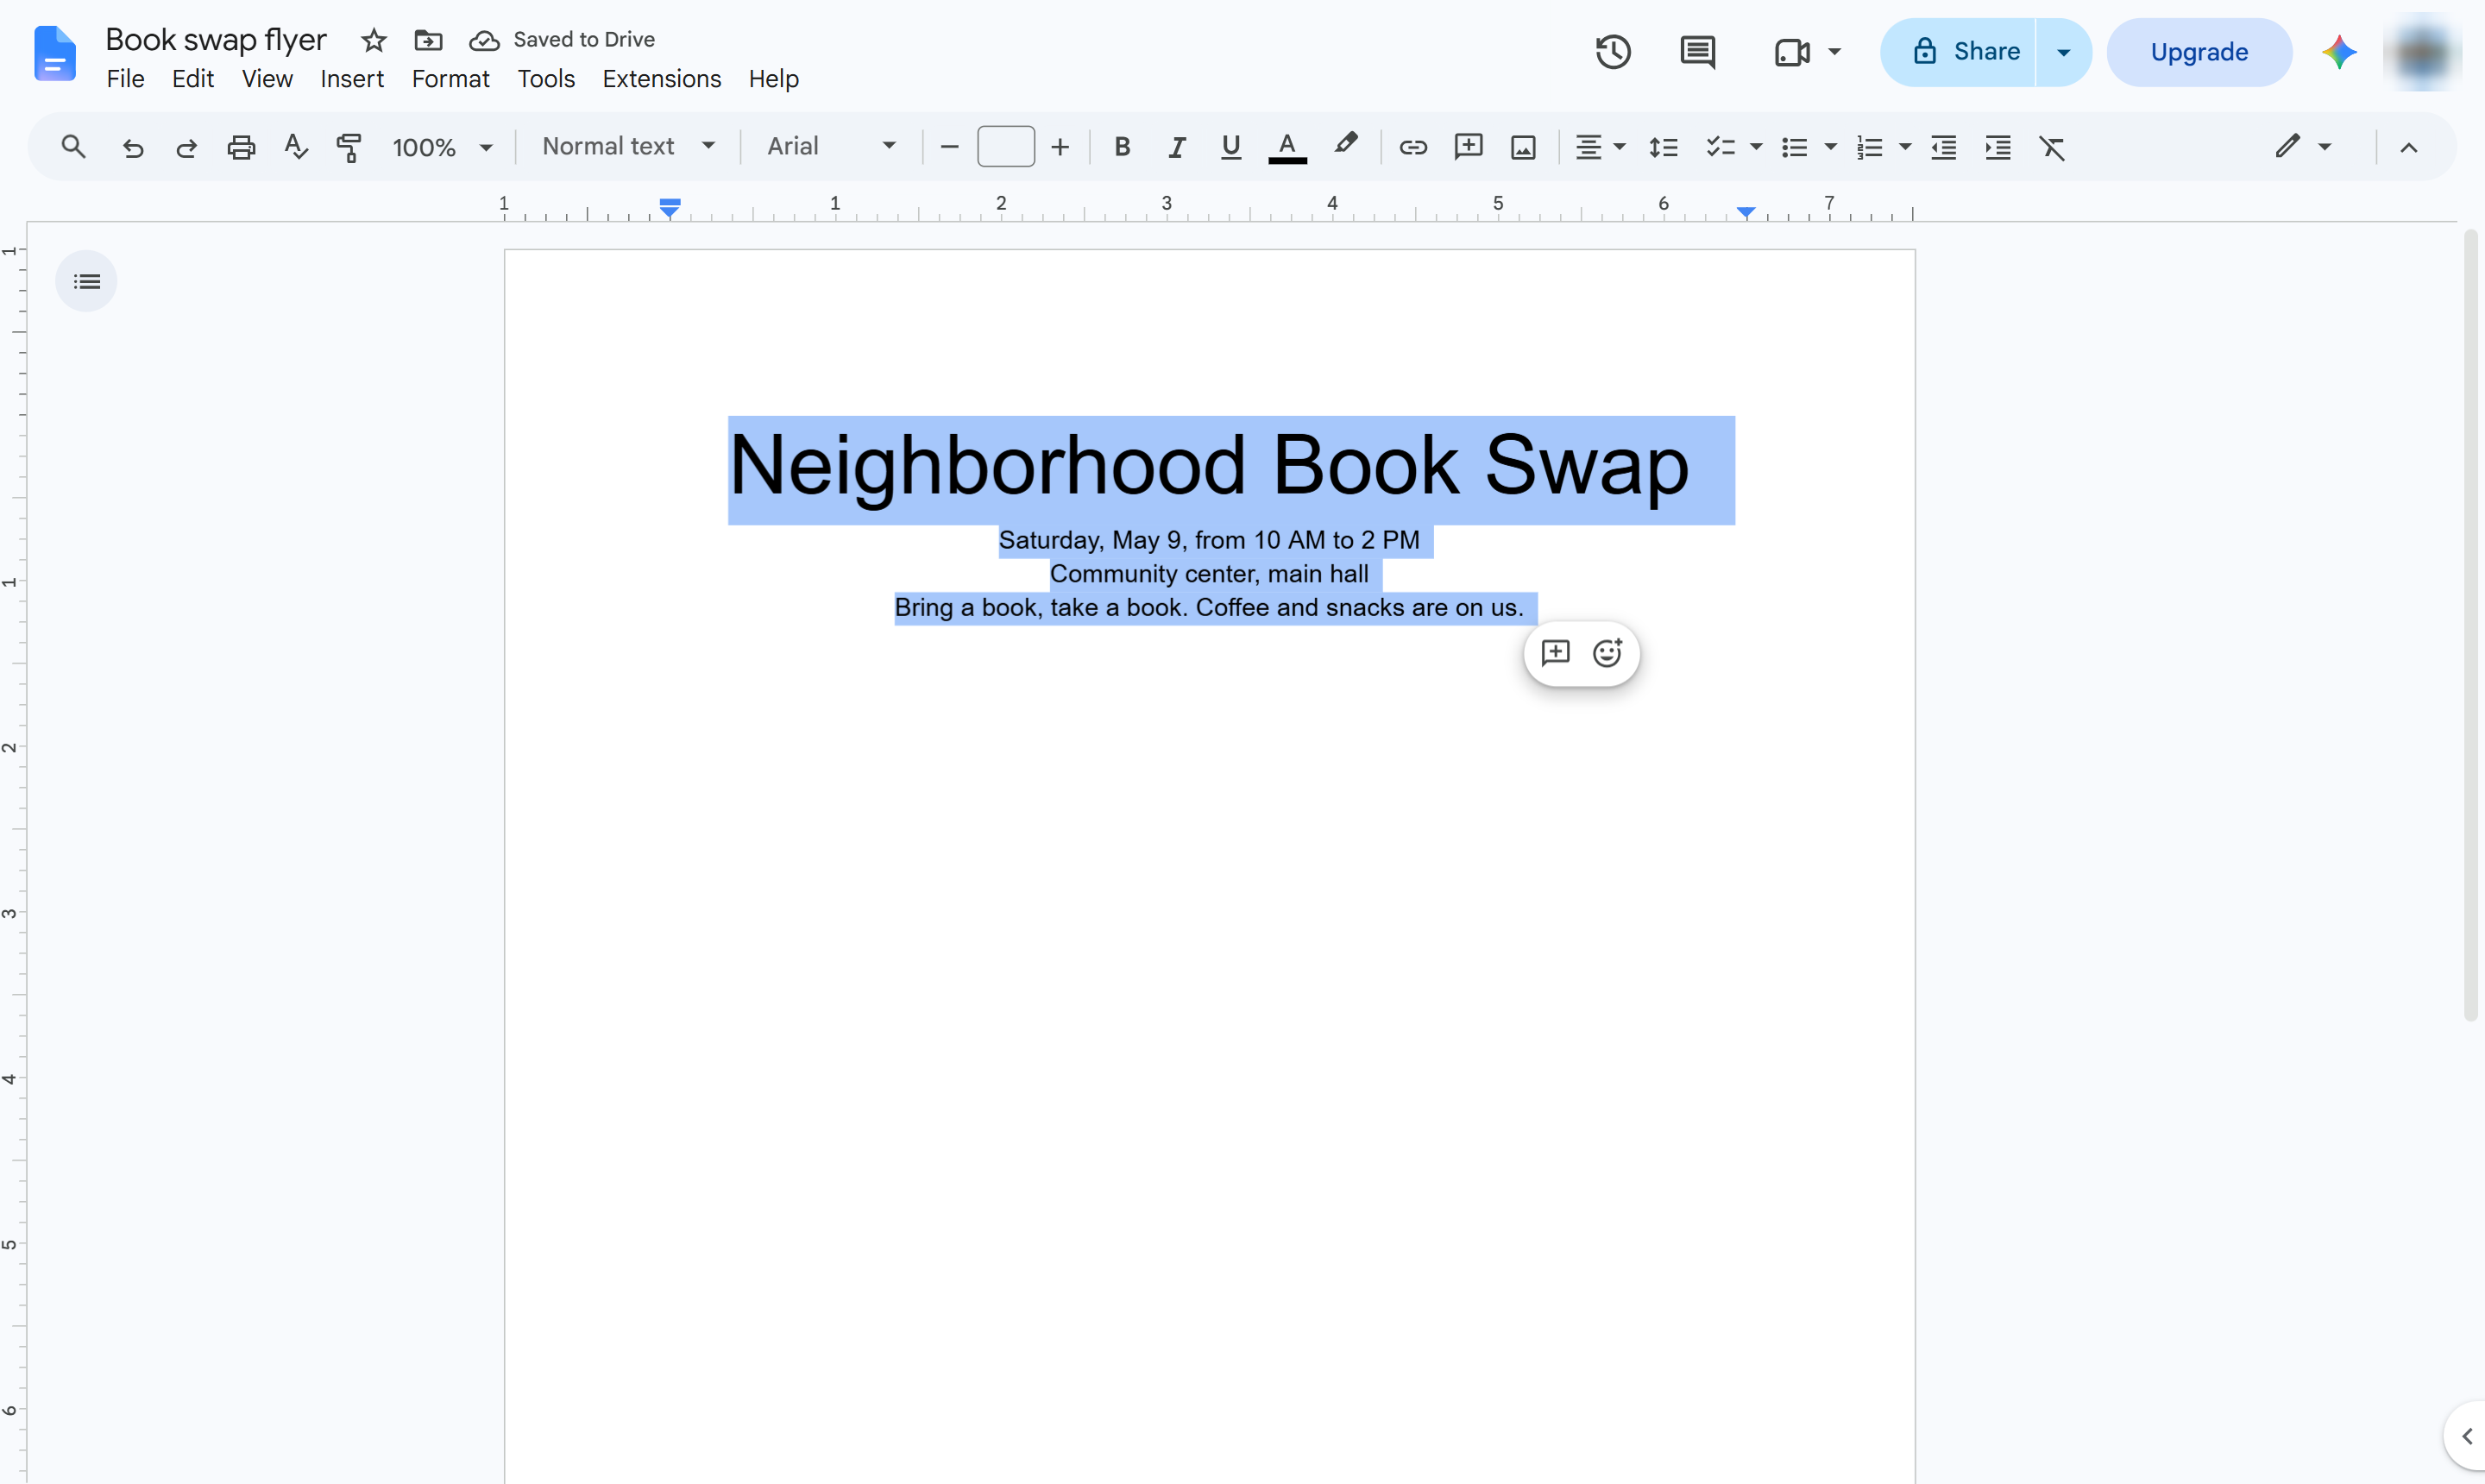
Select all the text (Cmd + A on Mac).
Center every line (Cmd + Shift + E on Mac). The Align button in the toolbar does the same.
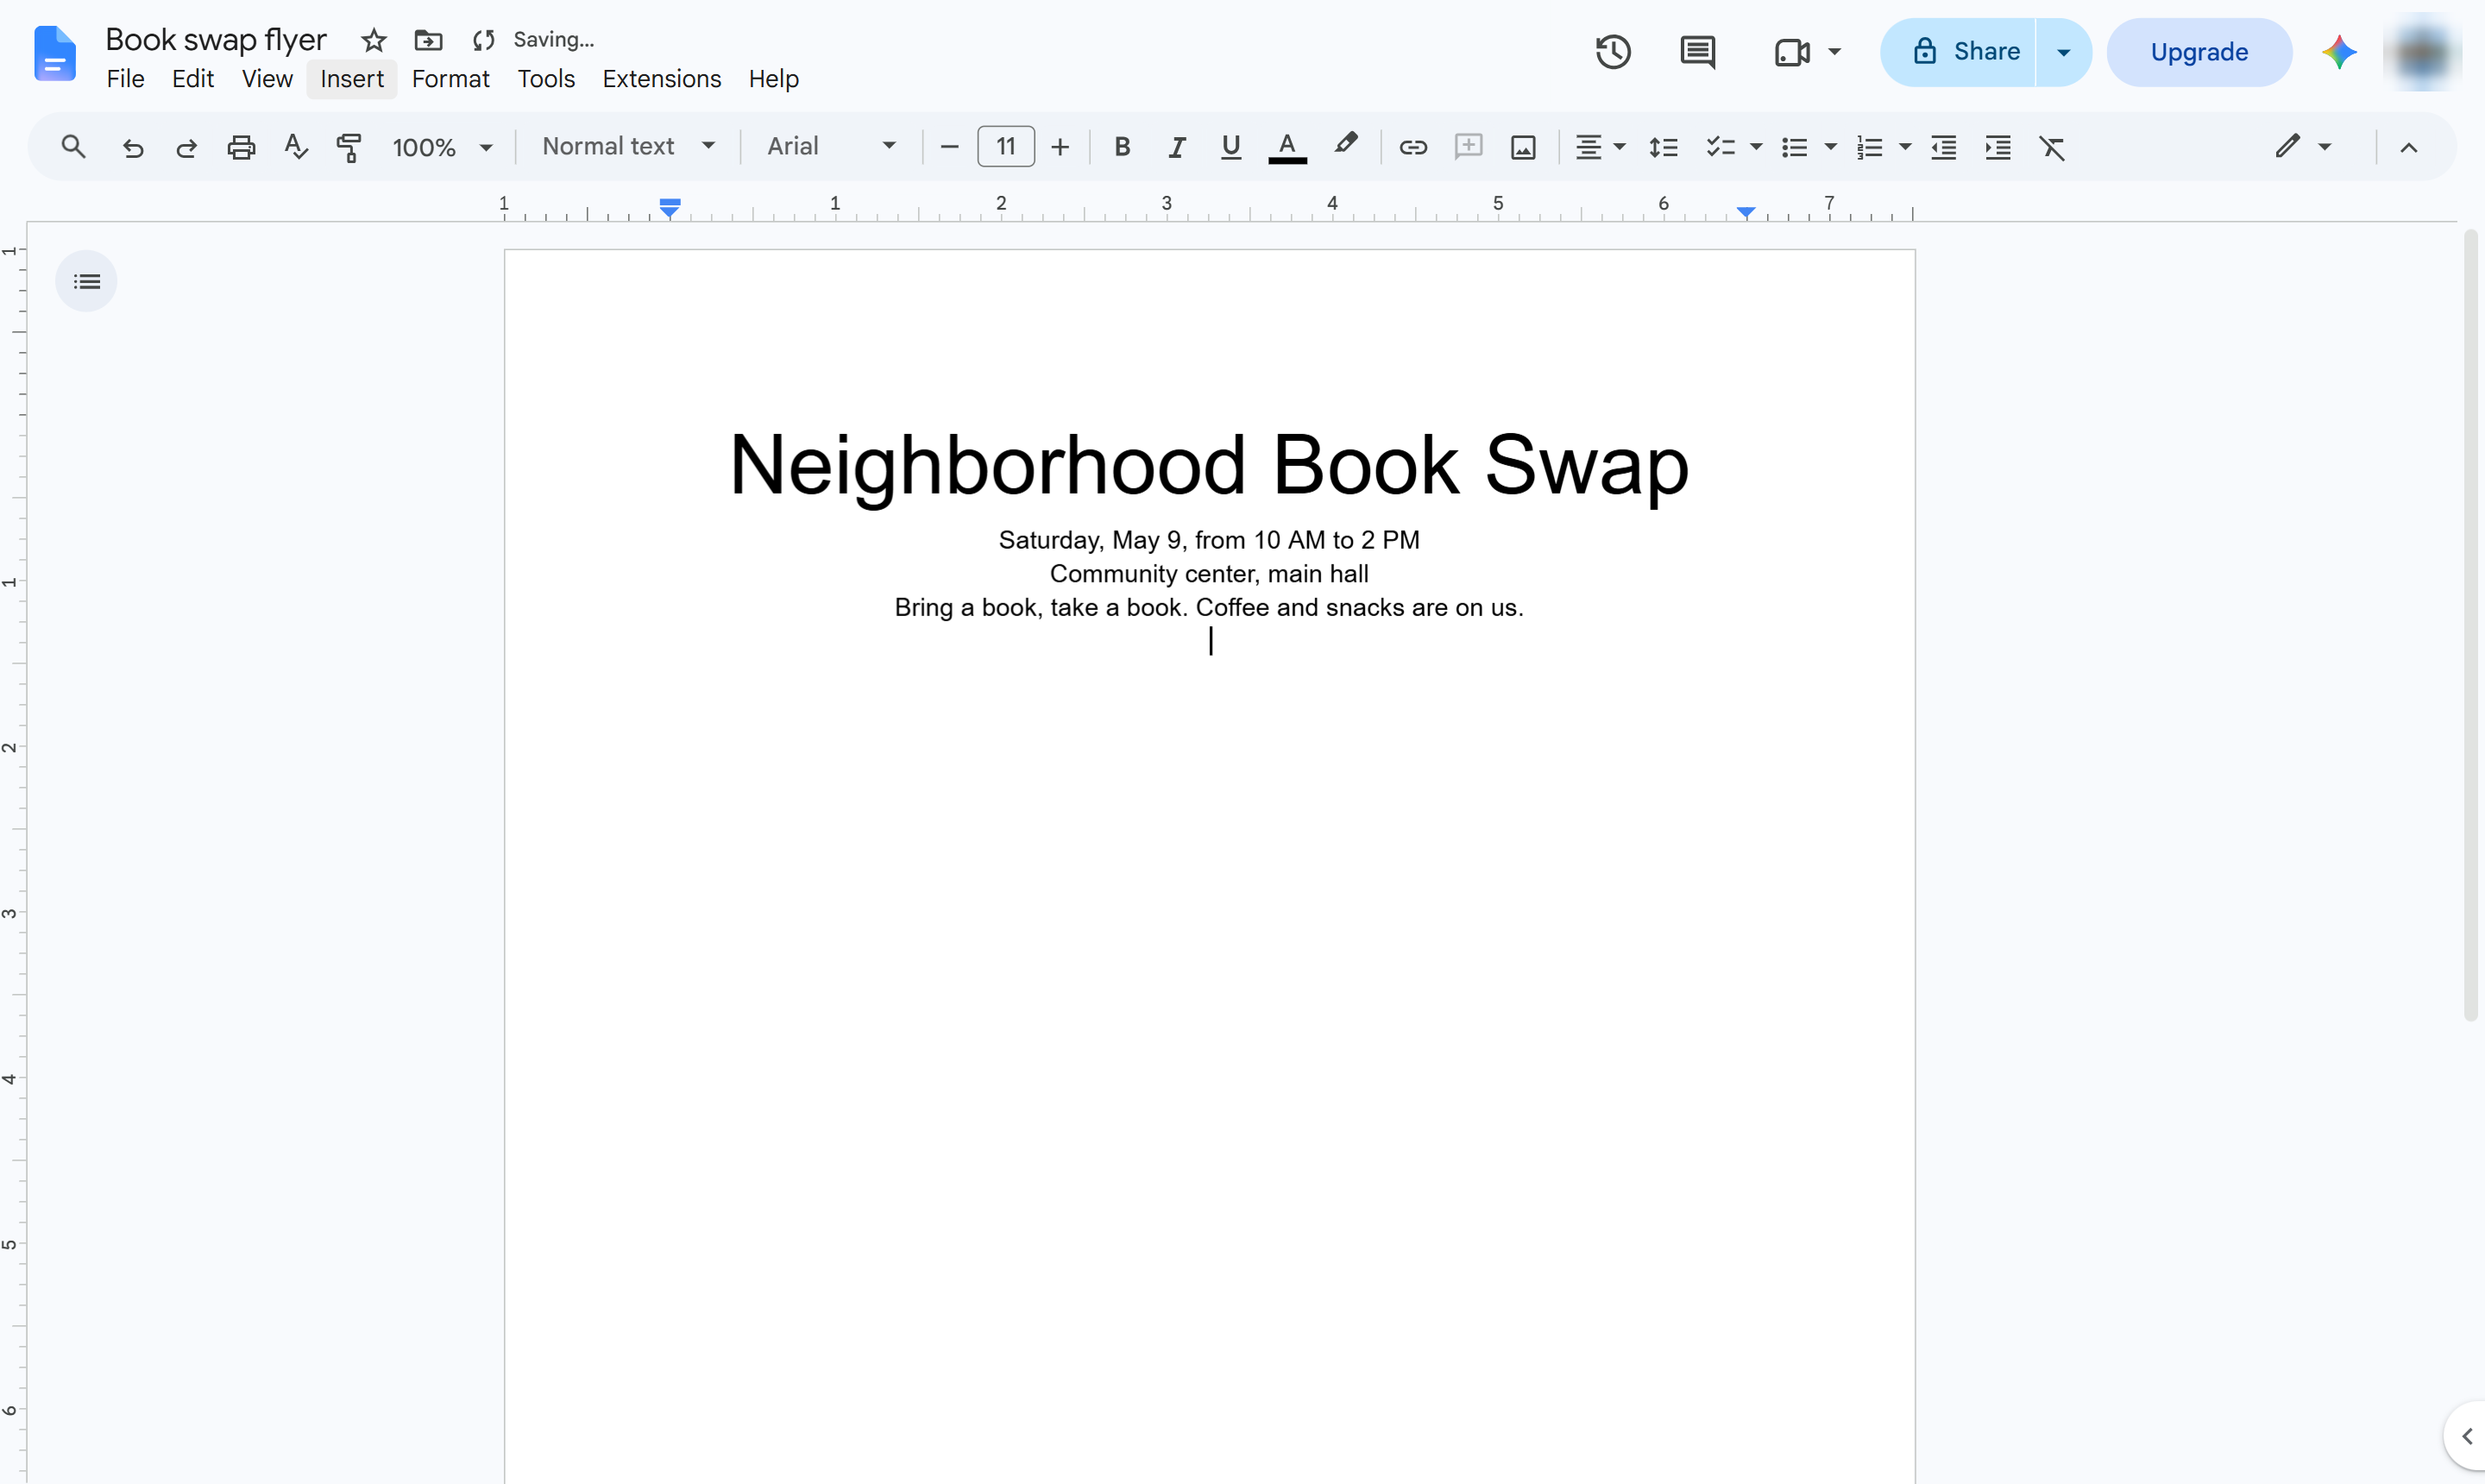
Click after the last word, where the picture should go.
Start a new line for the picture.
Open the Insert menu.
Hover over Image.
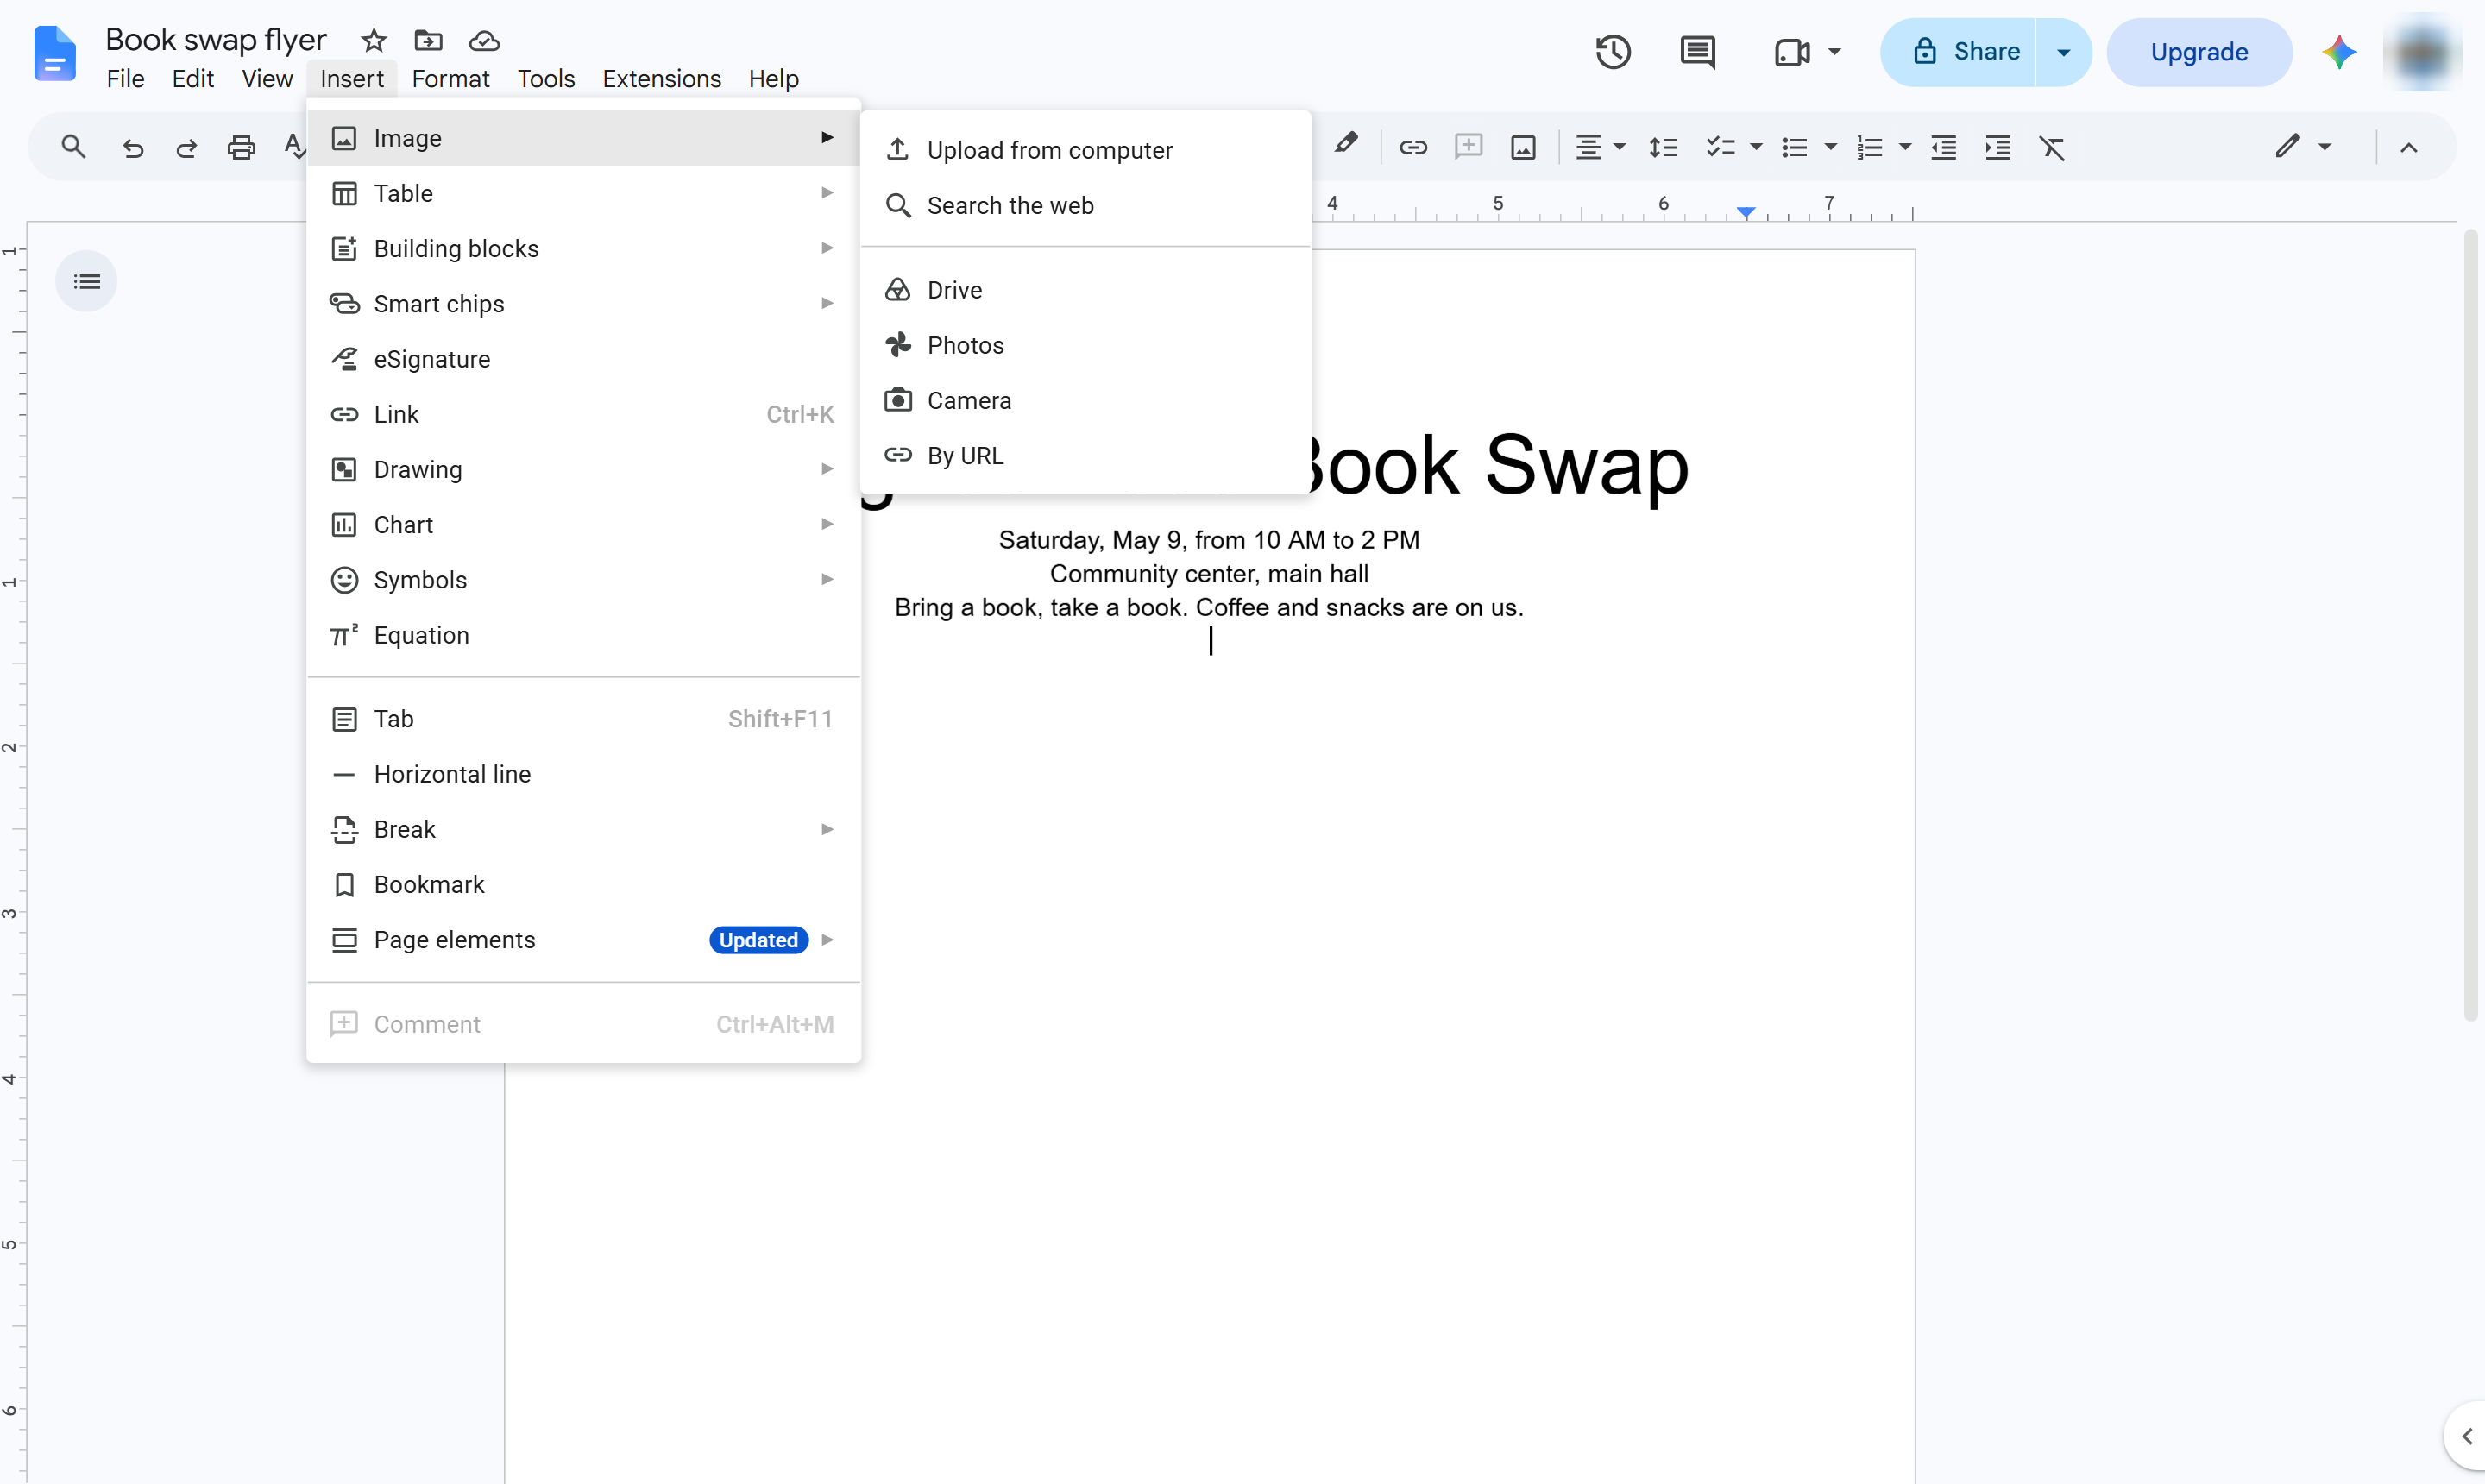
Choose Upload from computer and pick a picture for your flyer.
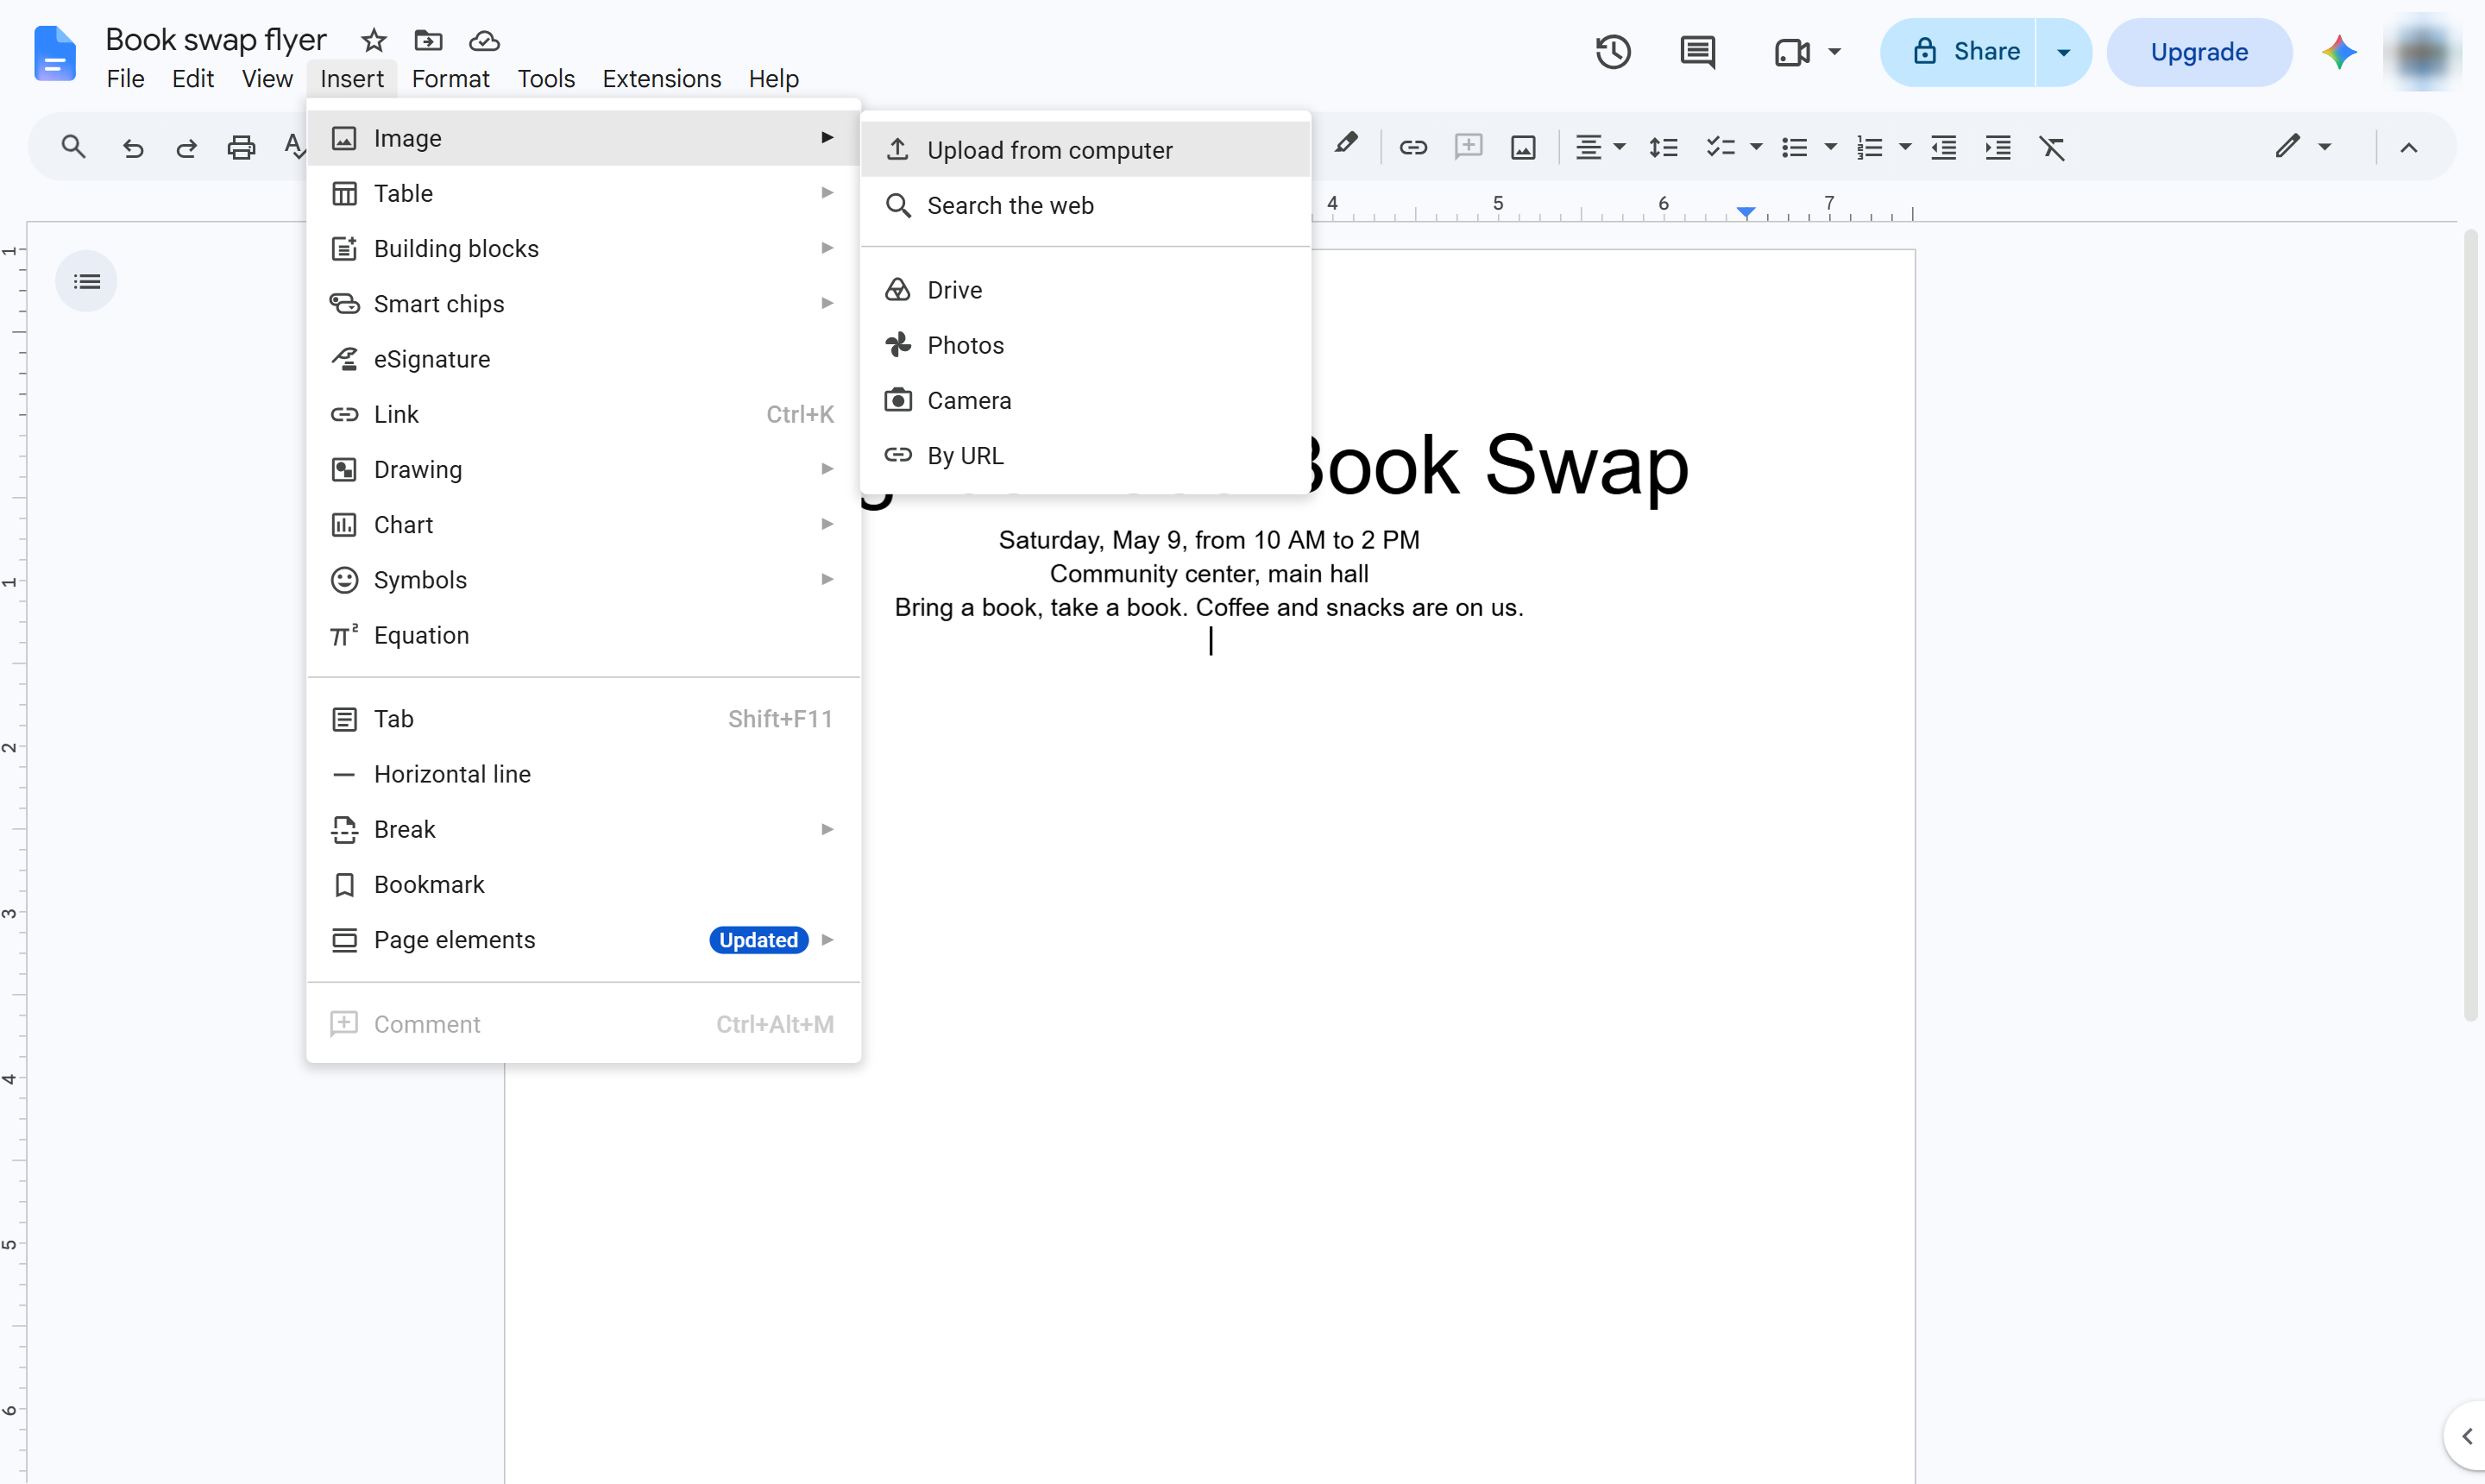
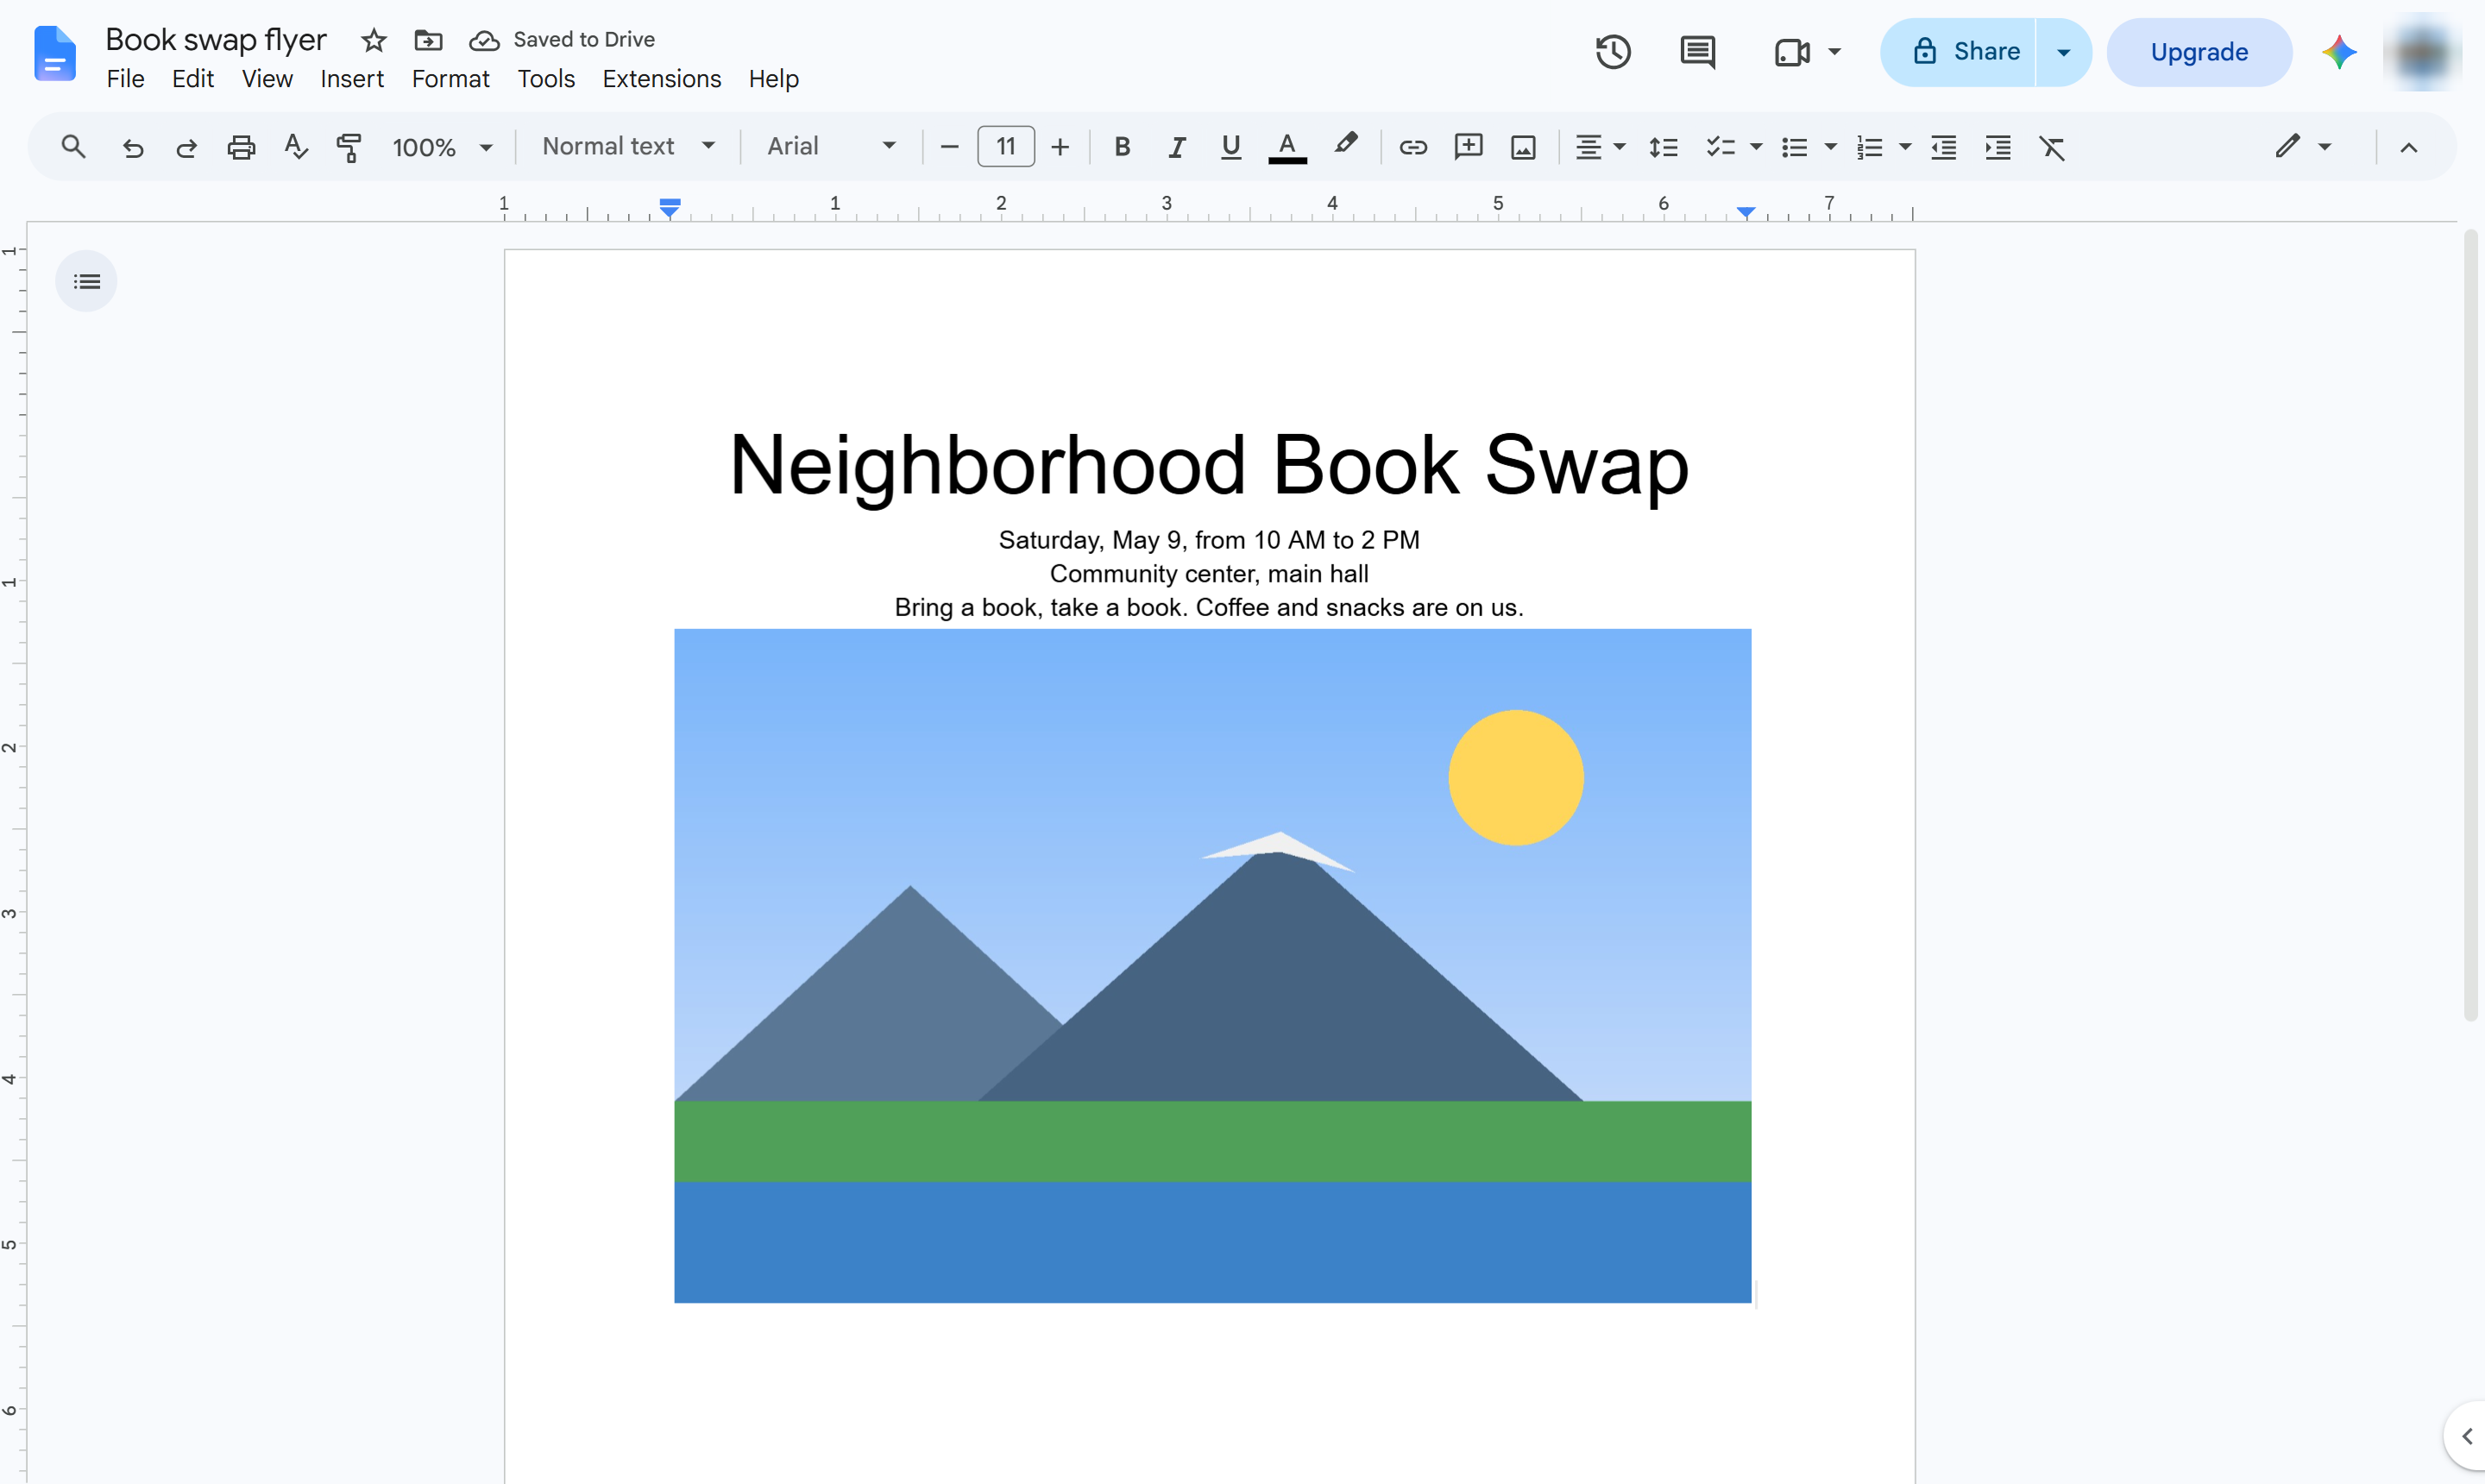
Your flyer has a big headline, centered details and a picture. Choose File > Print or File > Download > PDF to share it.
Duplicate this template, swap in your own screens, and share it with your team. Free to start — no credit card.
Fill out the form and we'll get back to you as soon as possible.
Tell us about your team and we'll find the right plan together.