1
Open the Excel sheet
In Excel, you can lock specific cells to prevent users from editing them while allowing them to edit other cells.
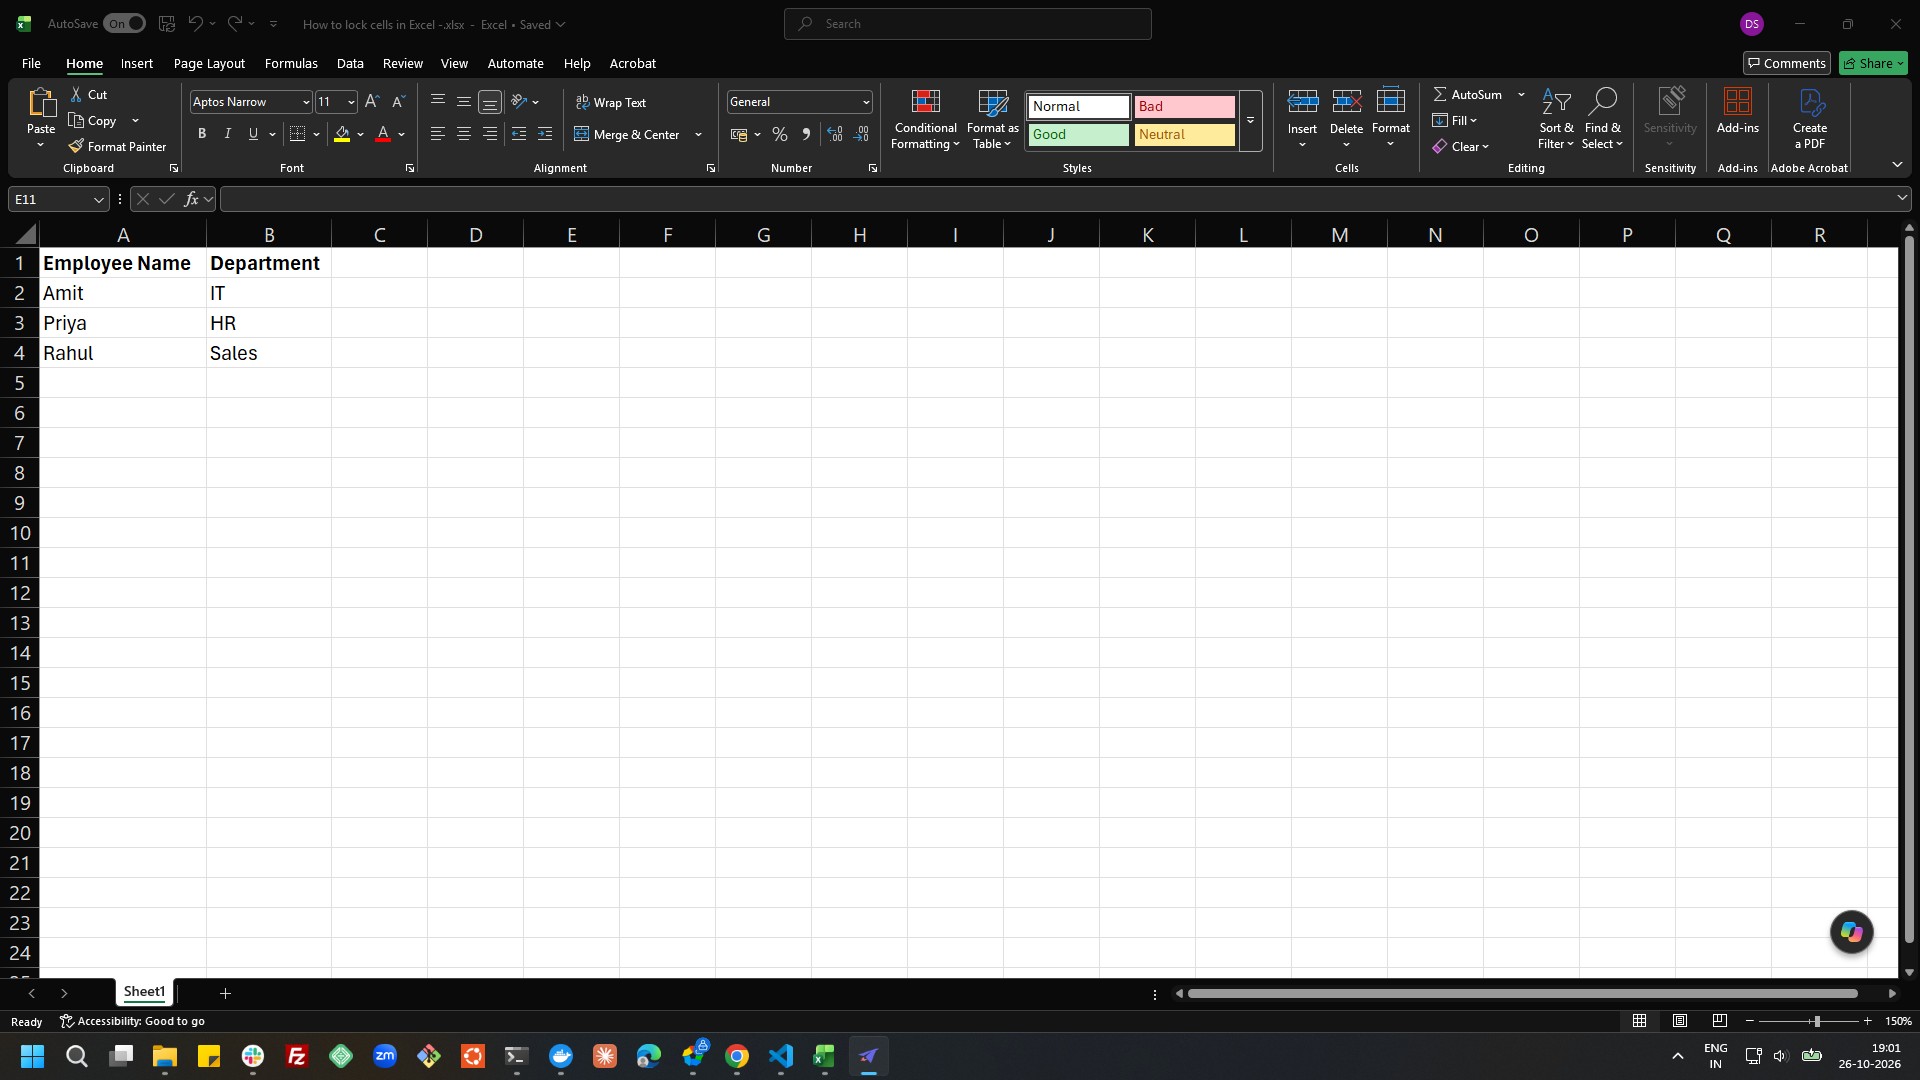

In this guide, you will learn how to configure cell locking and protect a worksheet in Microsoft Excel. You will select your data, adjust the protection settings within the Format Cells dialog, and enable sheet protection from the Review tab. Finally, you will test the protection settings to ensure your worksheet is secured against unauthorized edits.
In Excel, you can lock specific cells to prevent users from editing them while allowing them to edit other cells.
Open the Protection tab and click the "Locked" checkbox in the Format Cells dialog to change the lock status to Uncheck.
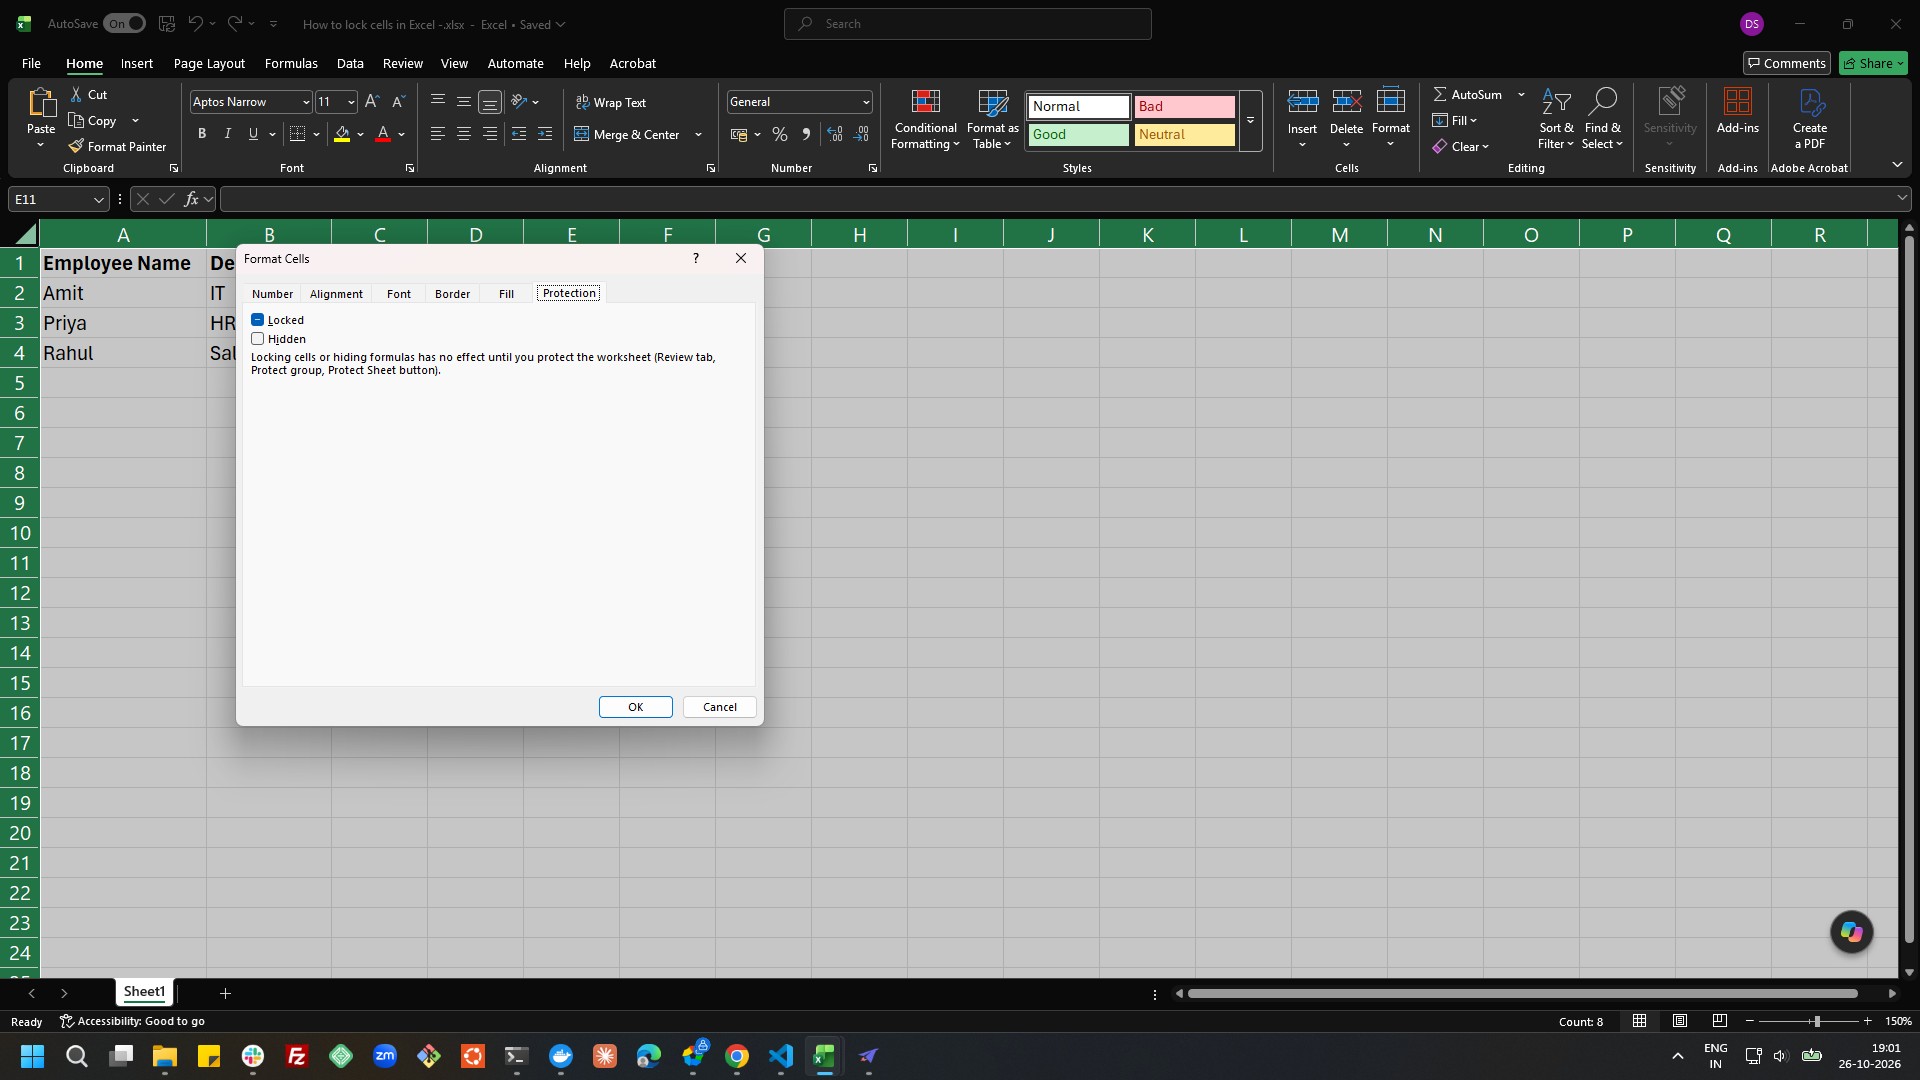
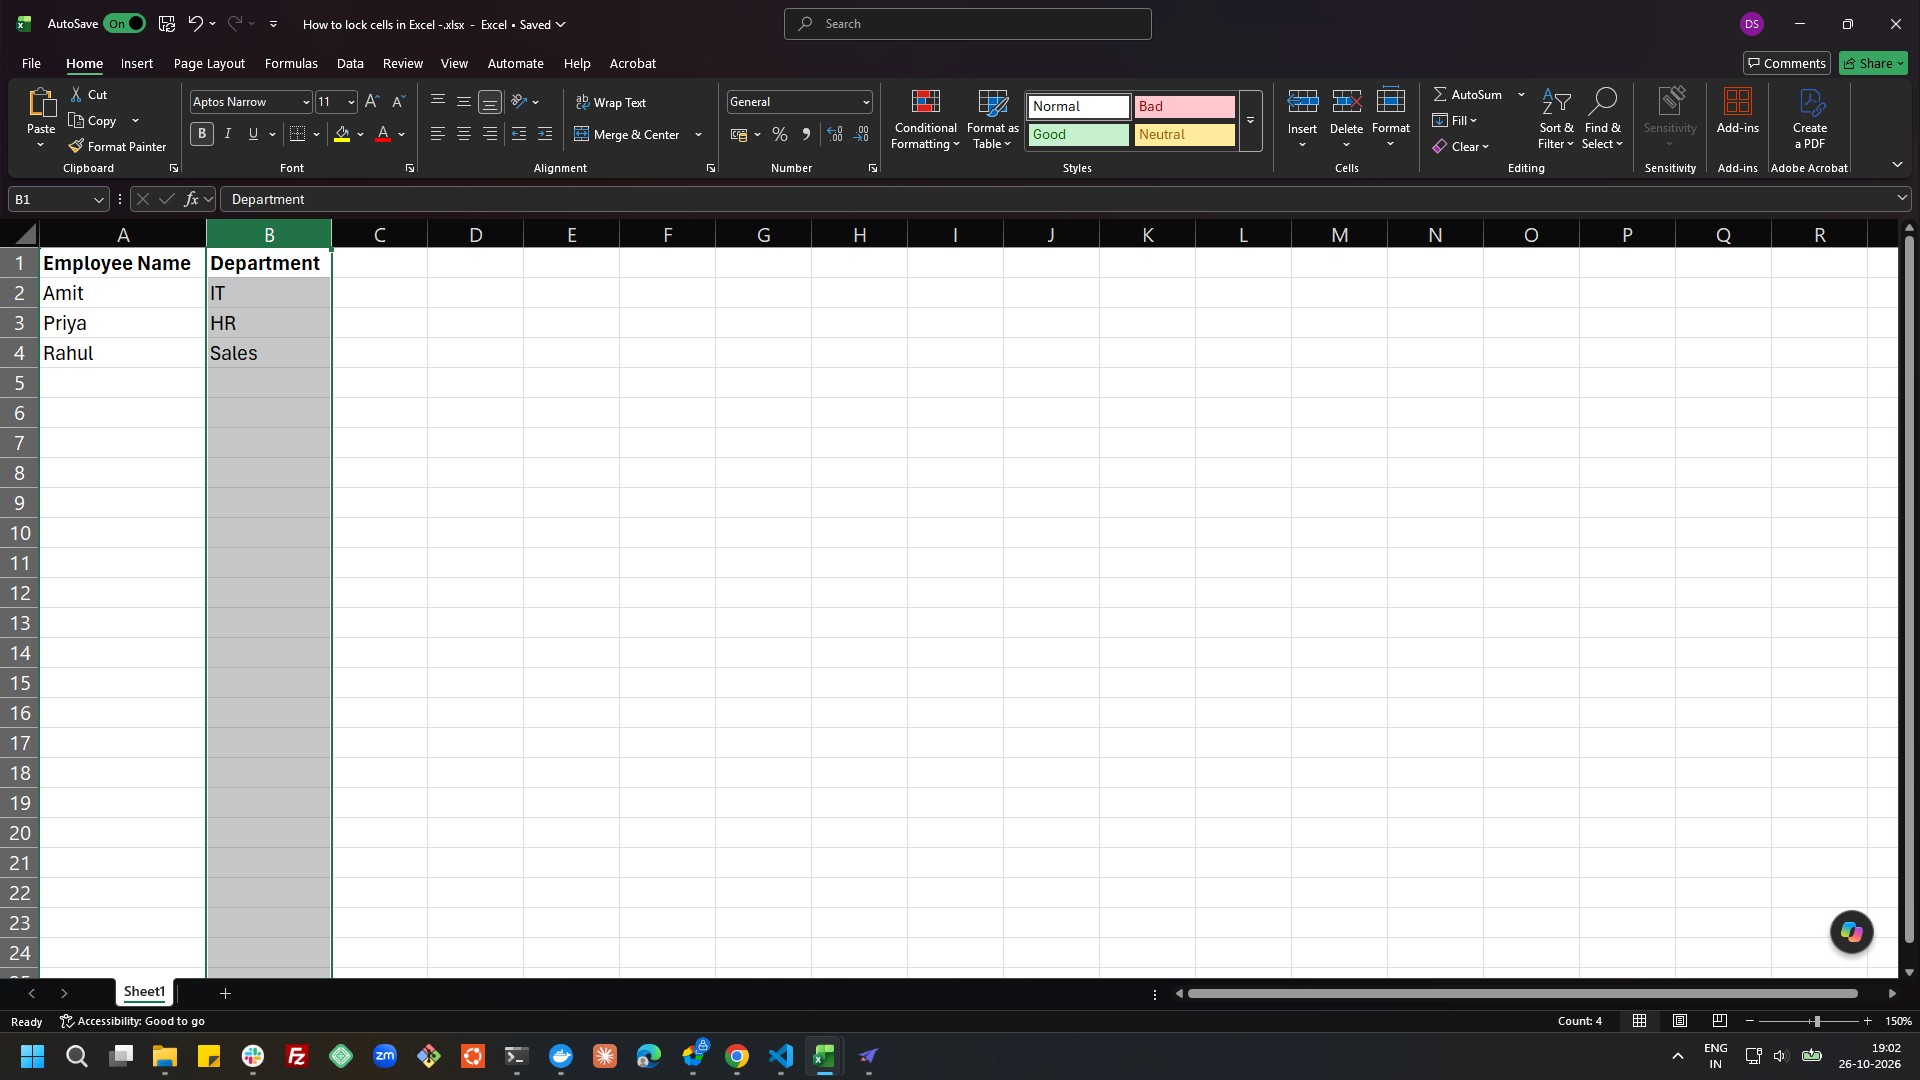
Click the OK button at the bottom of the Format Cells dialog to apply your changes.
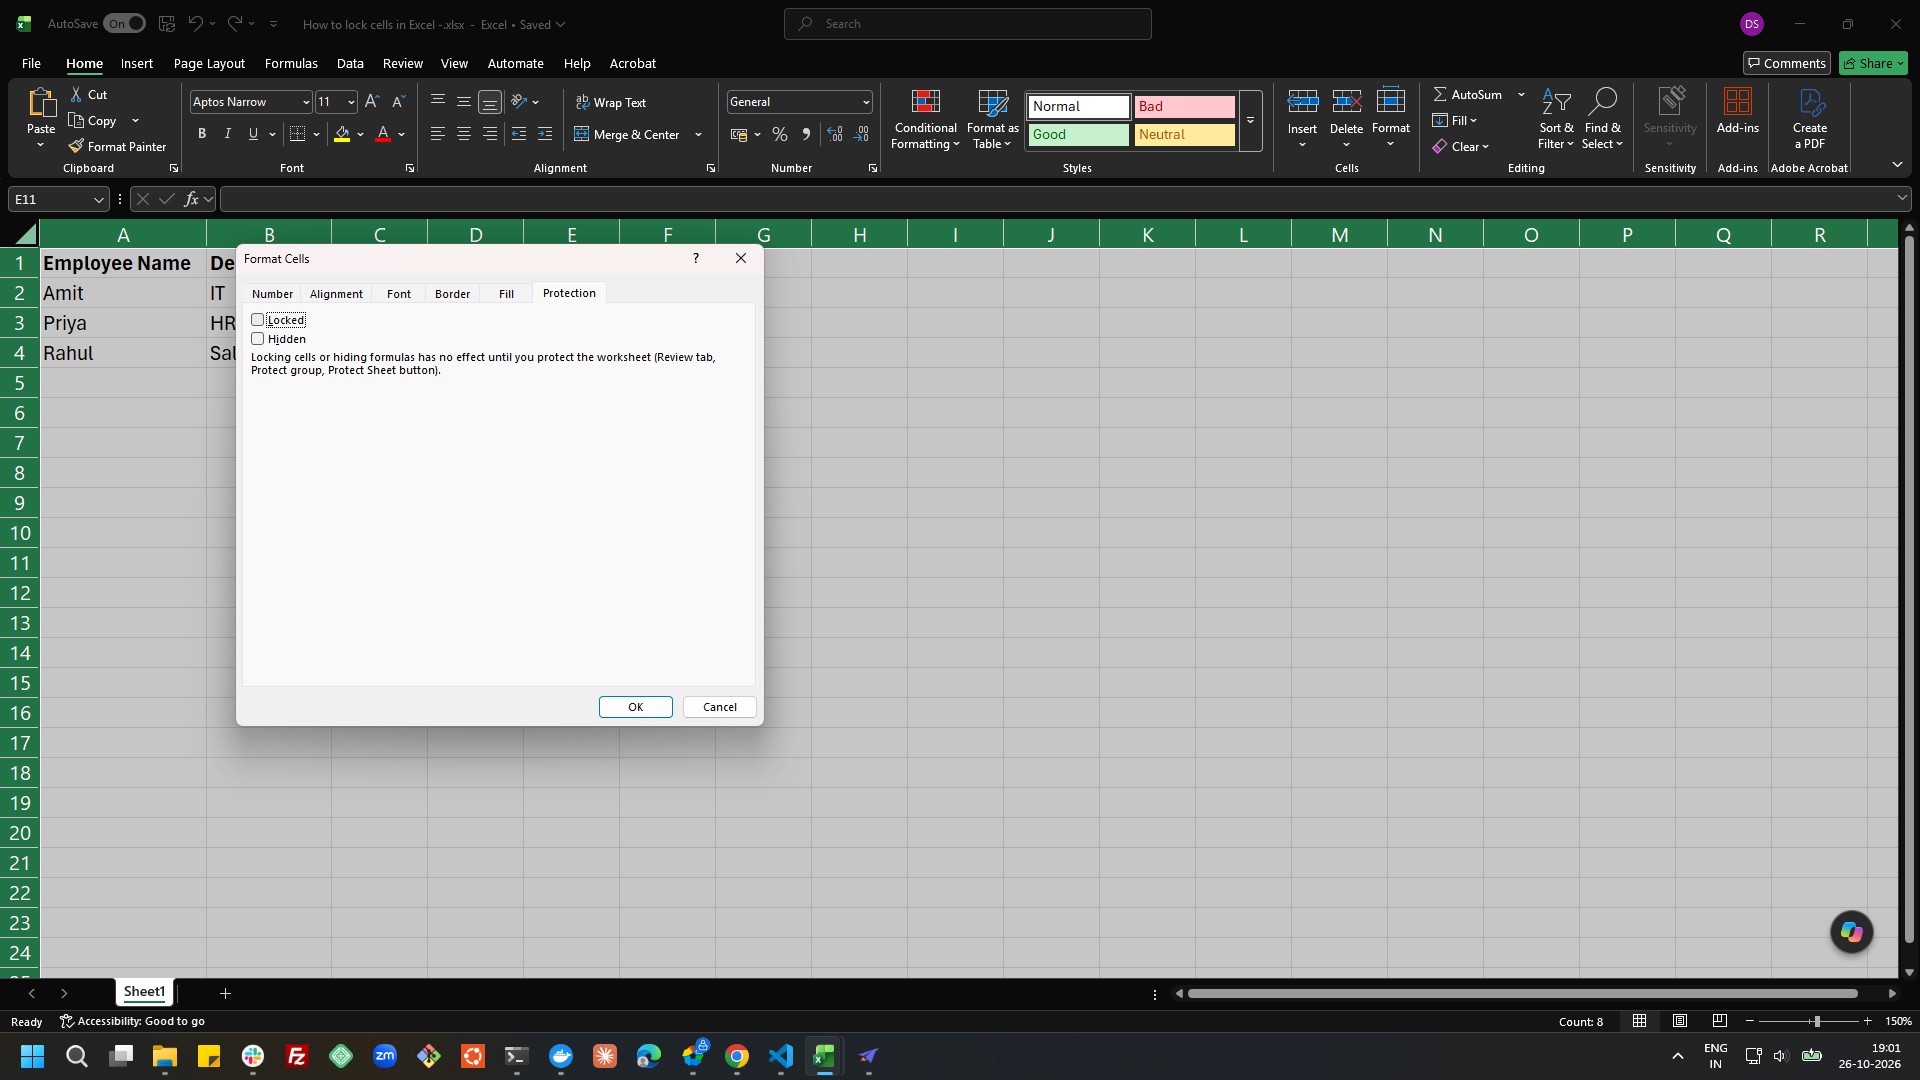
Click the column B header to select the entire column in the spreadsheet.
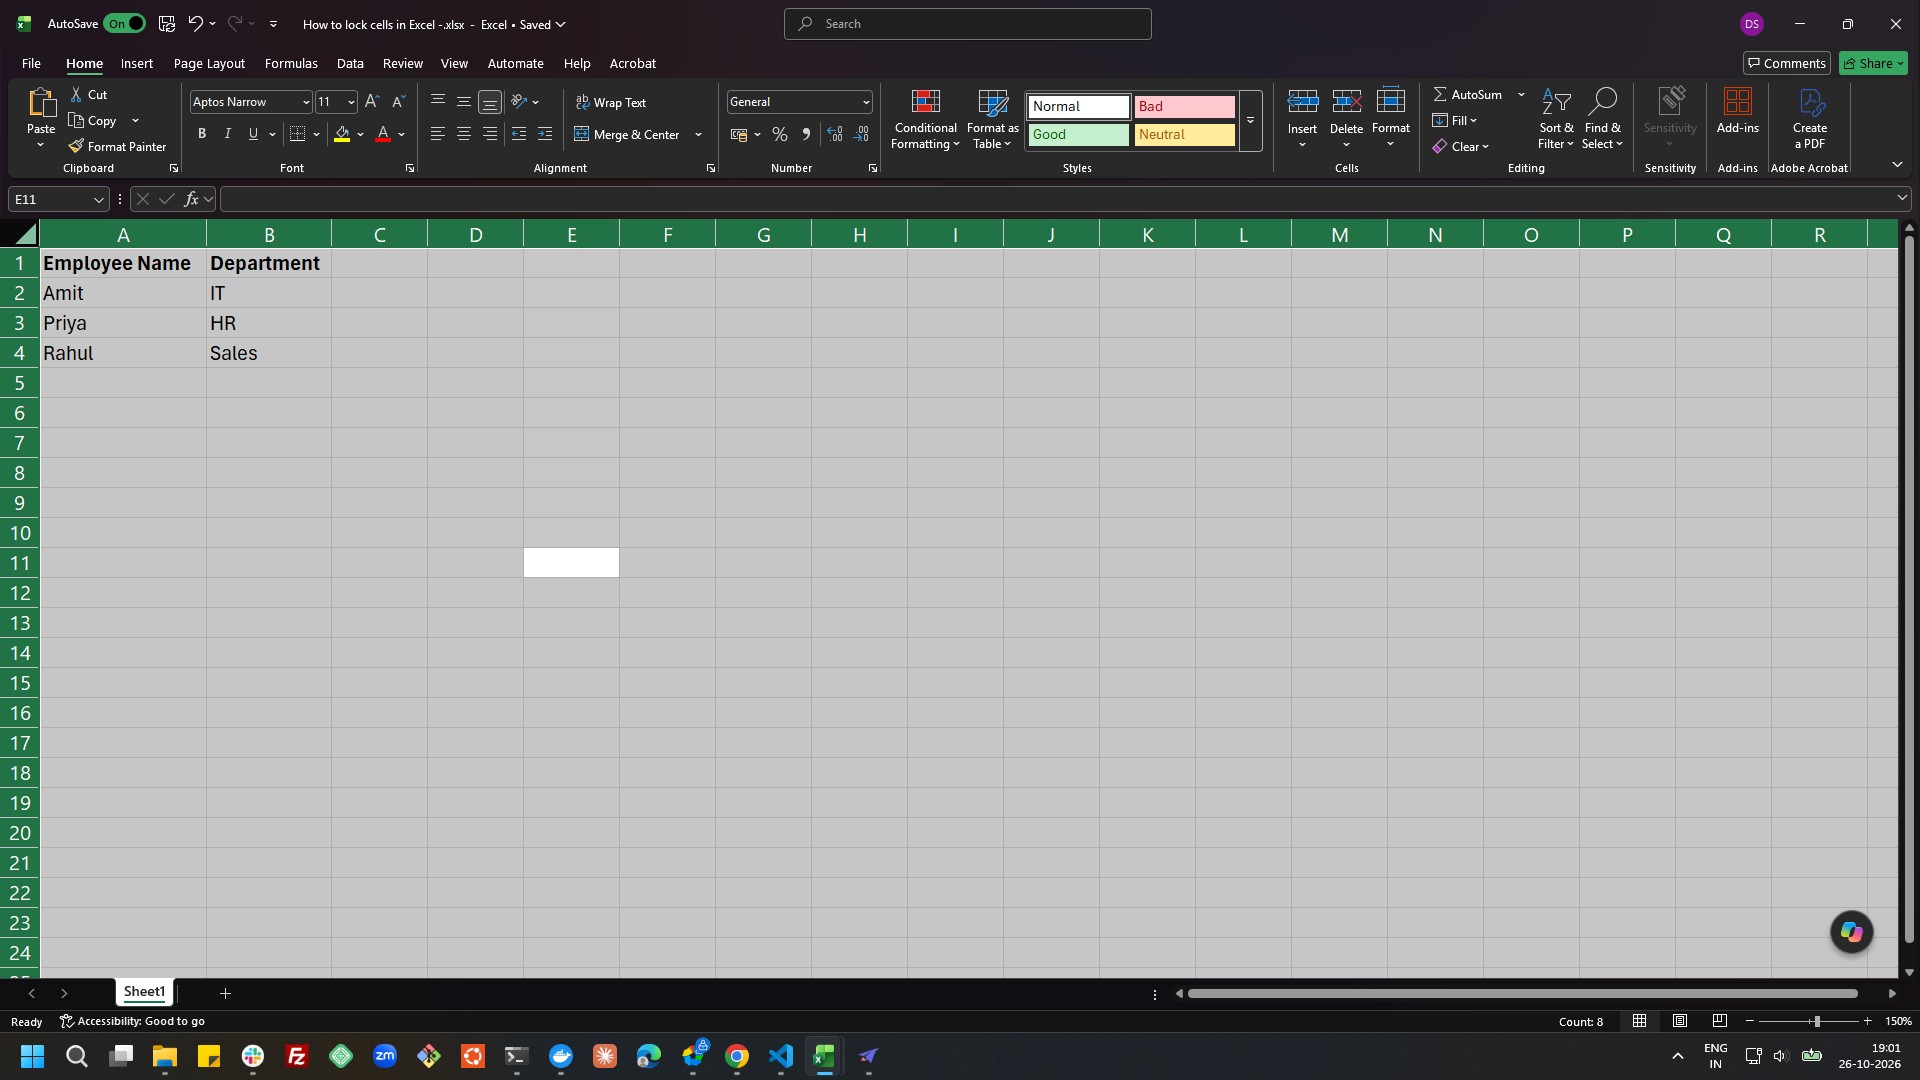
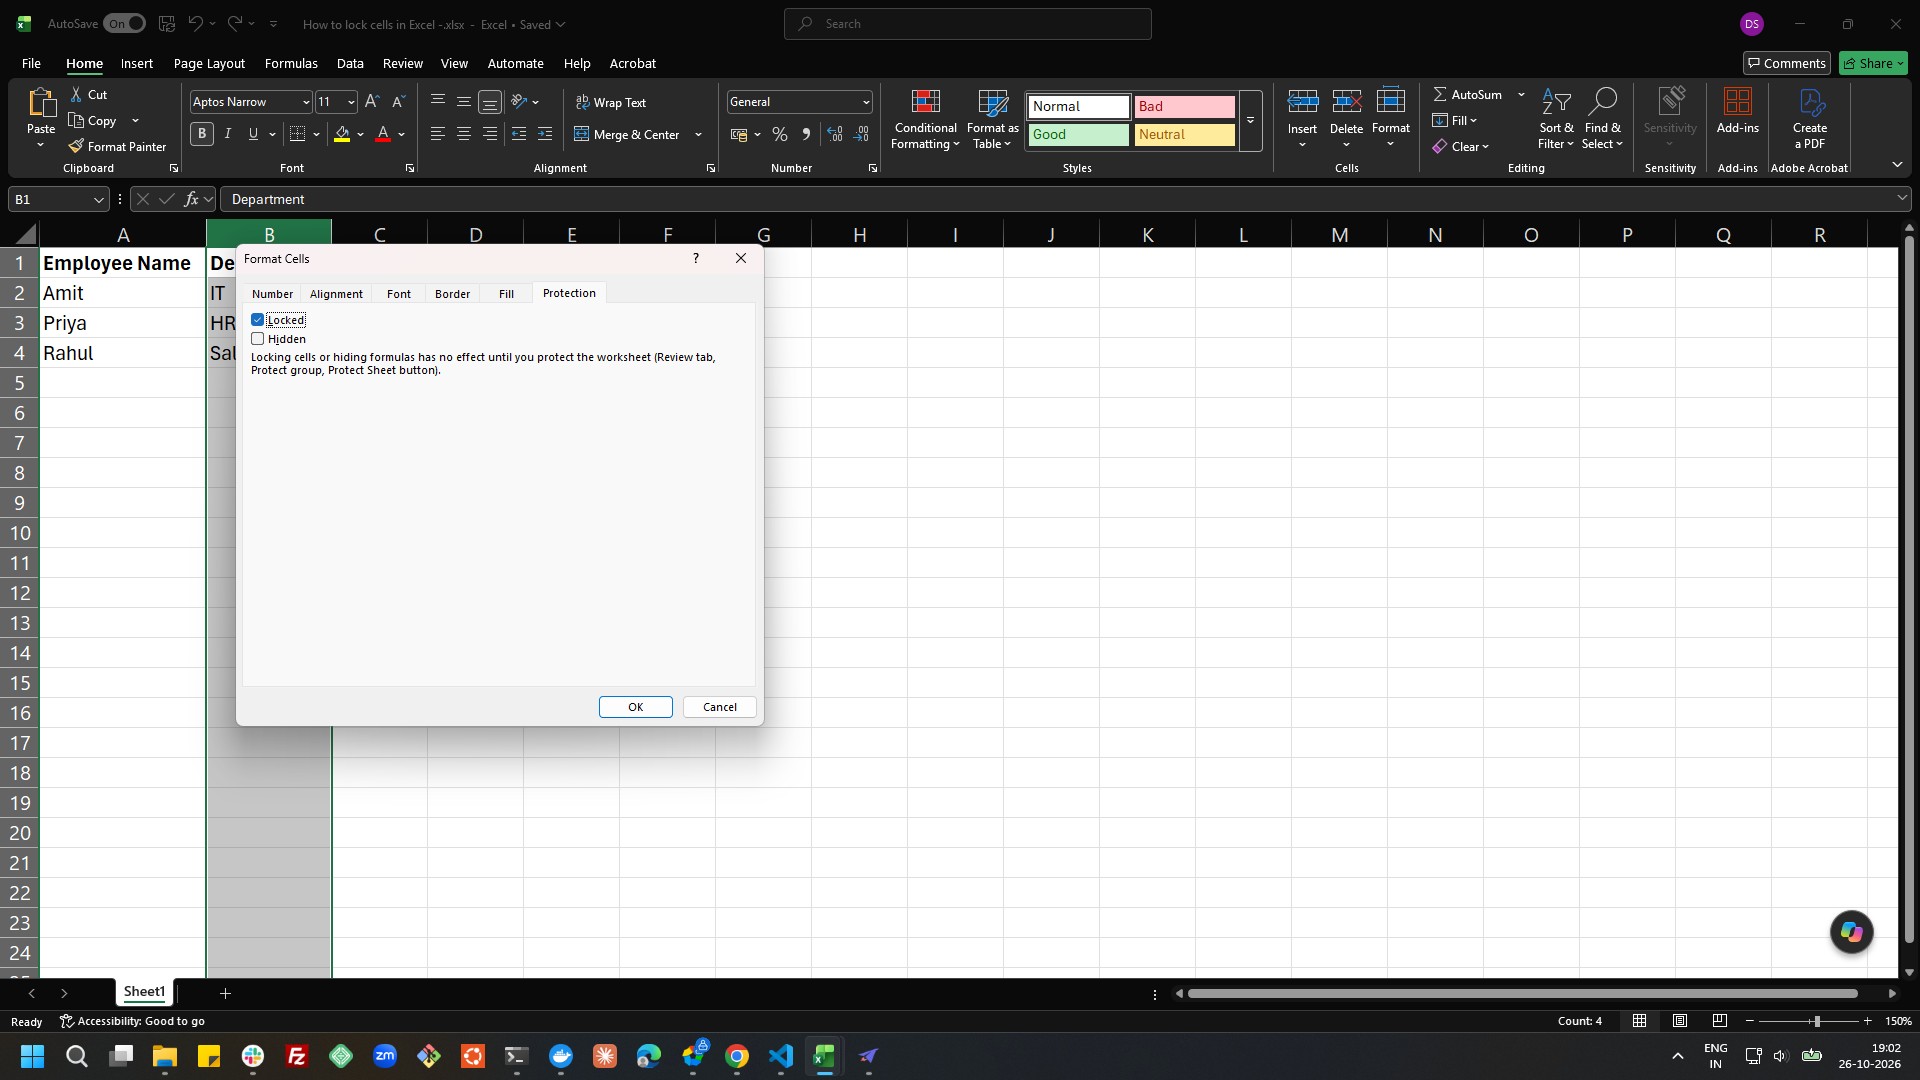
Click the Locked checkbox in the Format Cells dialog to change the lock status of the selected cells to Locked
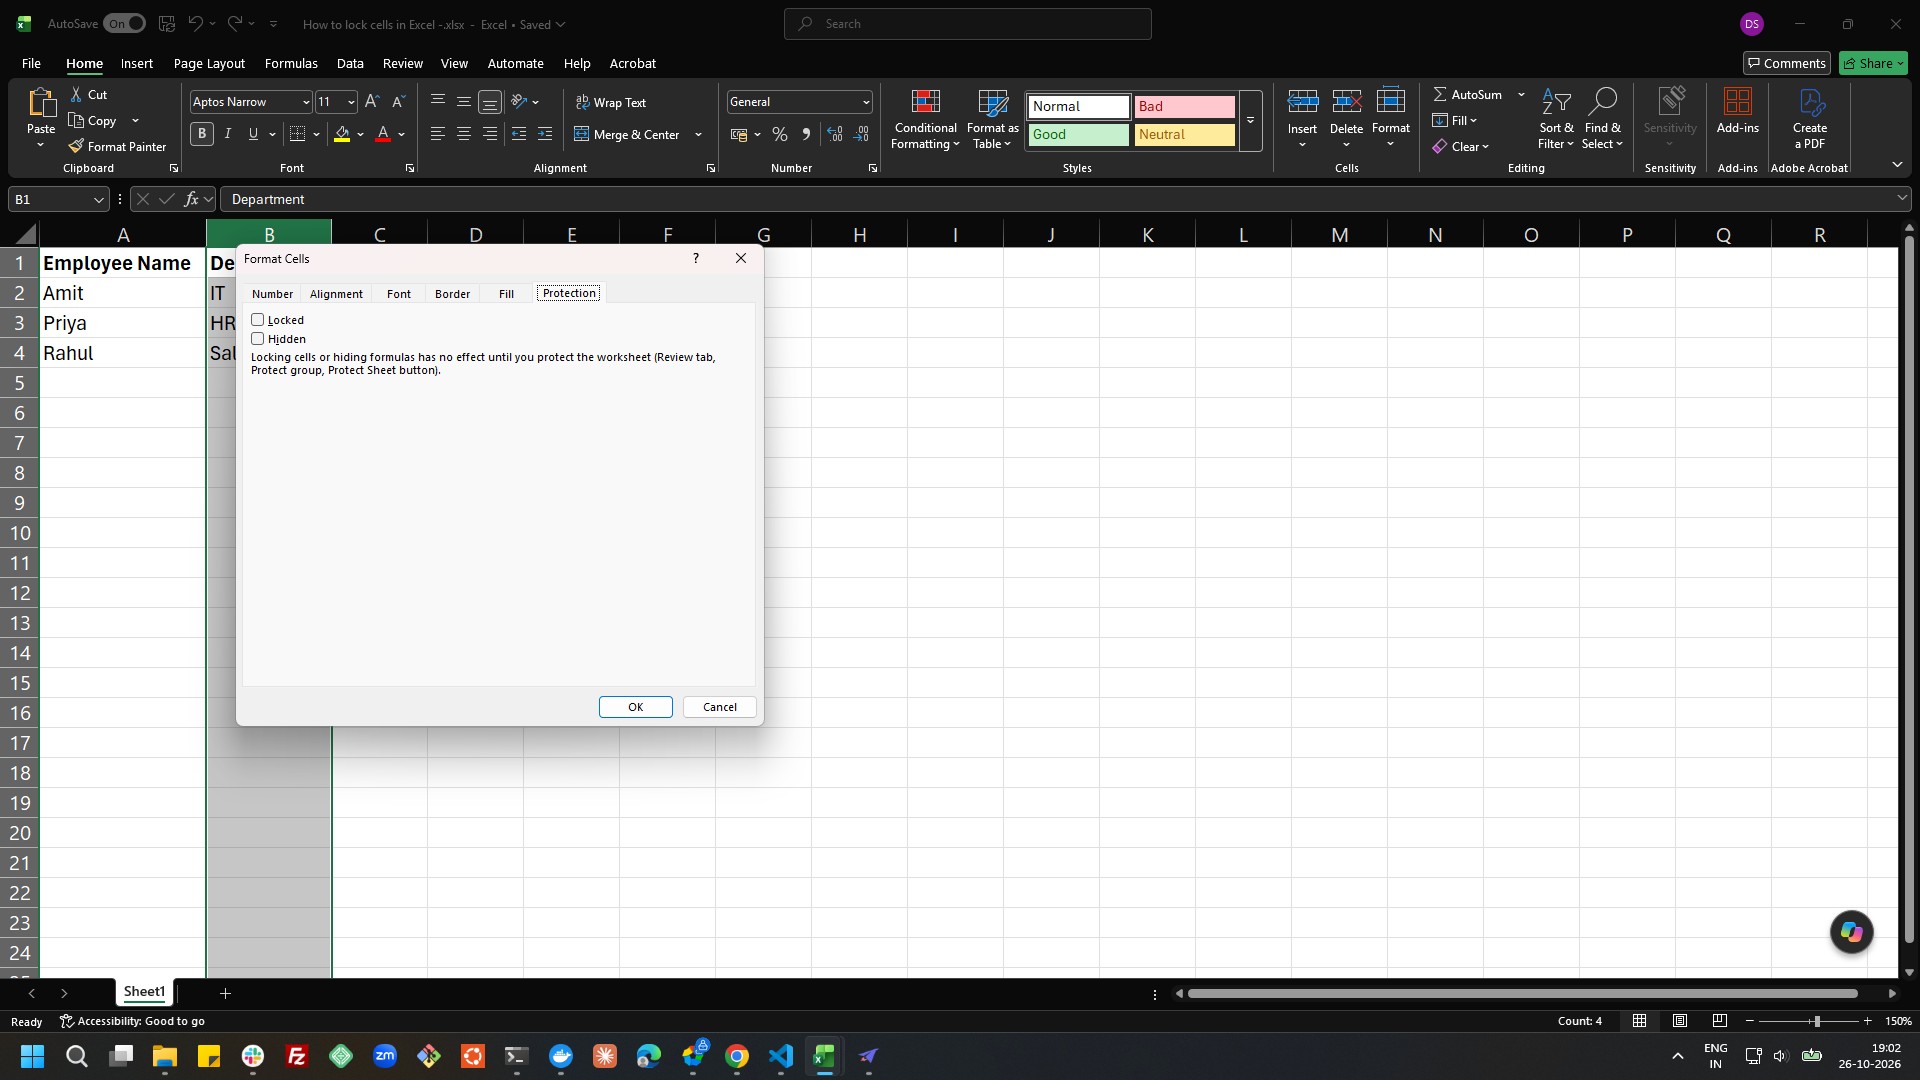
Click the OK button at the bottom of the Format Cells dialog to apply your changes.
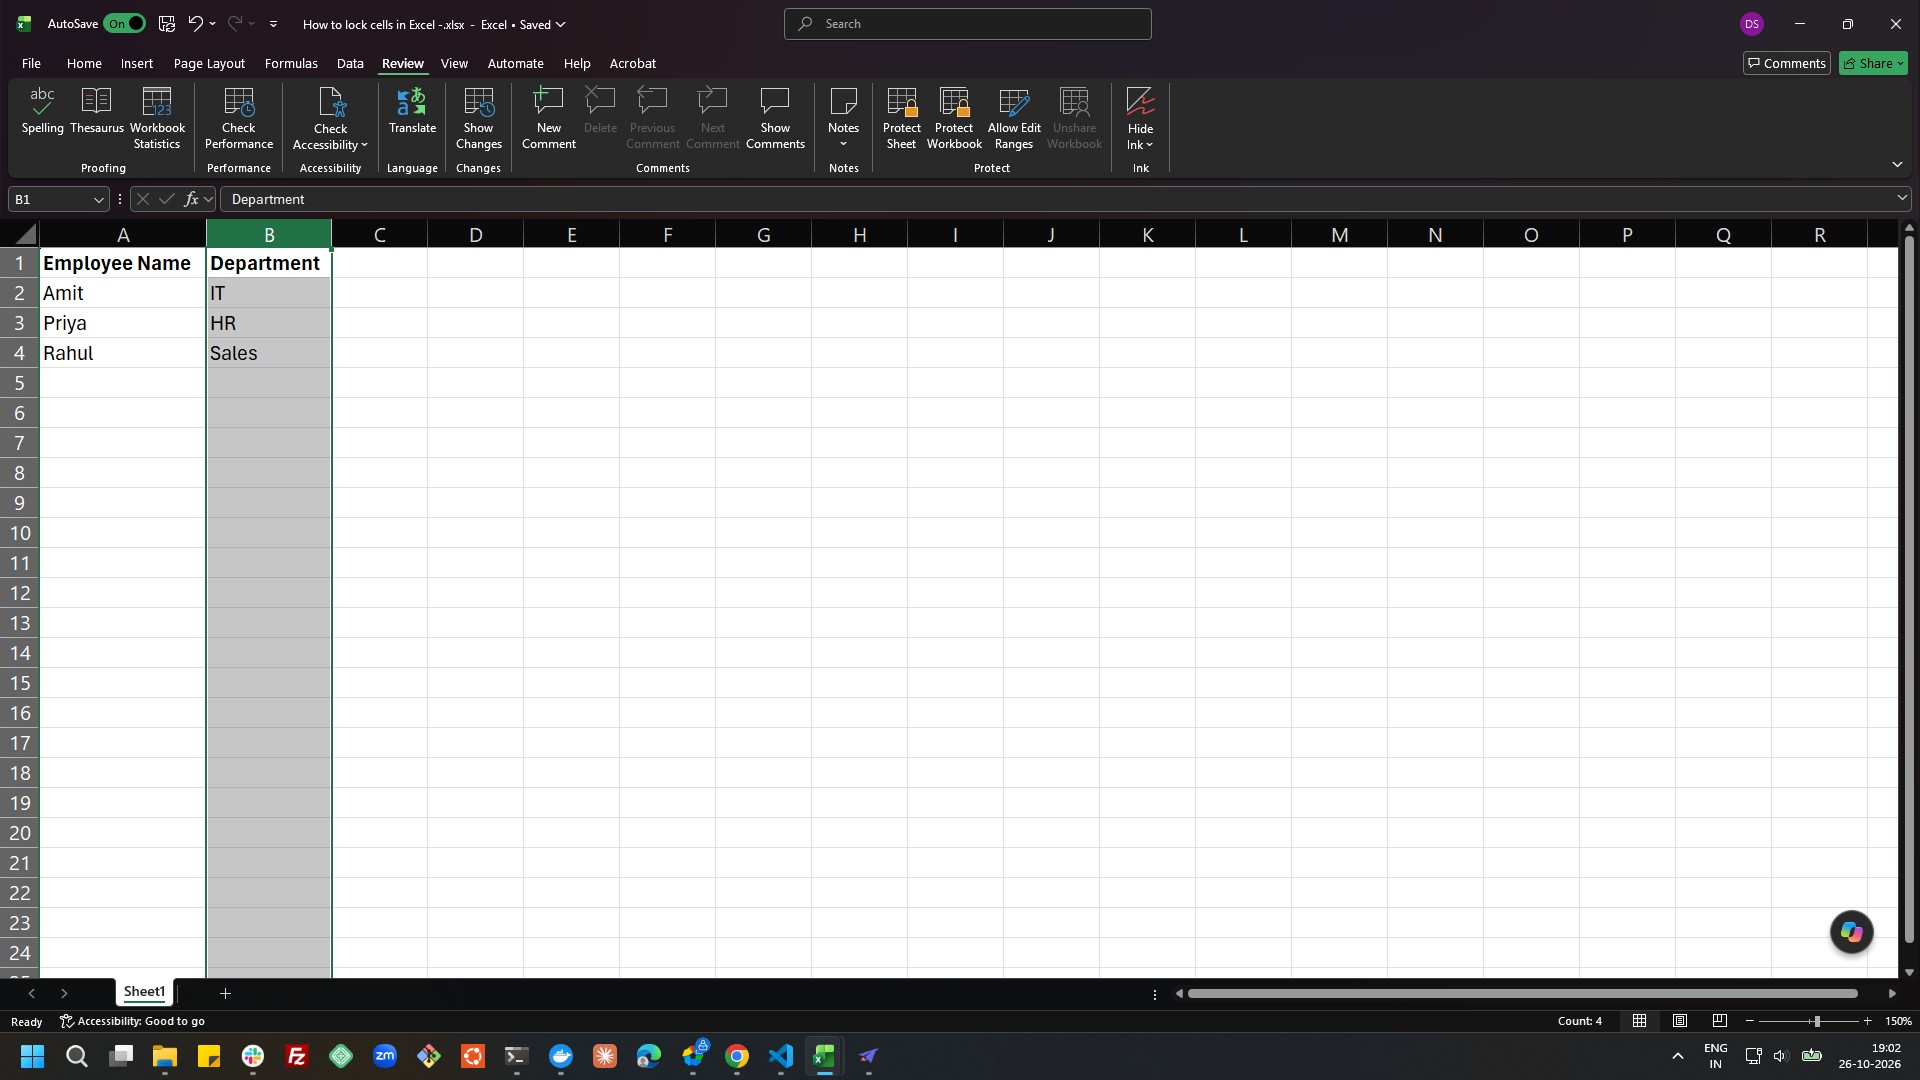
Click the Review tab in the top ribbon to access the worksheet protection and review tools.
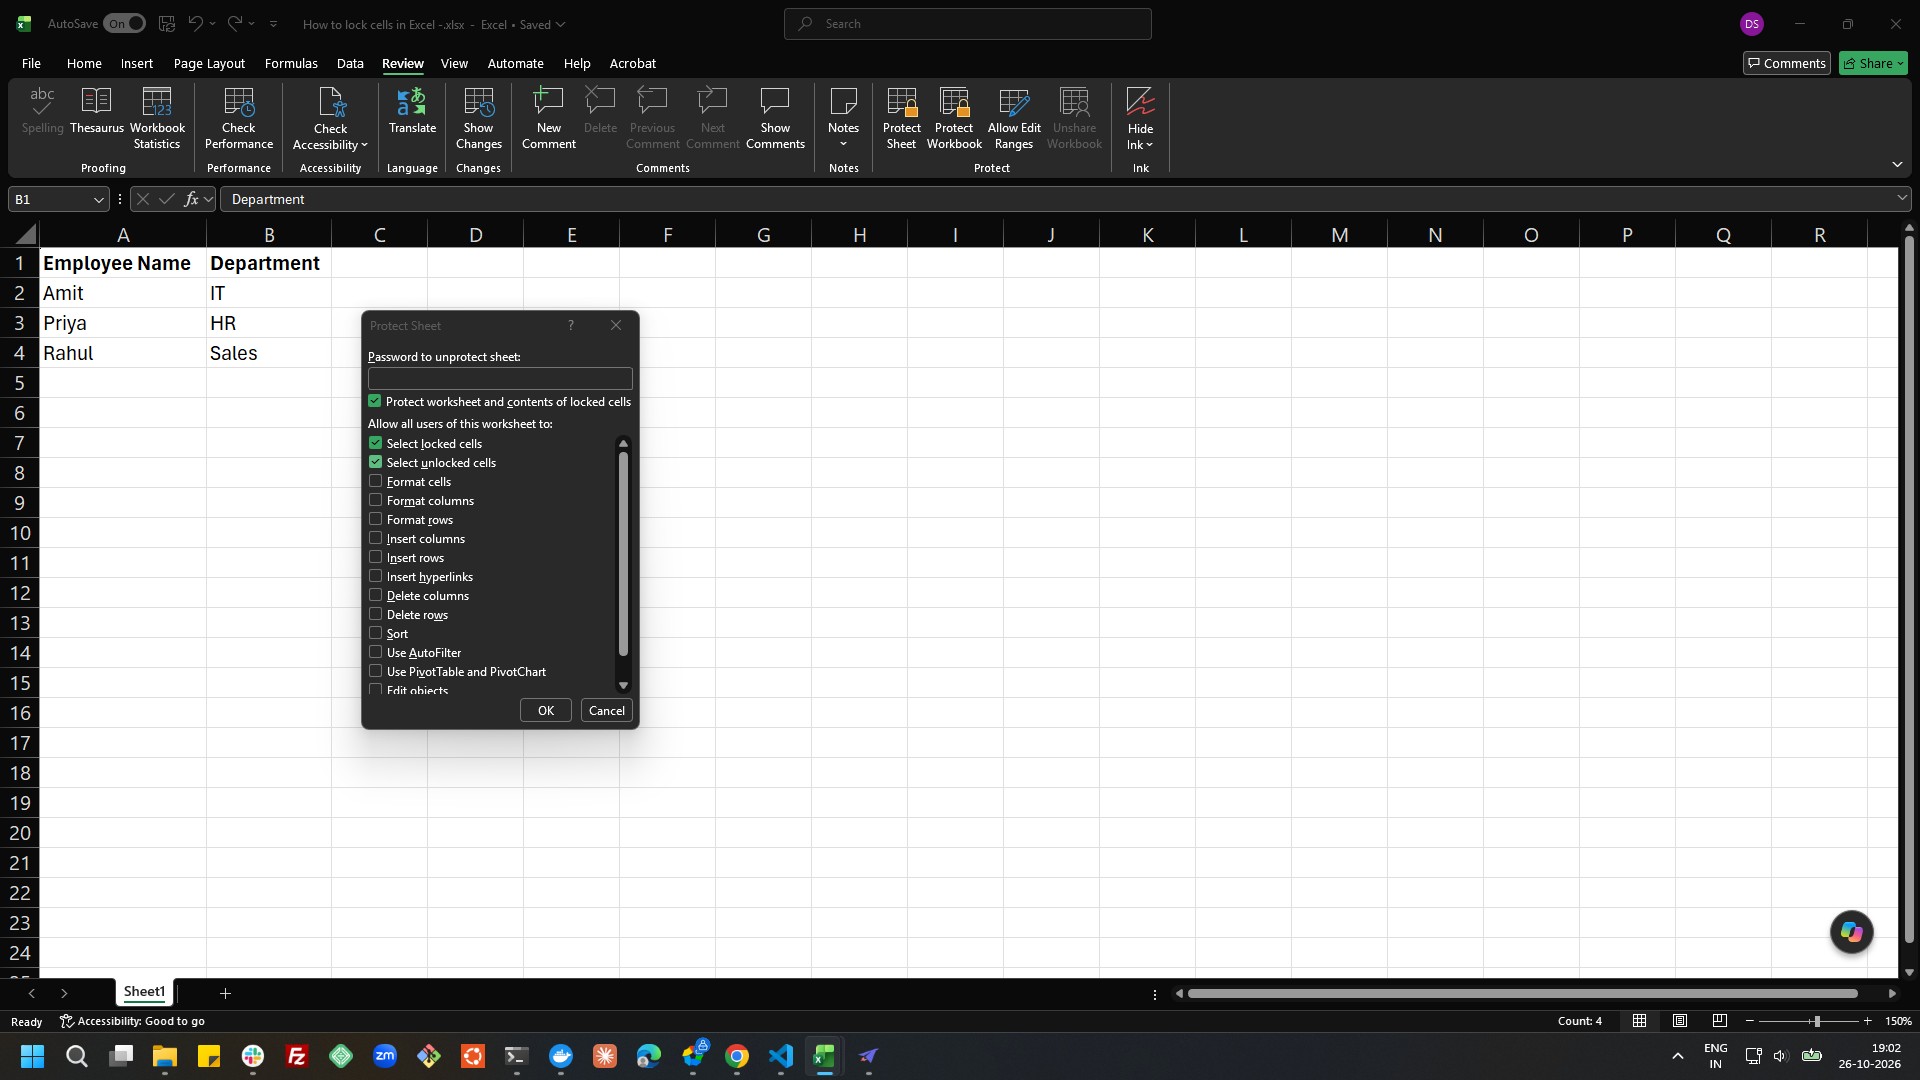
Click the Protect Sheet button in the ribbon toolbar to restrict editing access to the current worksheet.
Click the OK button at the bottom of the Protect Sheet dialog to apply your settings. Ensure Select unlocked cells is checked.
Test whether the cells are locked by editing the Department cell value
Duplicate this template, swap in your own screens, and share it with your team. Free to start — no credit card.
Fill out the form and we'll get back to you as soon as possible.
Tell us about your team and we'll find the right plan together.