1
Click under the title
Click at the end of the title, where the timeline should start.
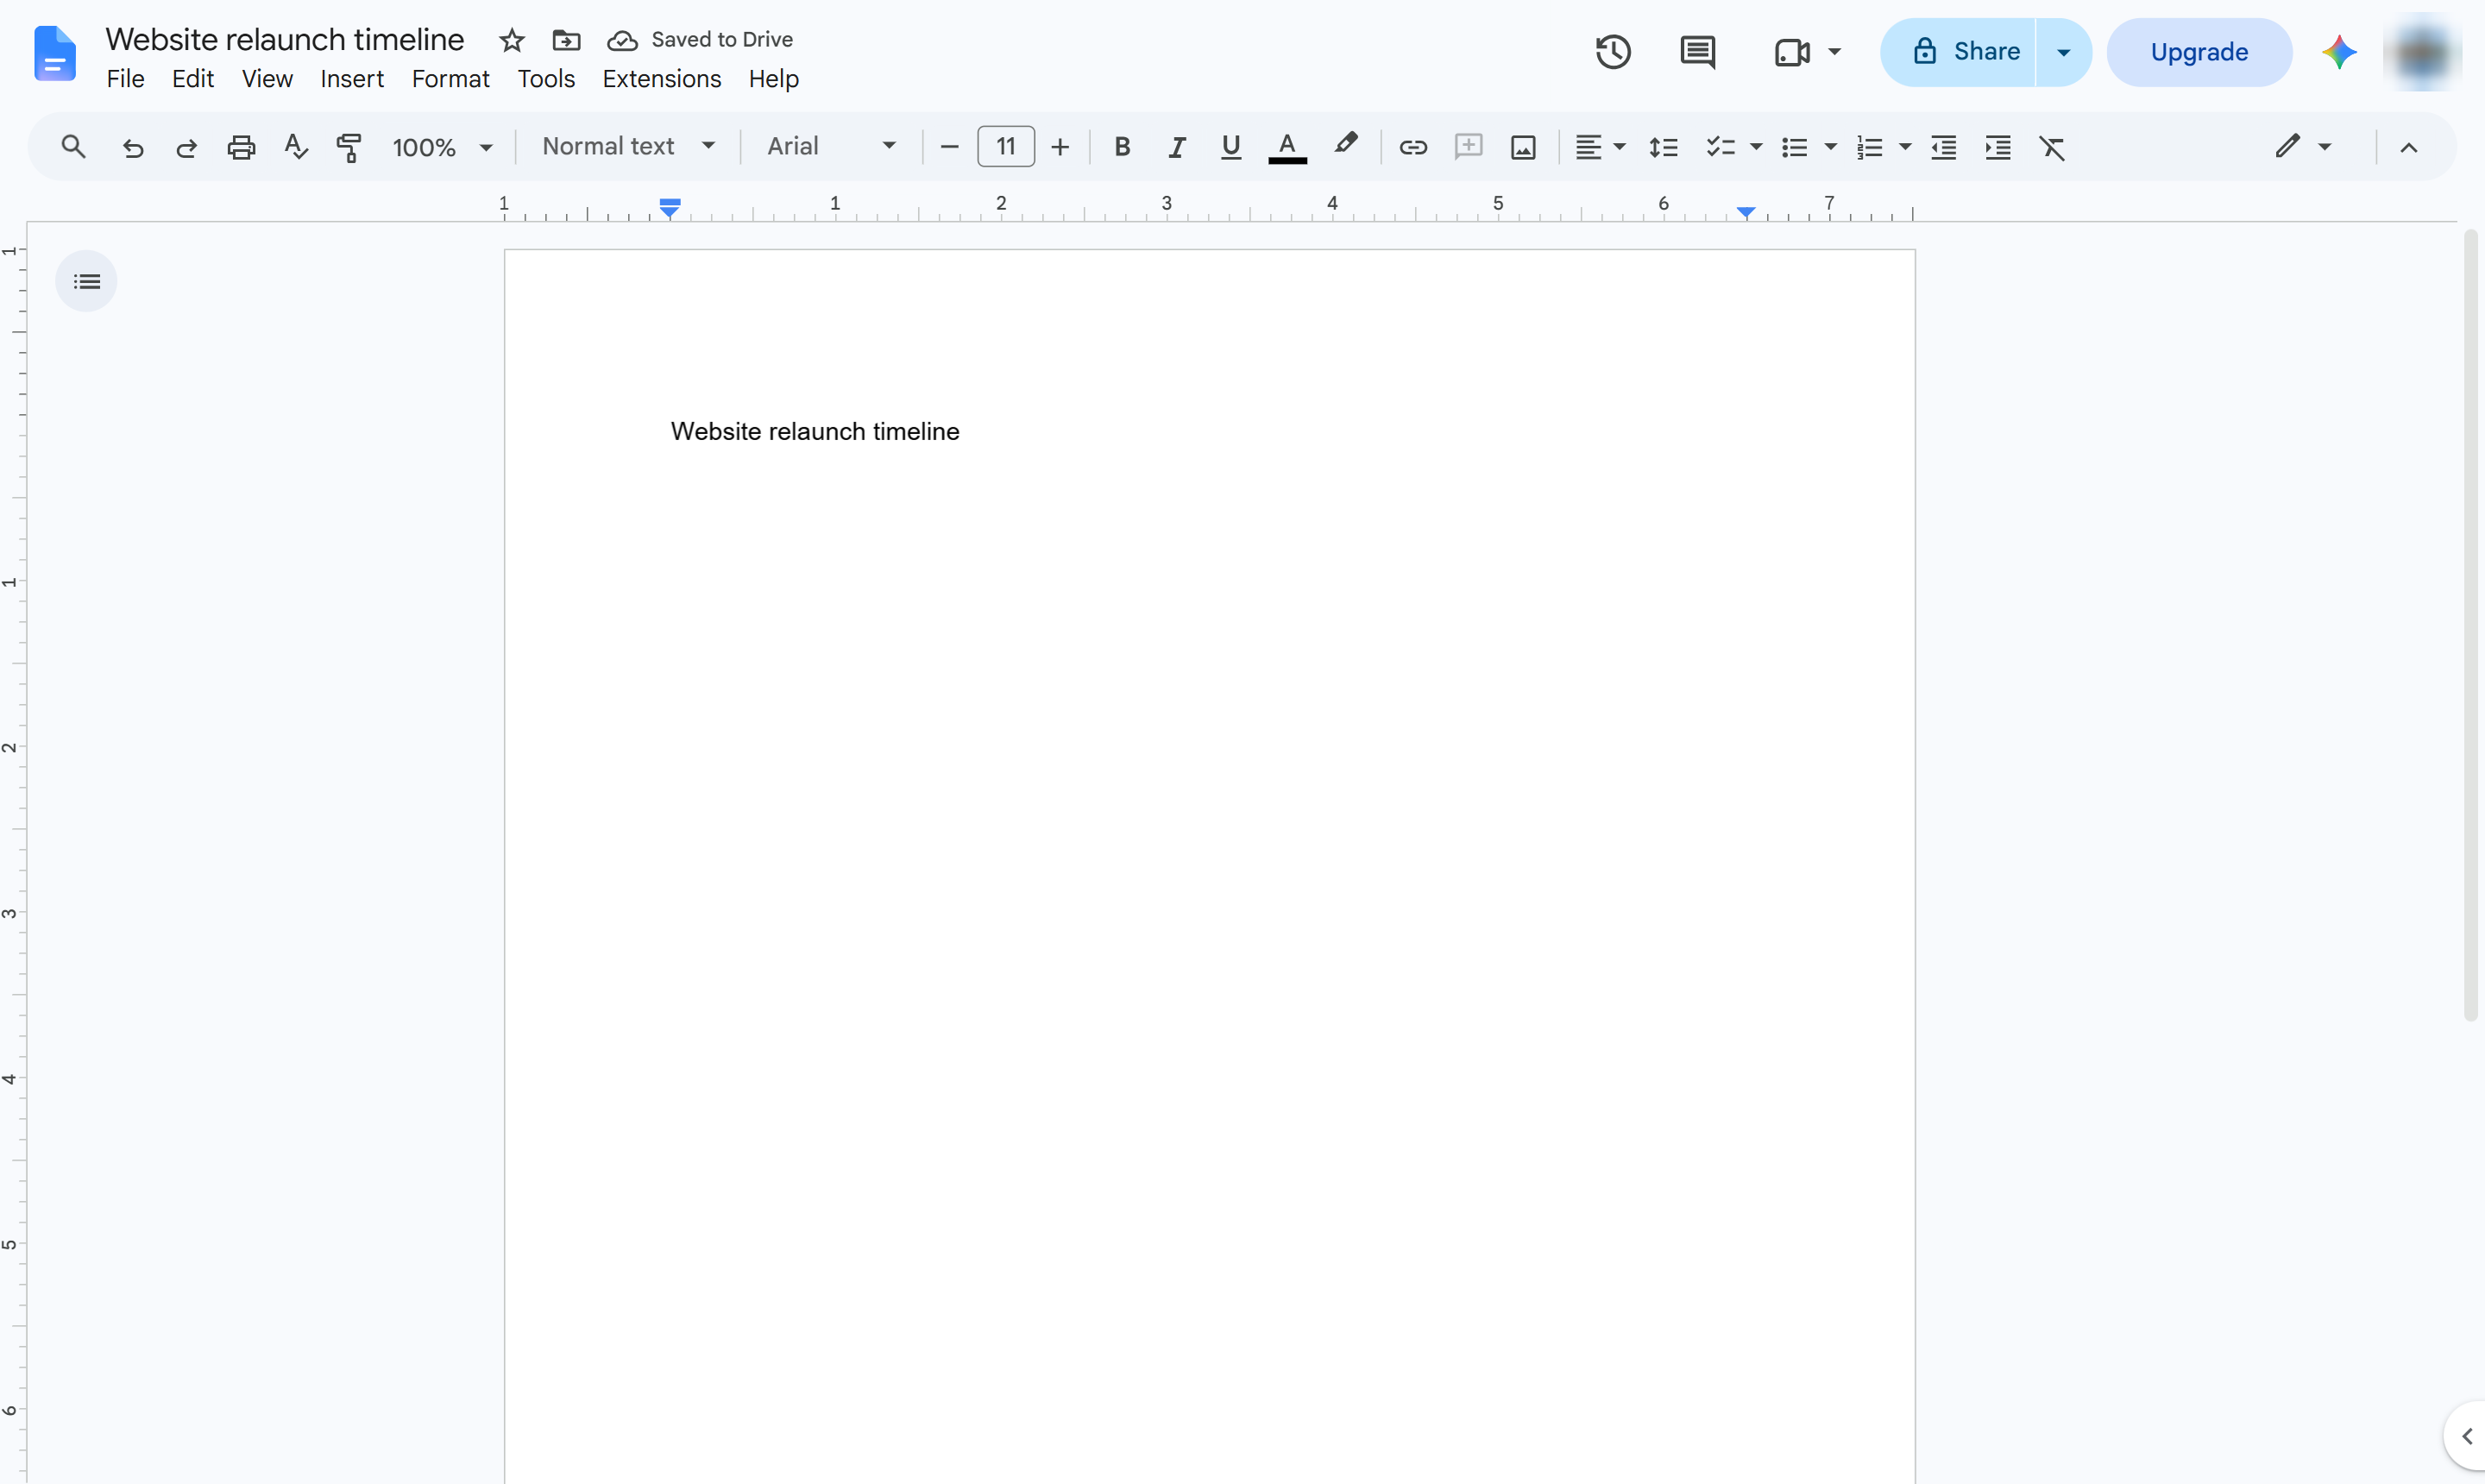

Lay out dates and milestones side by side with a table, for a simple timeline.
Click at the end of the title, where the timeline should start.
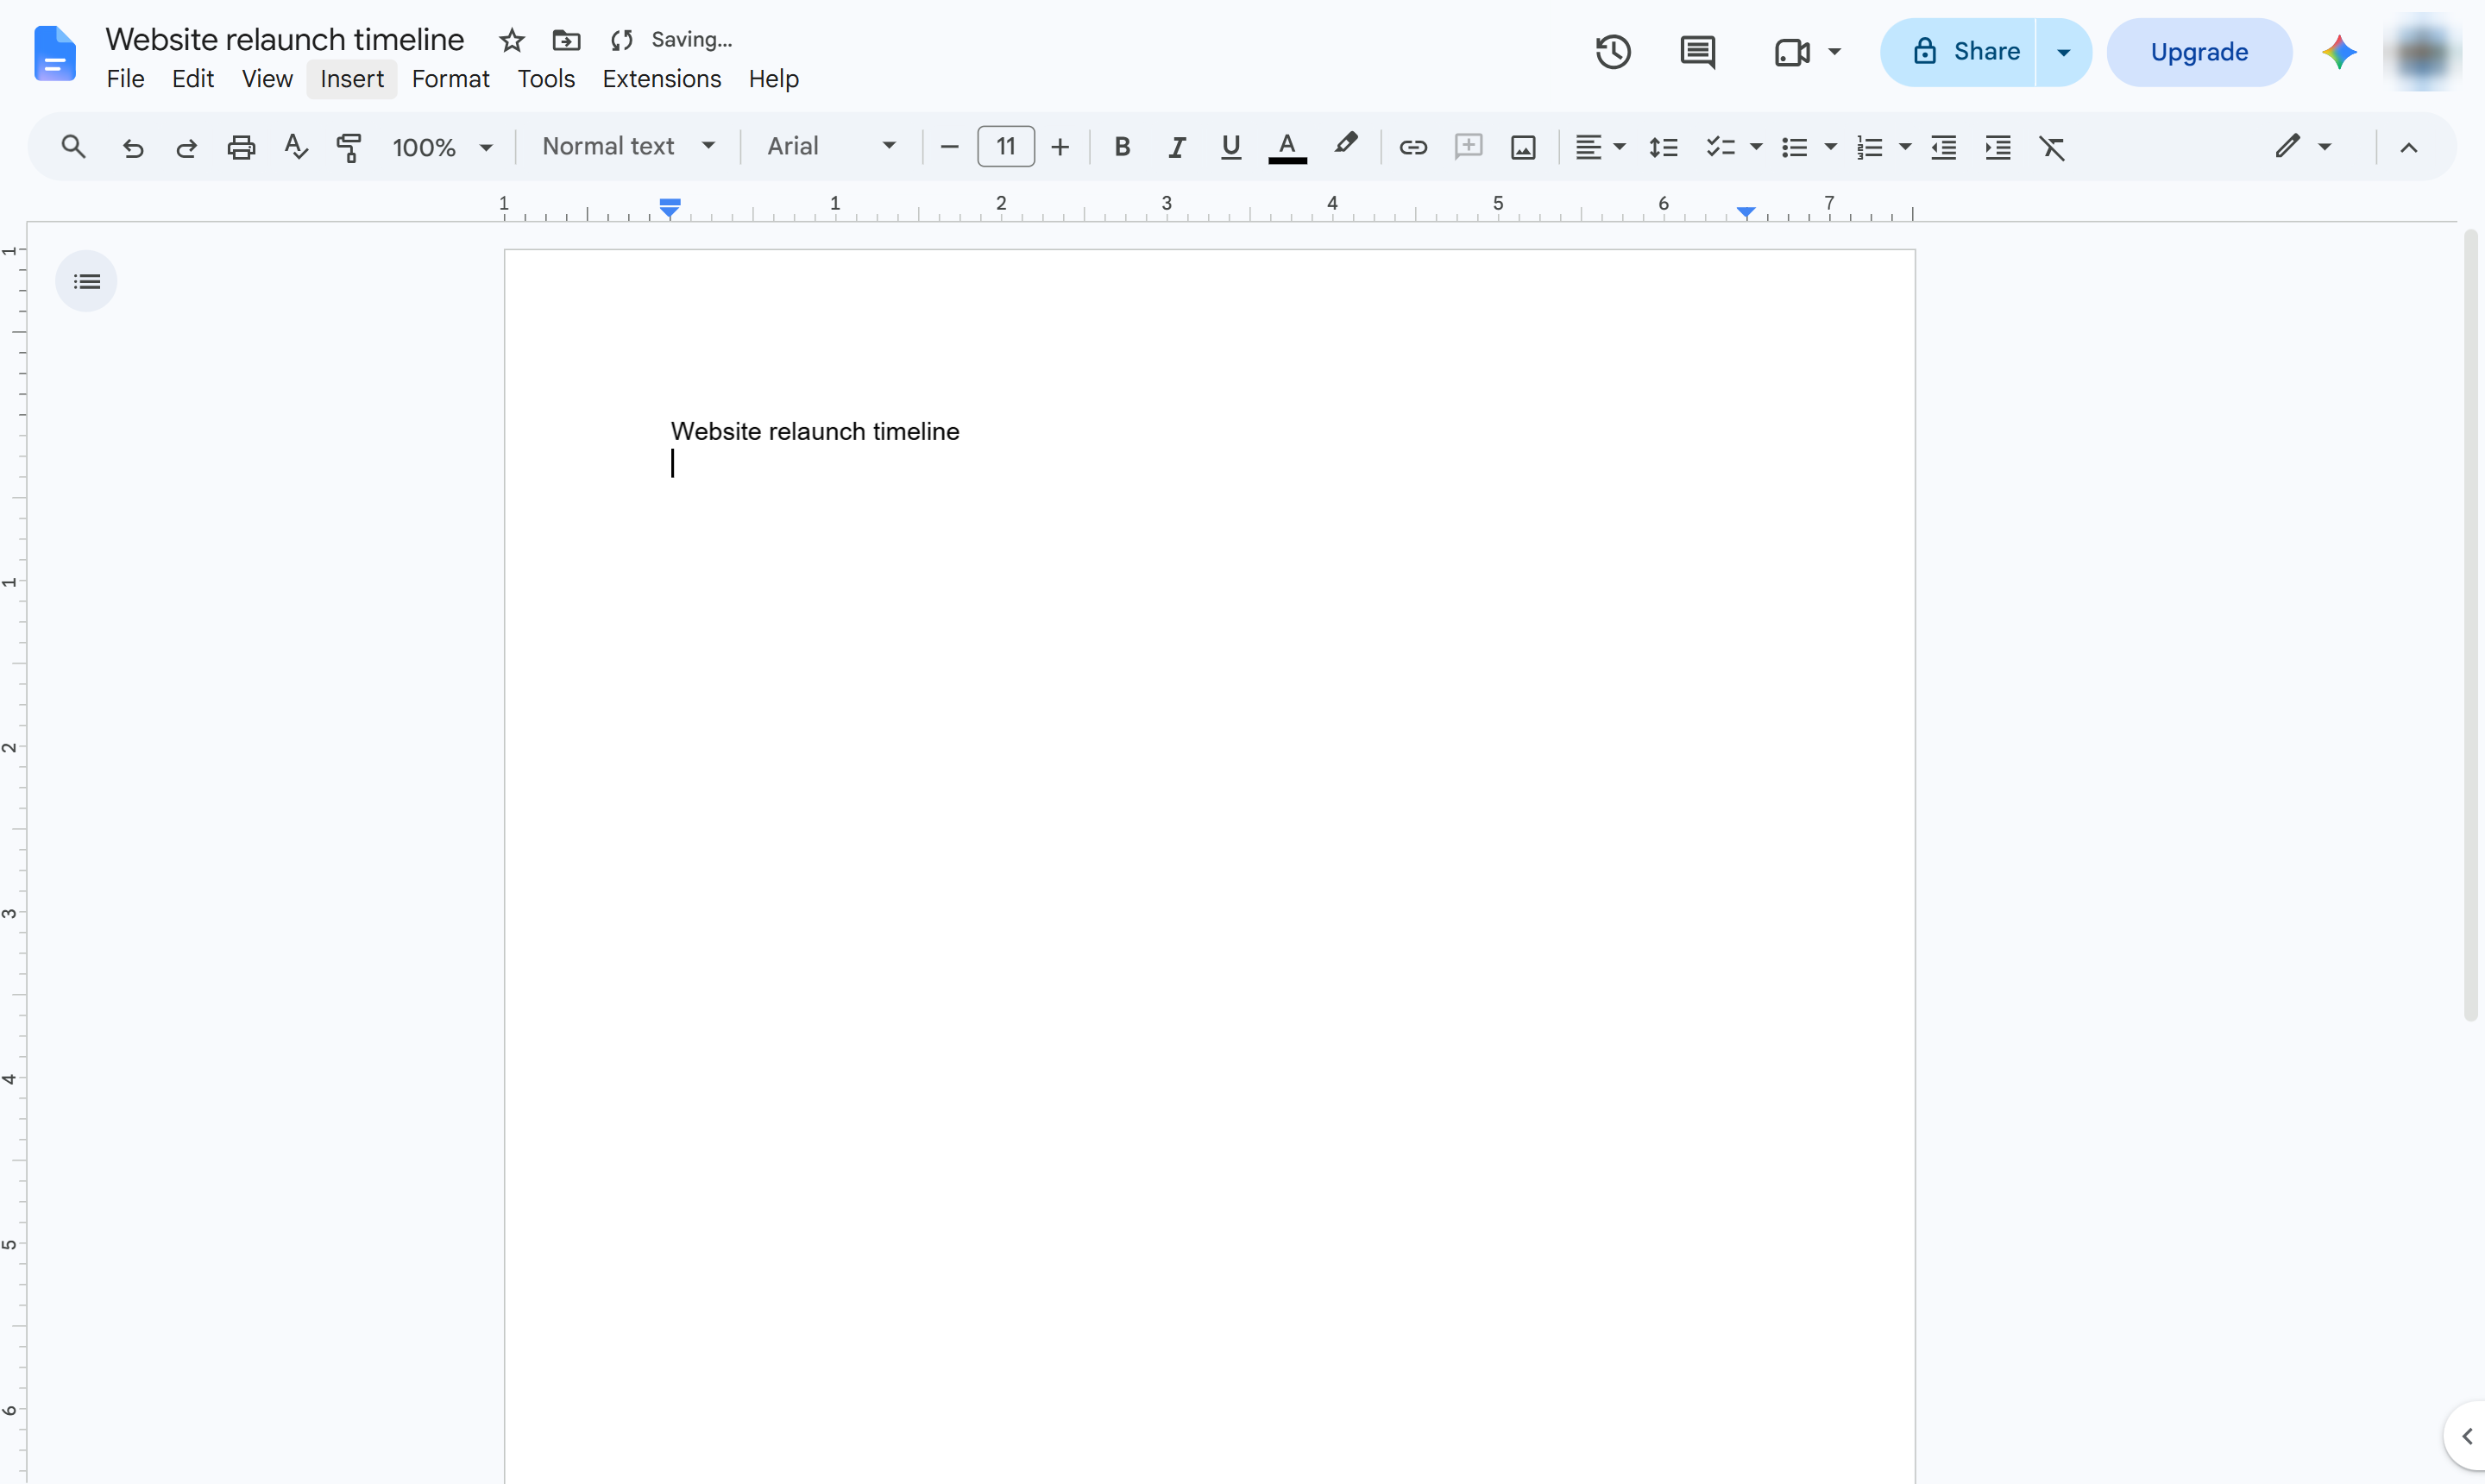
Start a new line for the timeline.
Open the Insert menu.
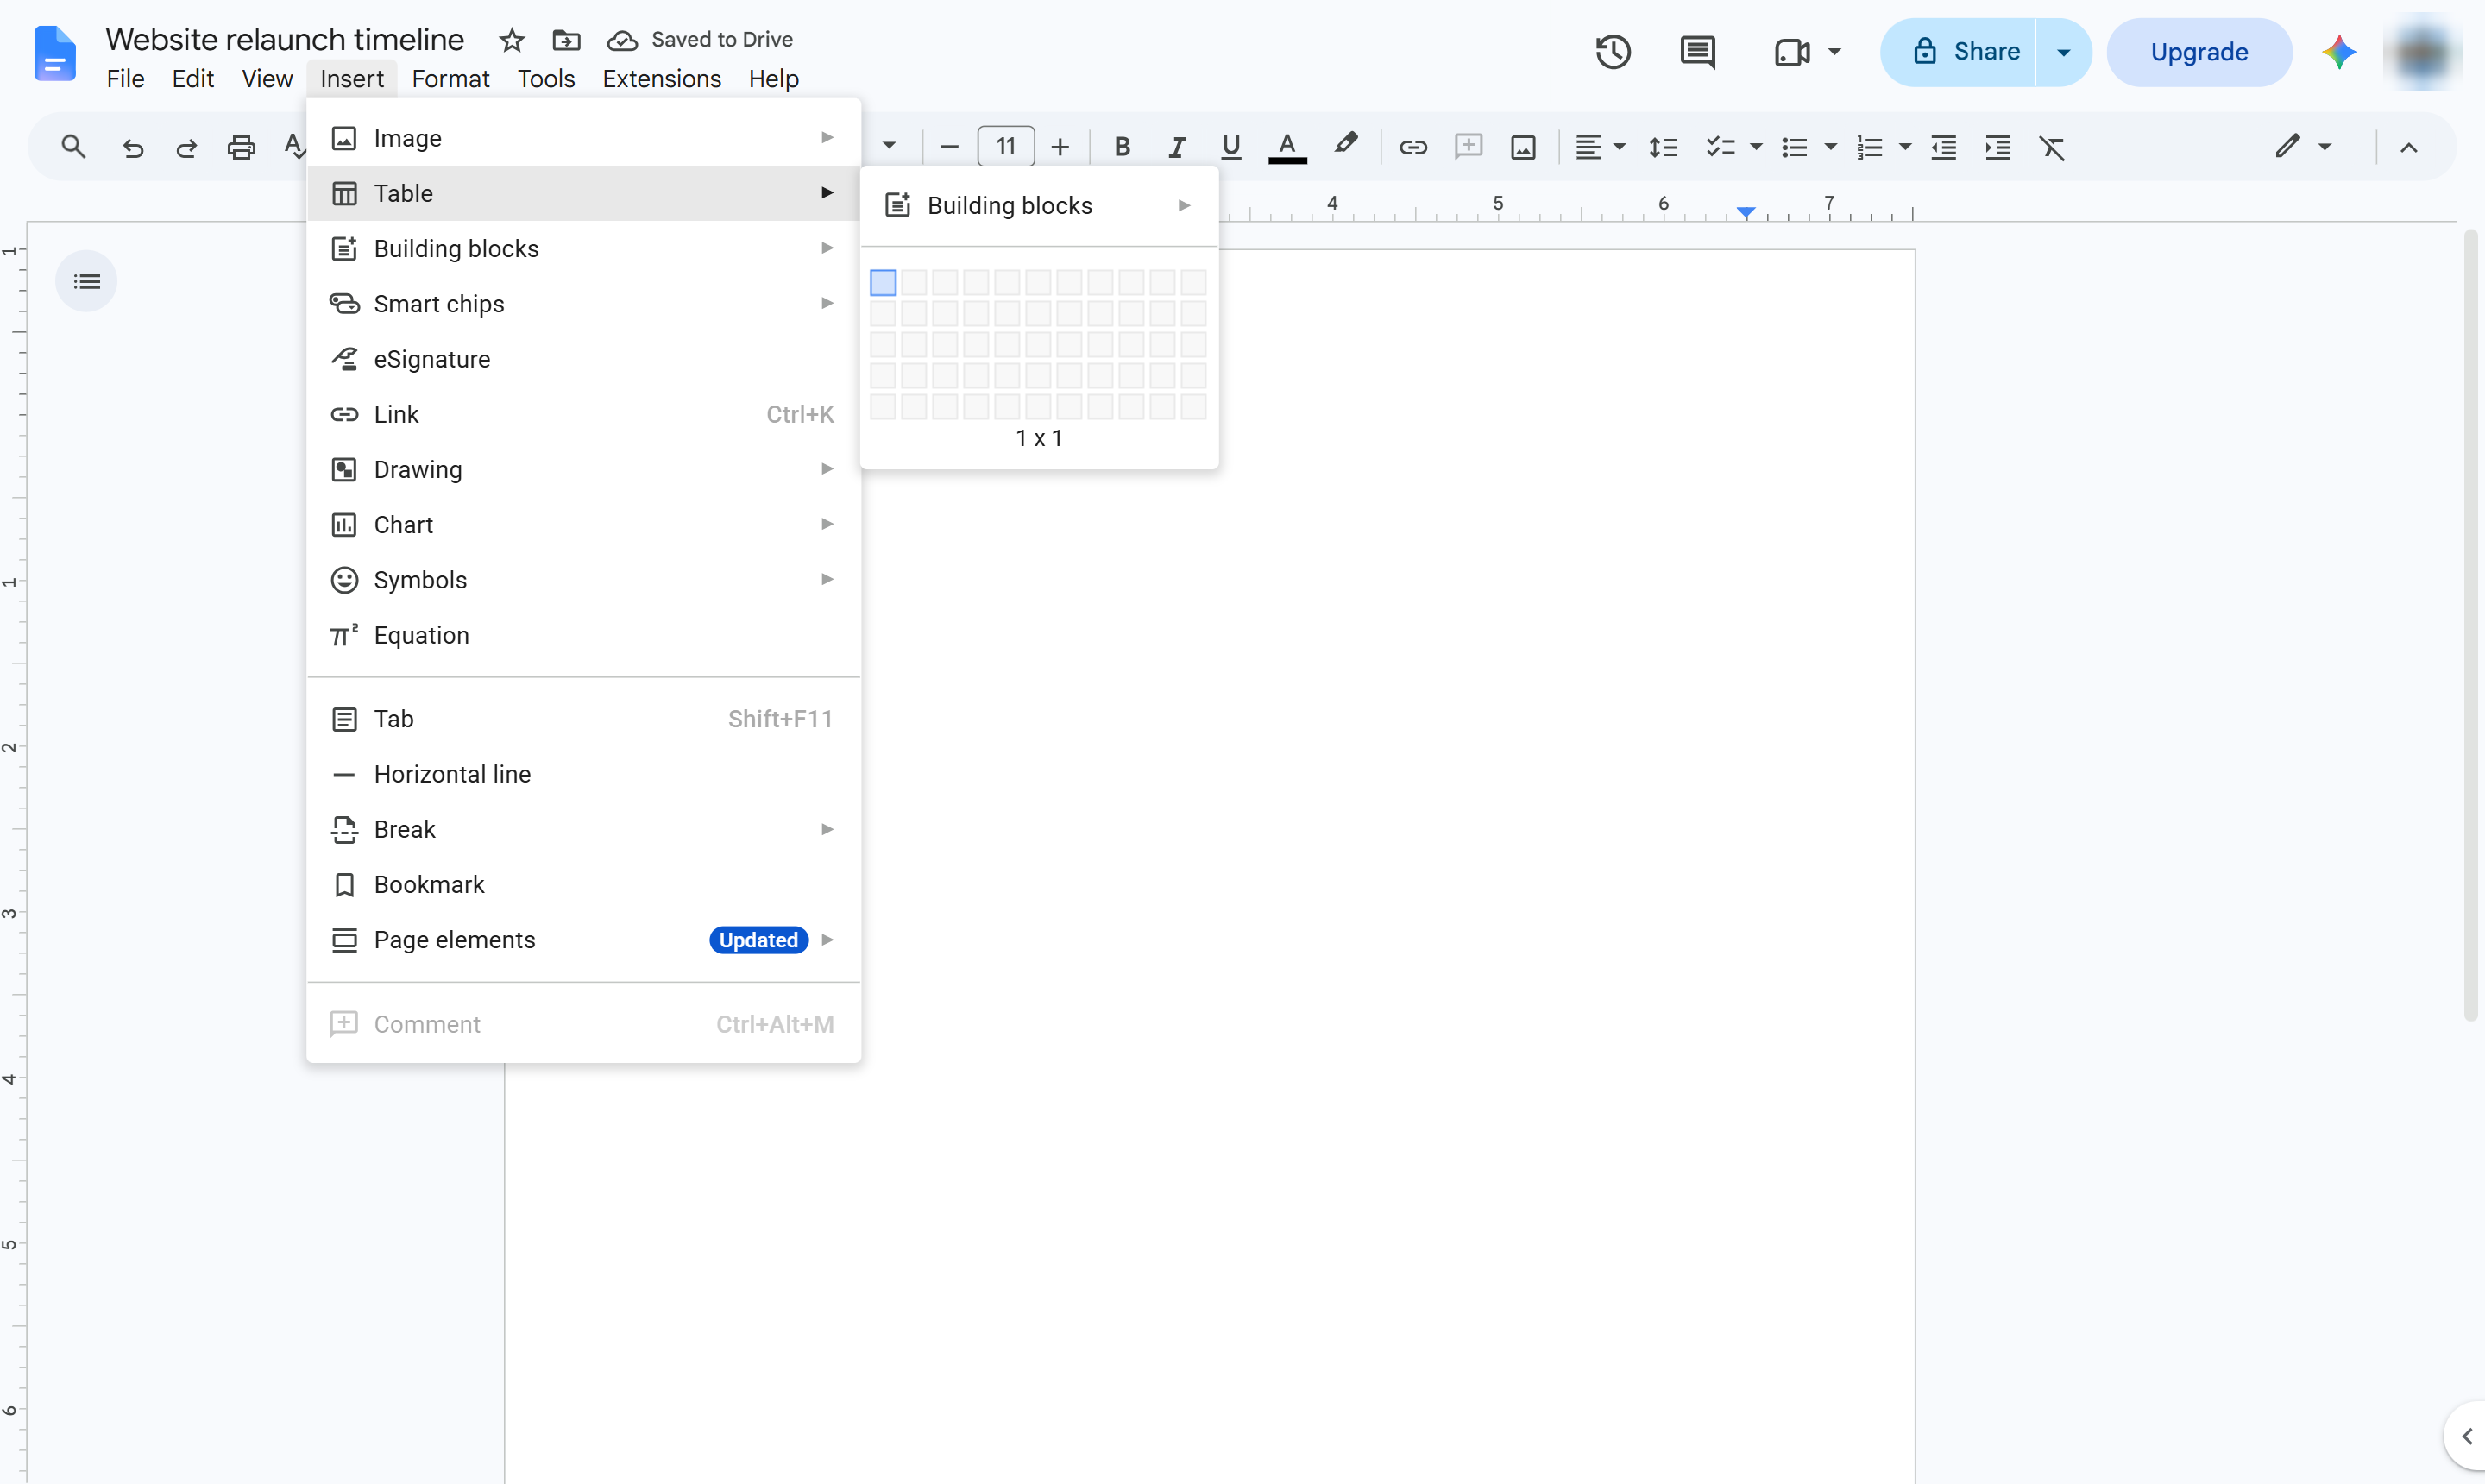
Hover over Table to open the size grid.
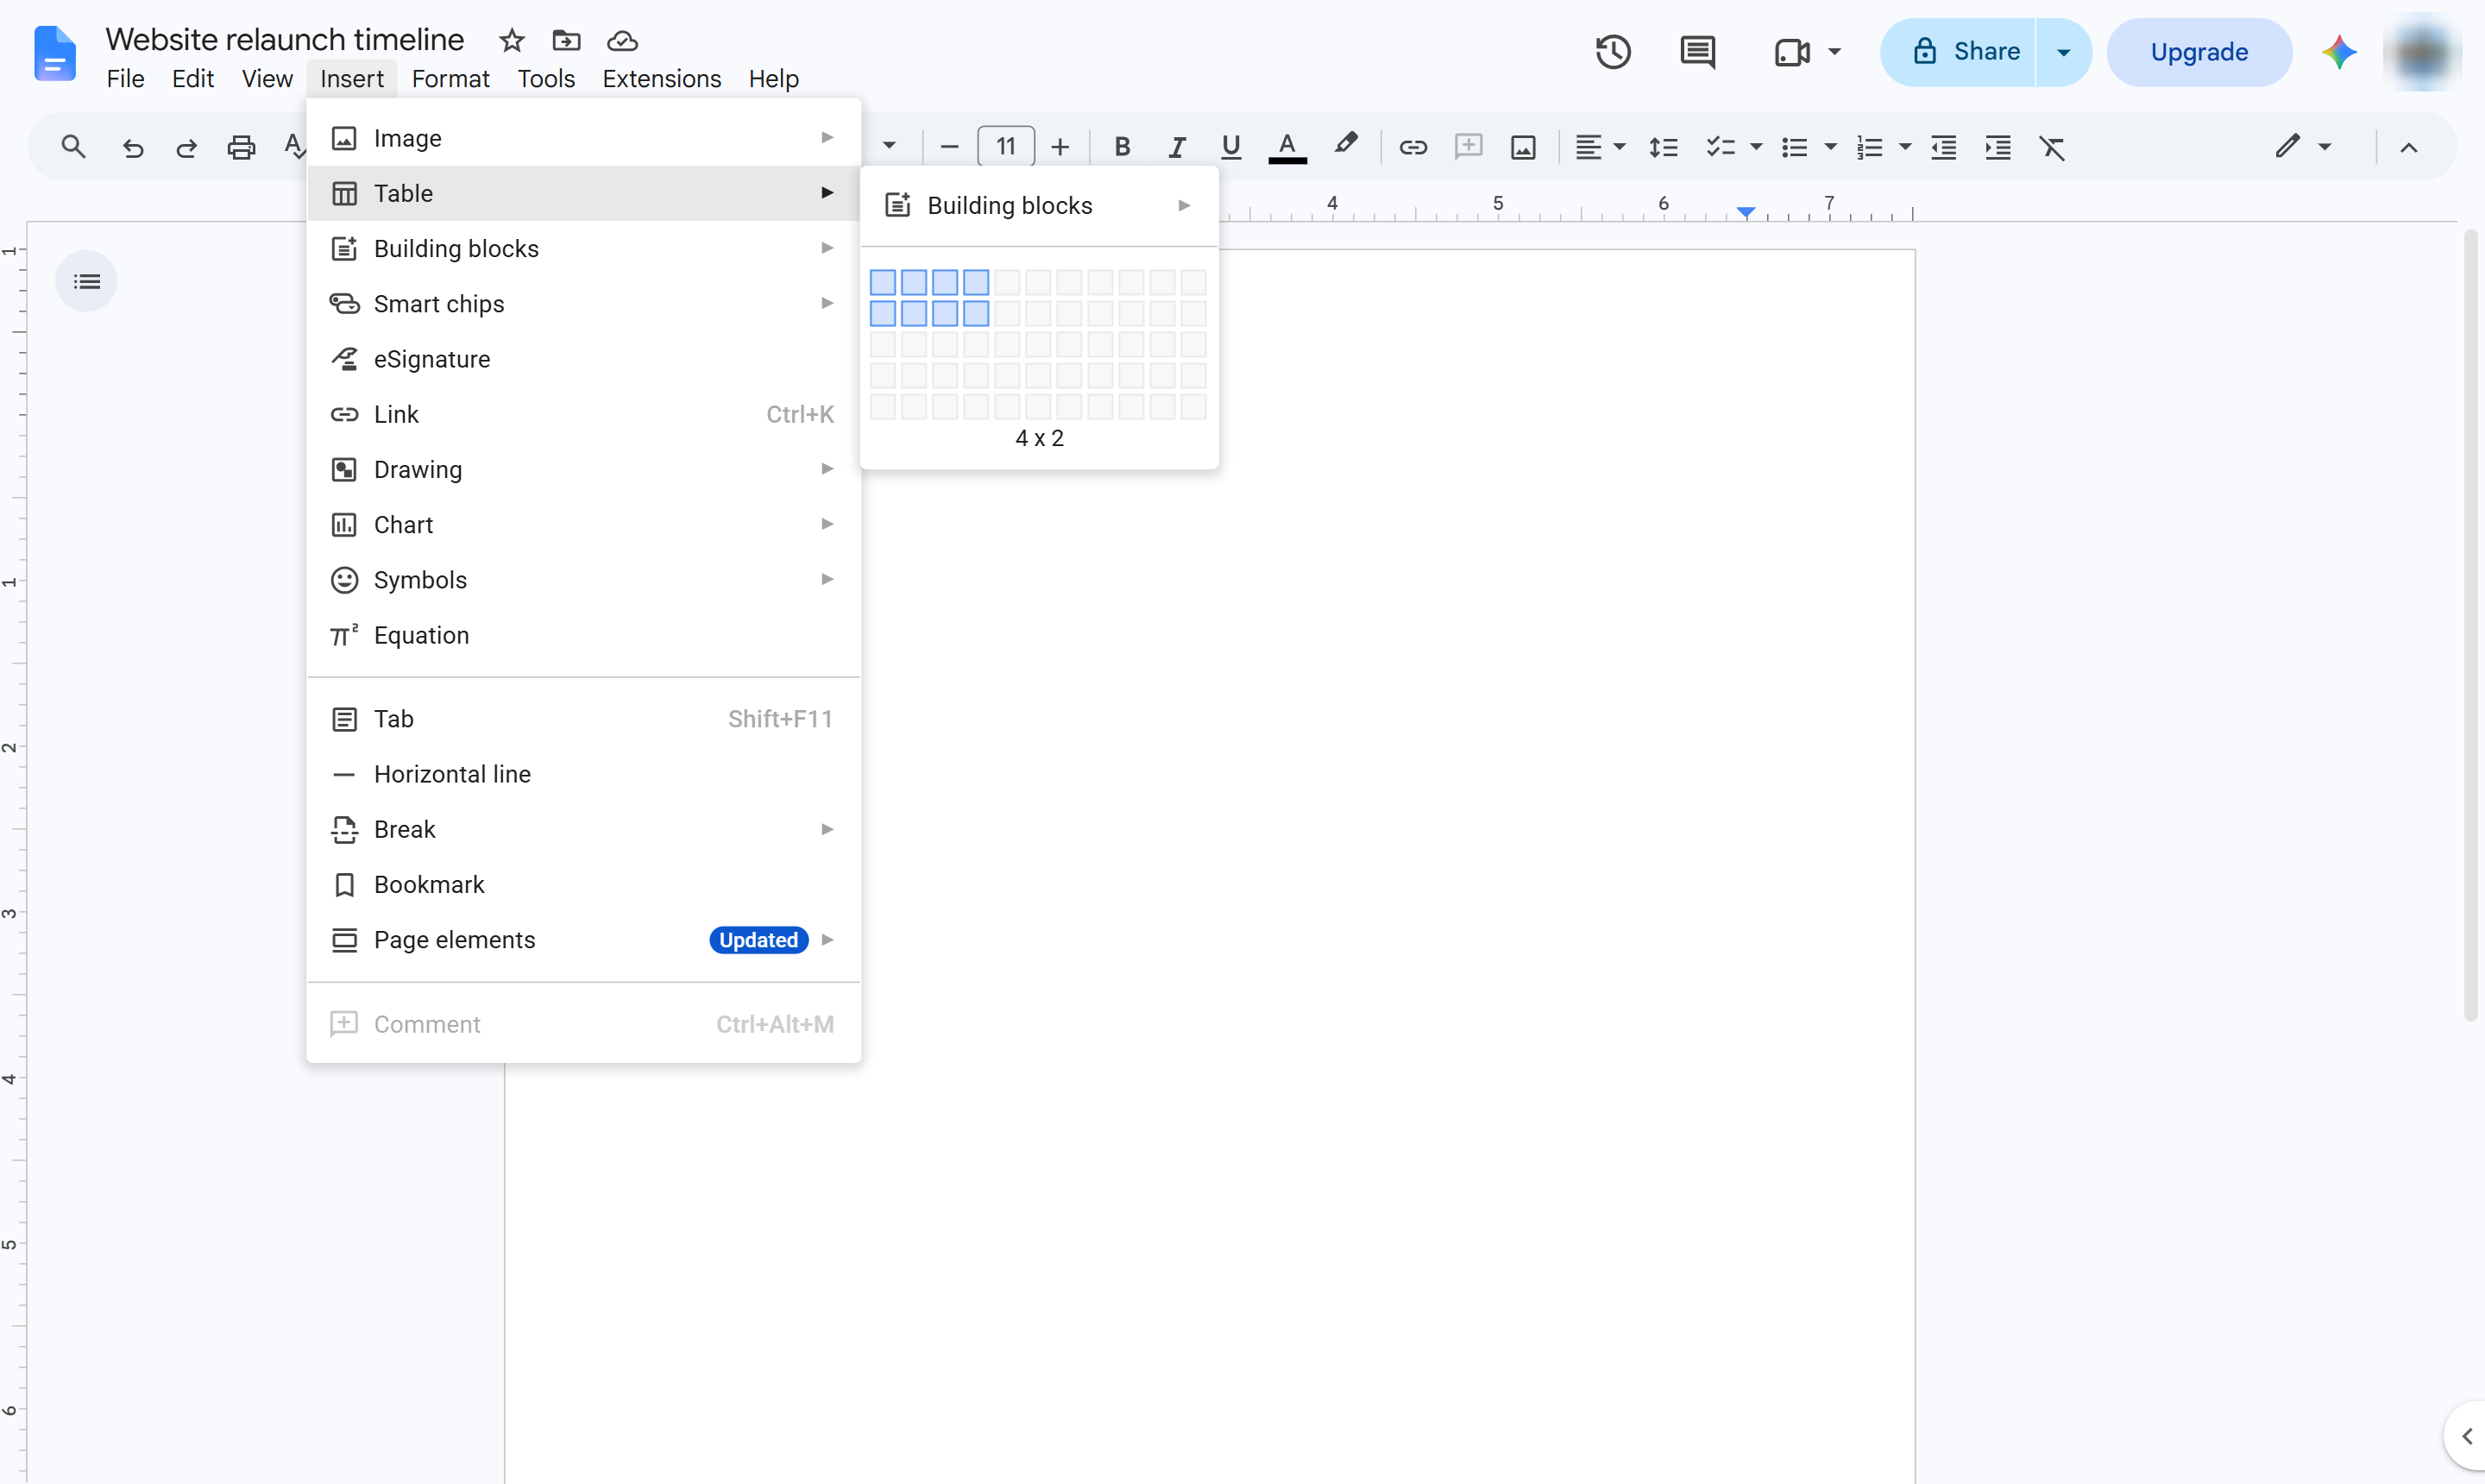
Pick one column per milestone and two rows - one for dates, one for what happens. Here, 4 x 2.
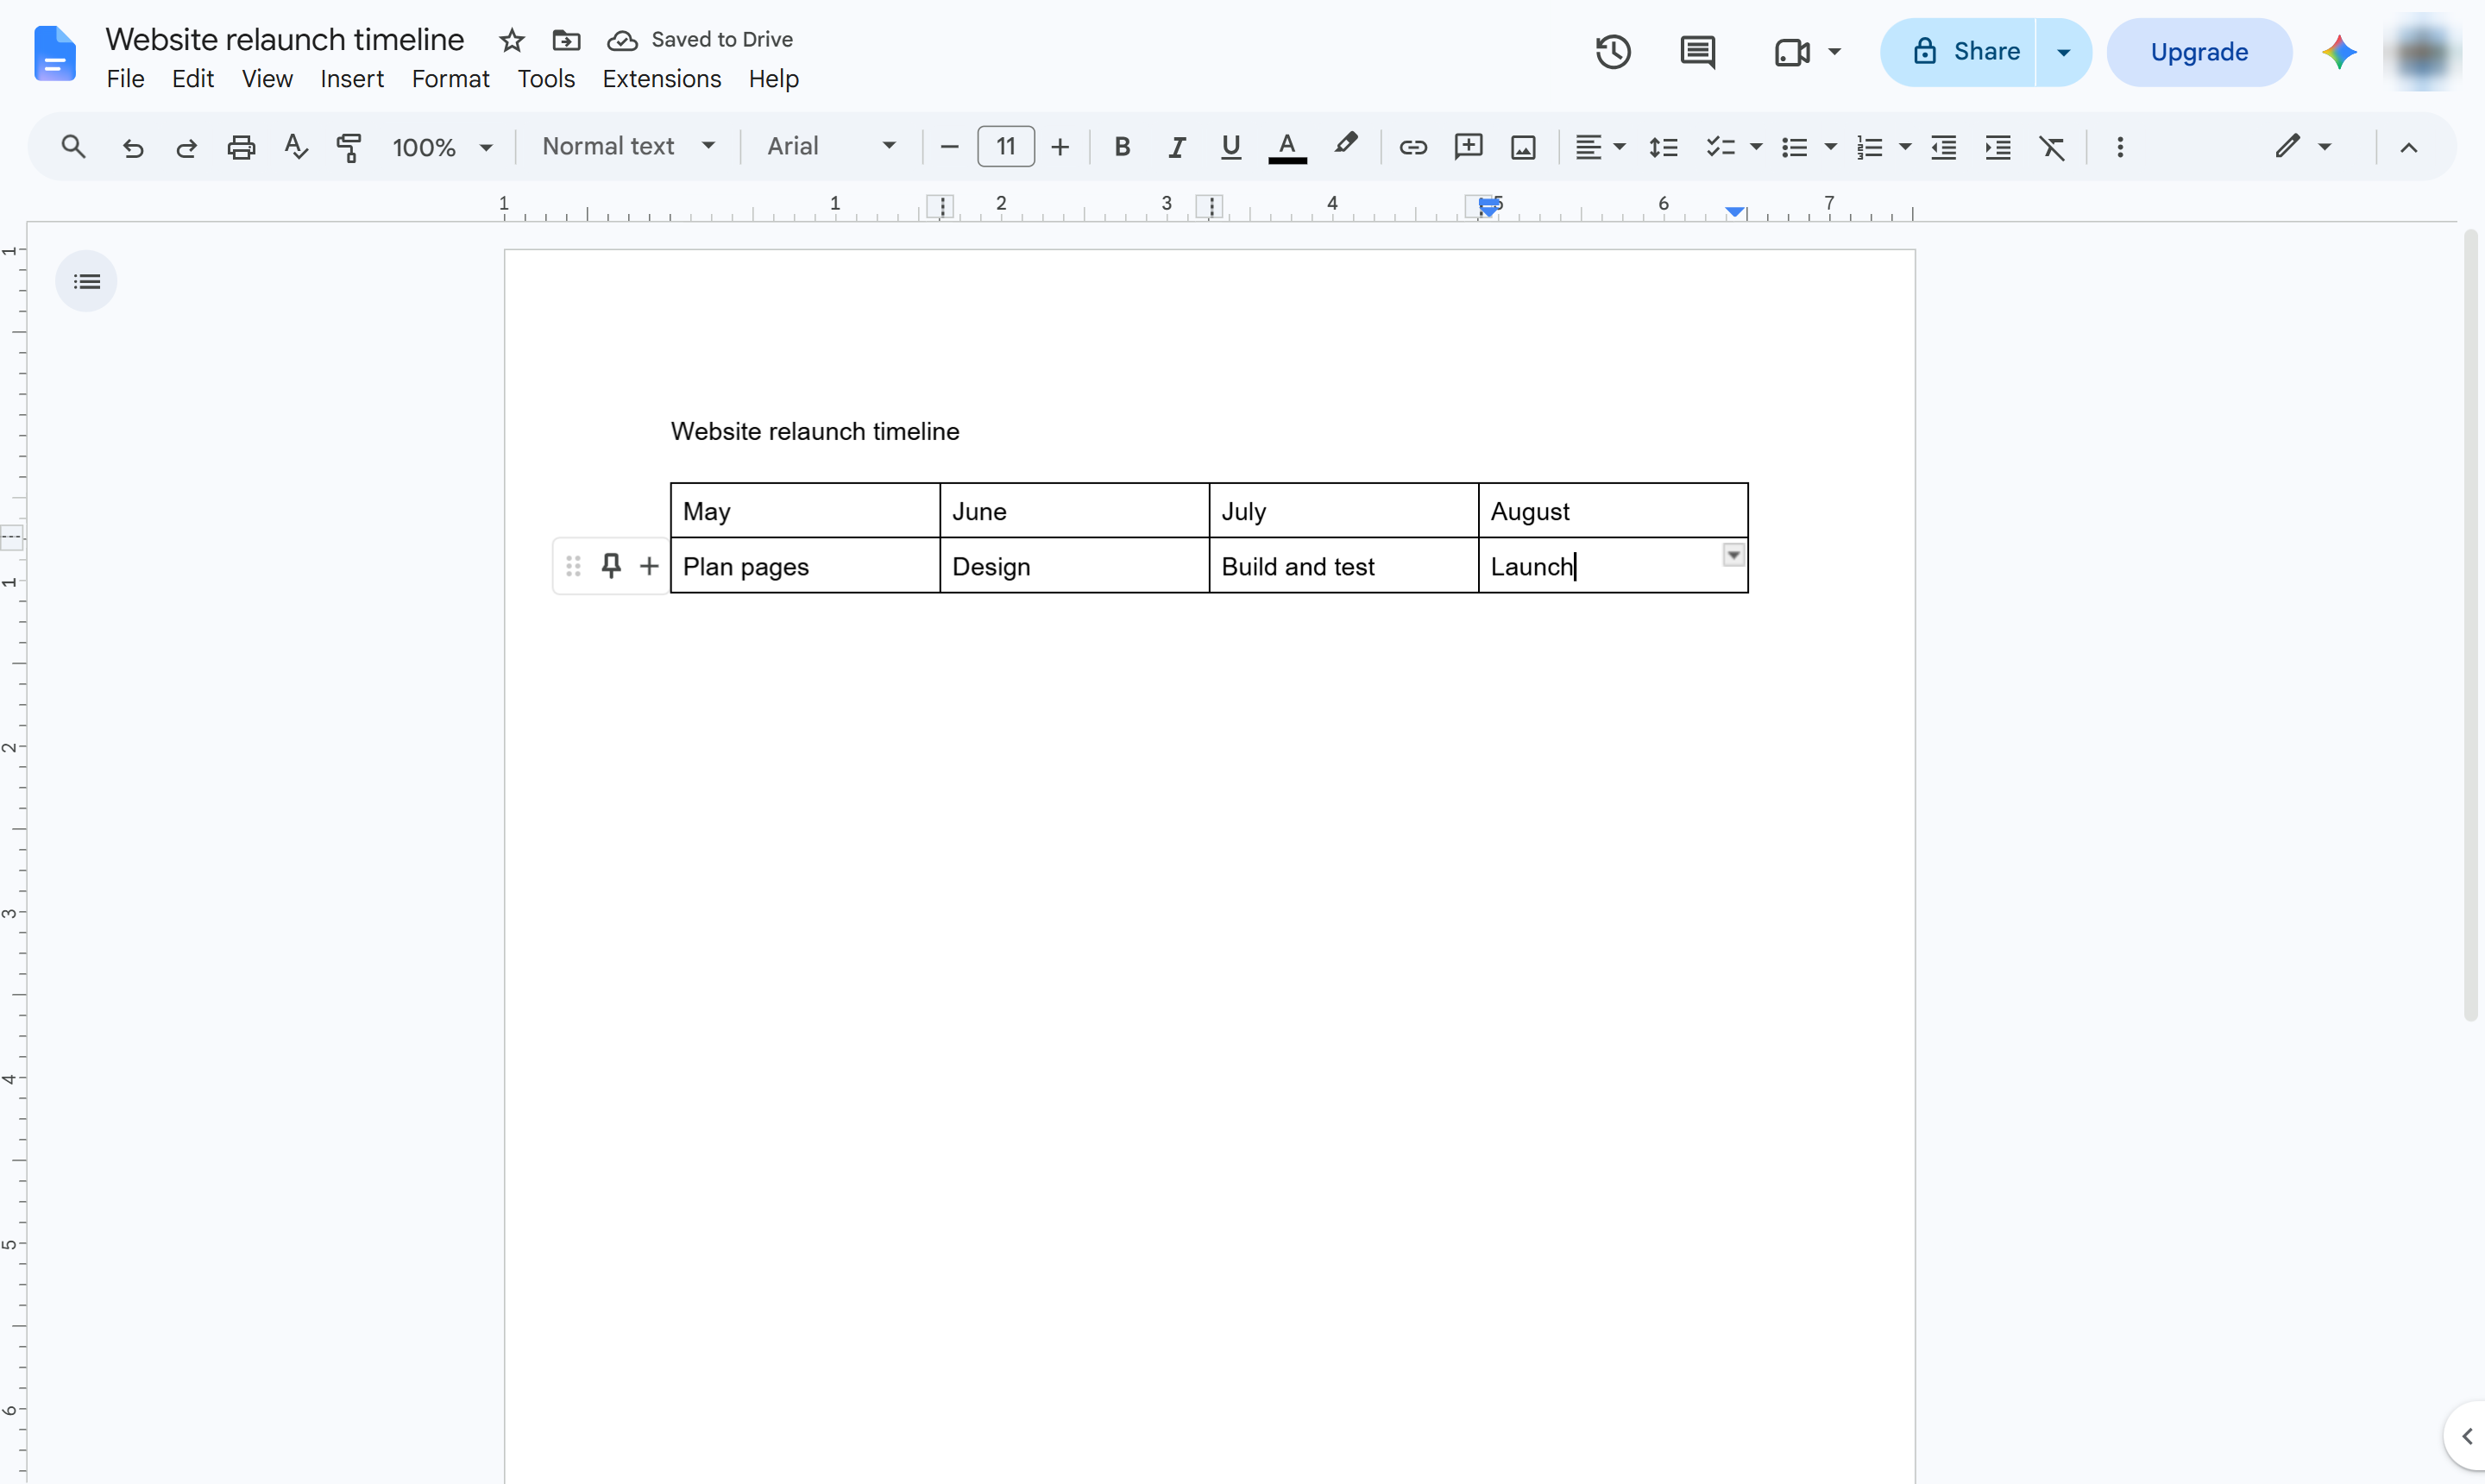
Type a date in each top cell and its milestone below it. Press Tab to move to the next cell.
The milestones now read left to right in date order. Color the top row from the table toolbar to make the dates stand out.
Duplicate this template, swap in your own screens, and share it with your team. Free to start — no credit card.
Fill out the form and we'll get back to you as soon as possible.
Tell us about your team and we'll find the right plan together.