1
Open folder
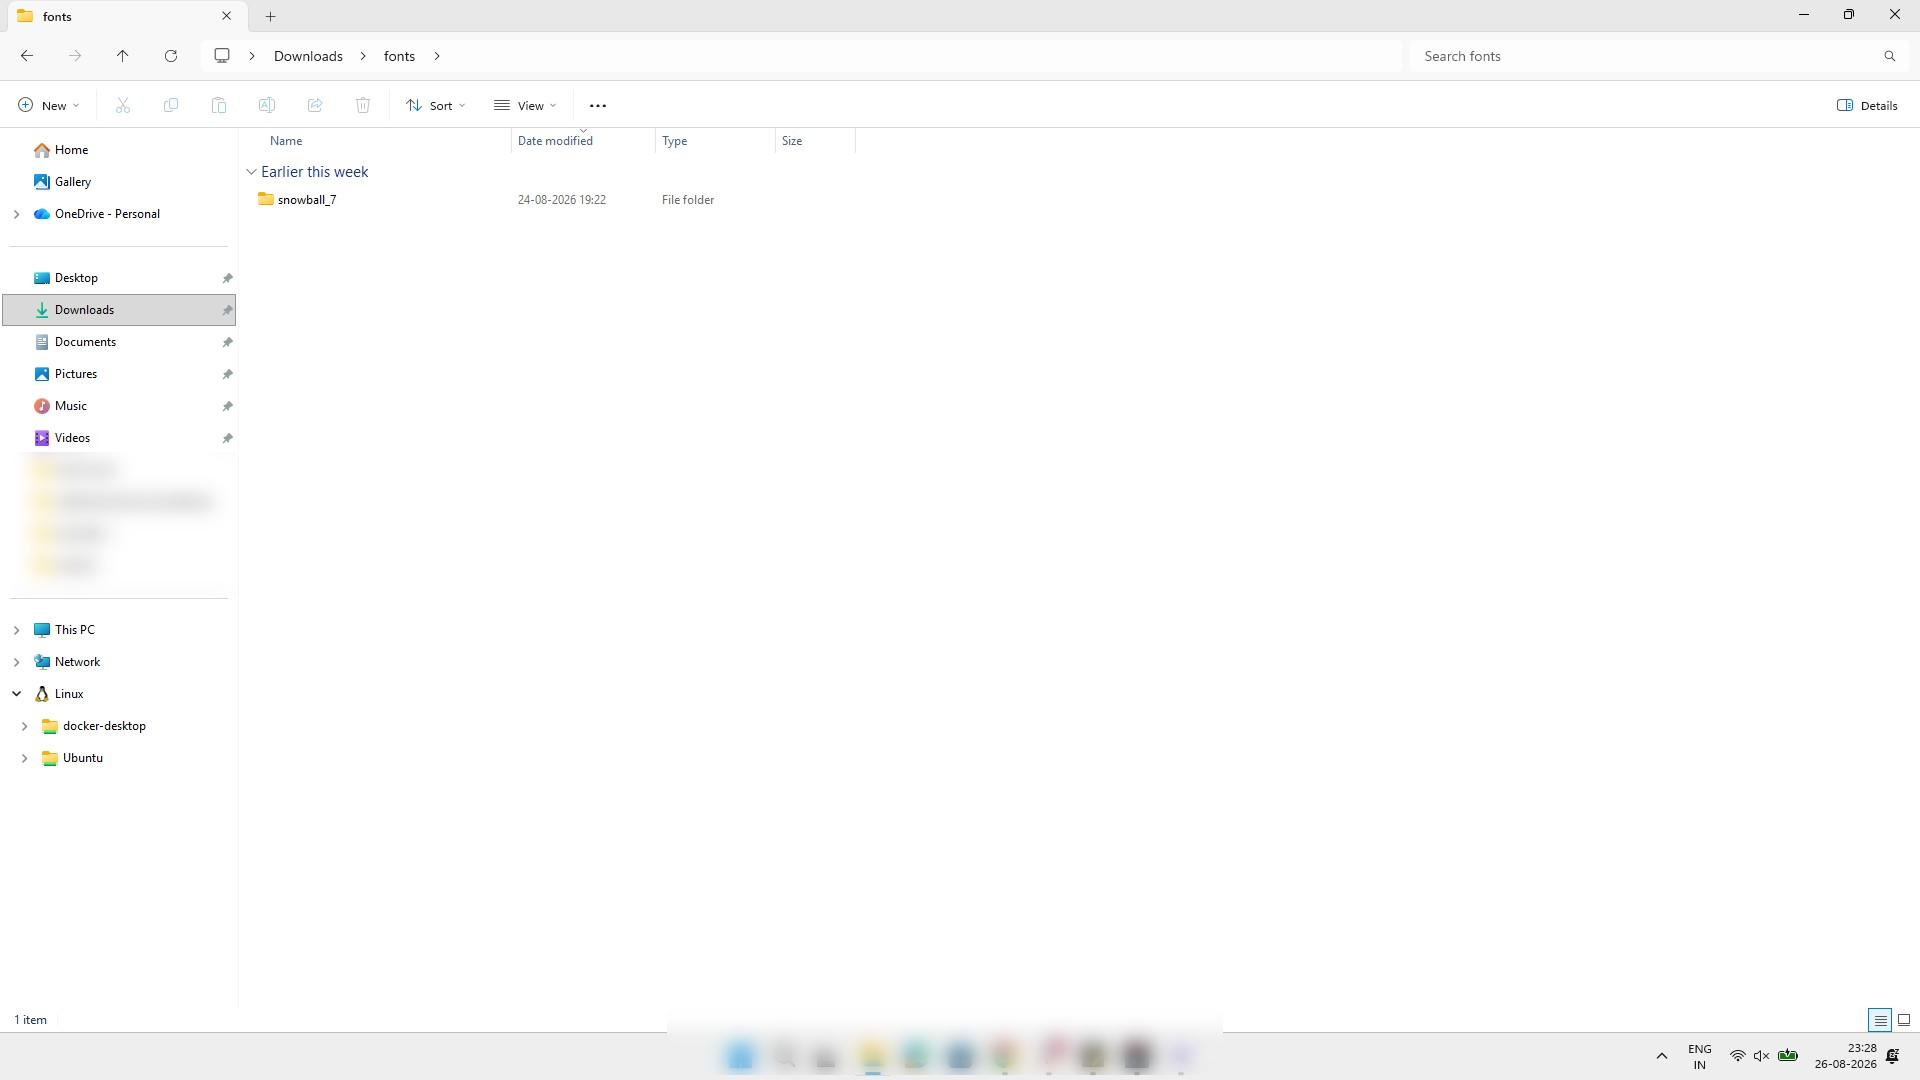
Open the folder where you have downloaded the fonts.

In this guide, you will install custom local fonts on your Windows system and configure them for use in Figma within the Google Chrome browser and Figma Desktop app. You will download and install the Figma Agent to enable local font access in the web application.
Open the folder where you have downloaded the fonts.
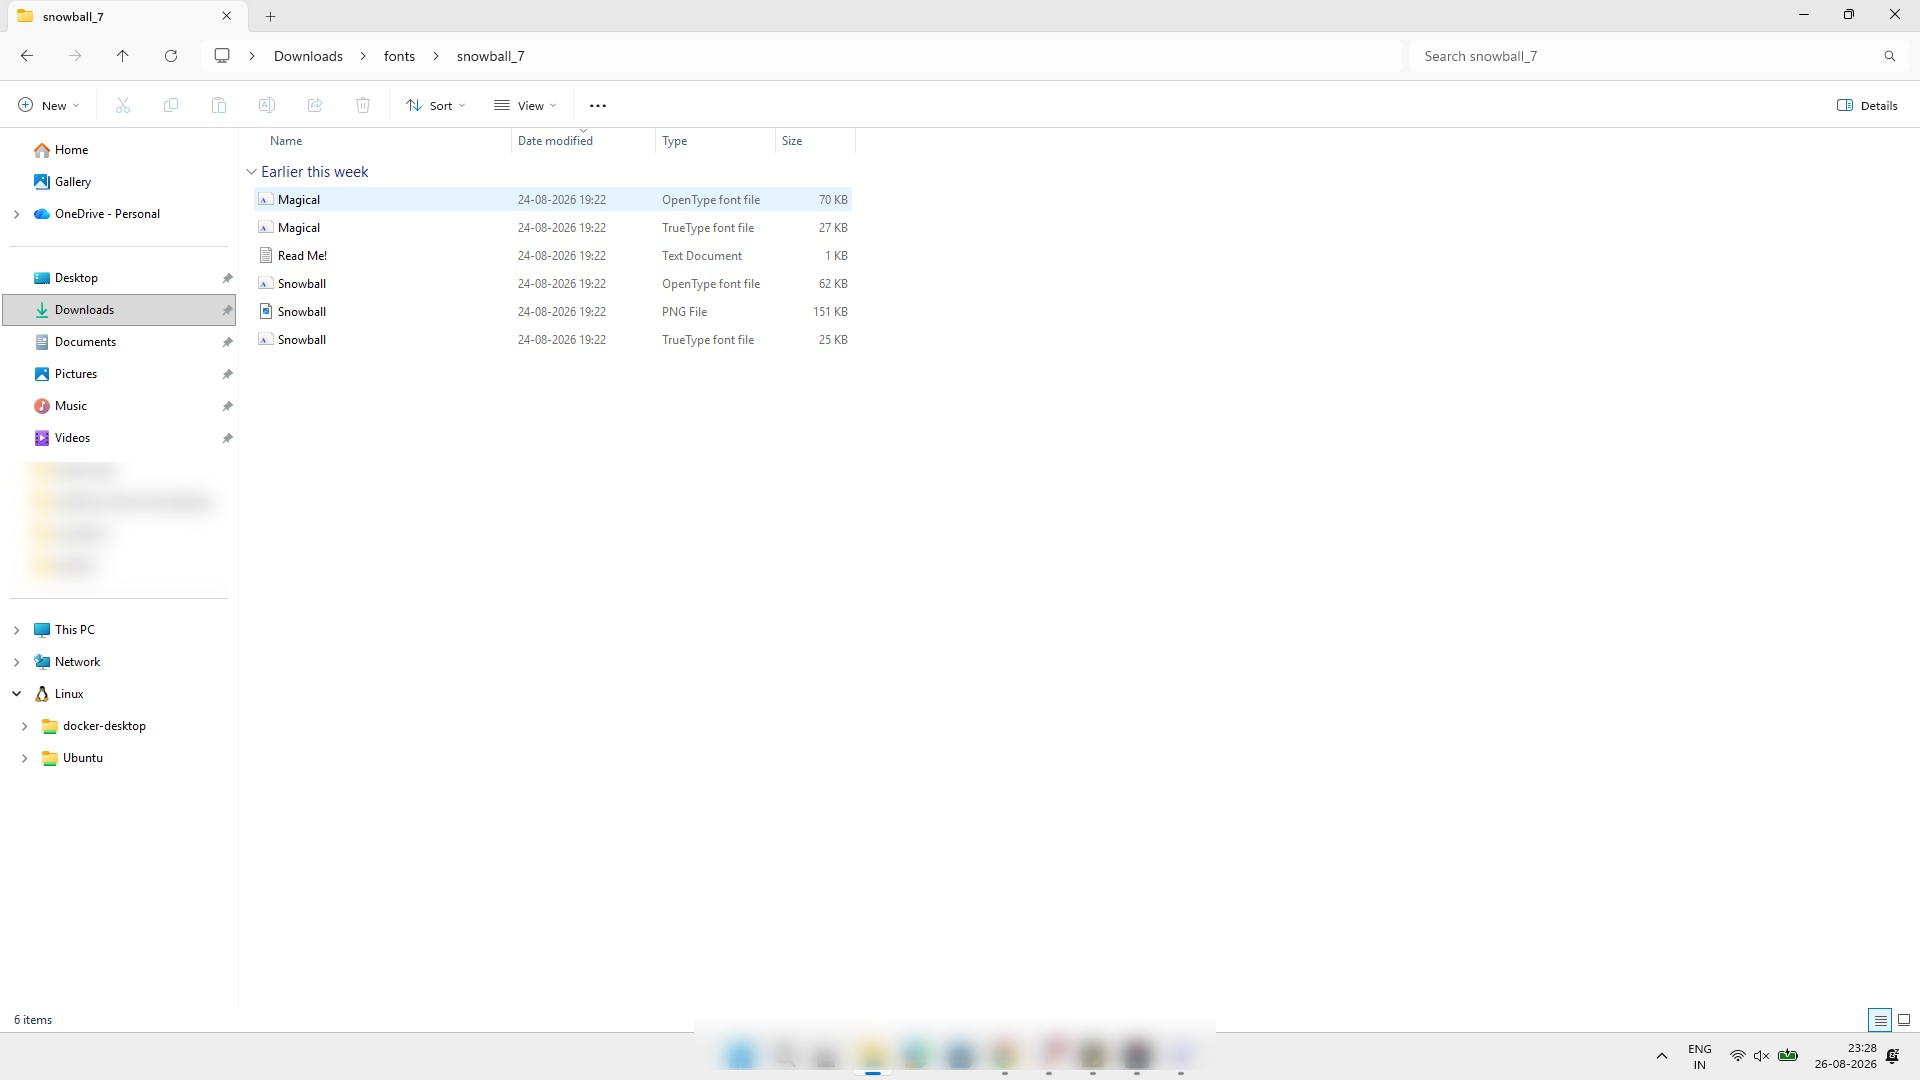
Double click on the "Magical" font file in the file list to install it.
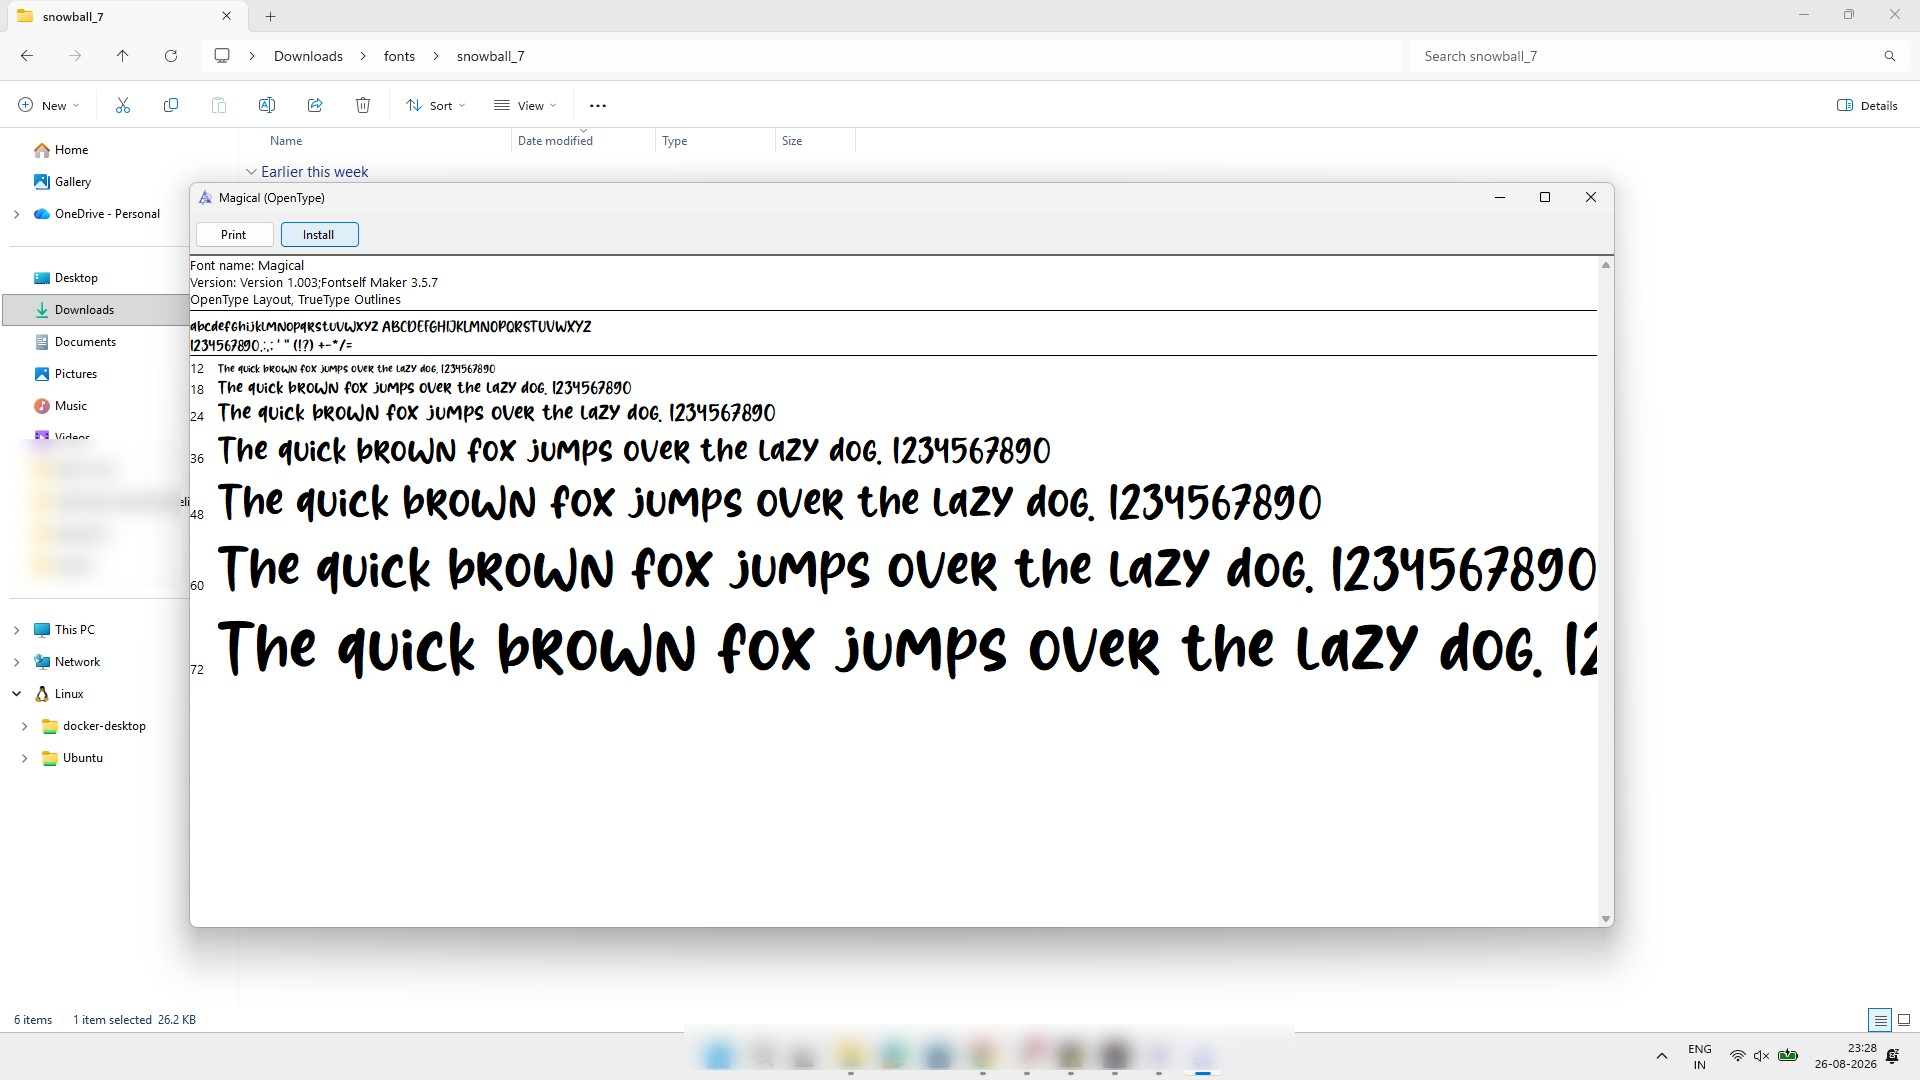
Click the Install button in the font preview window to add the font to your system.
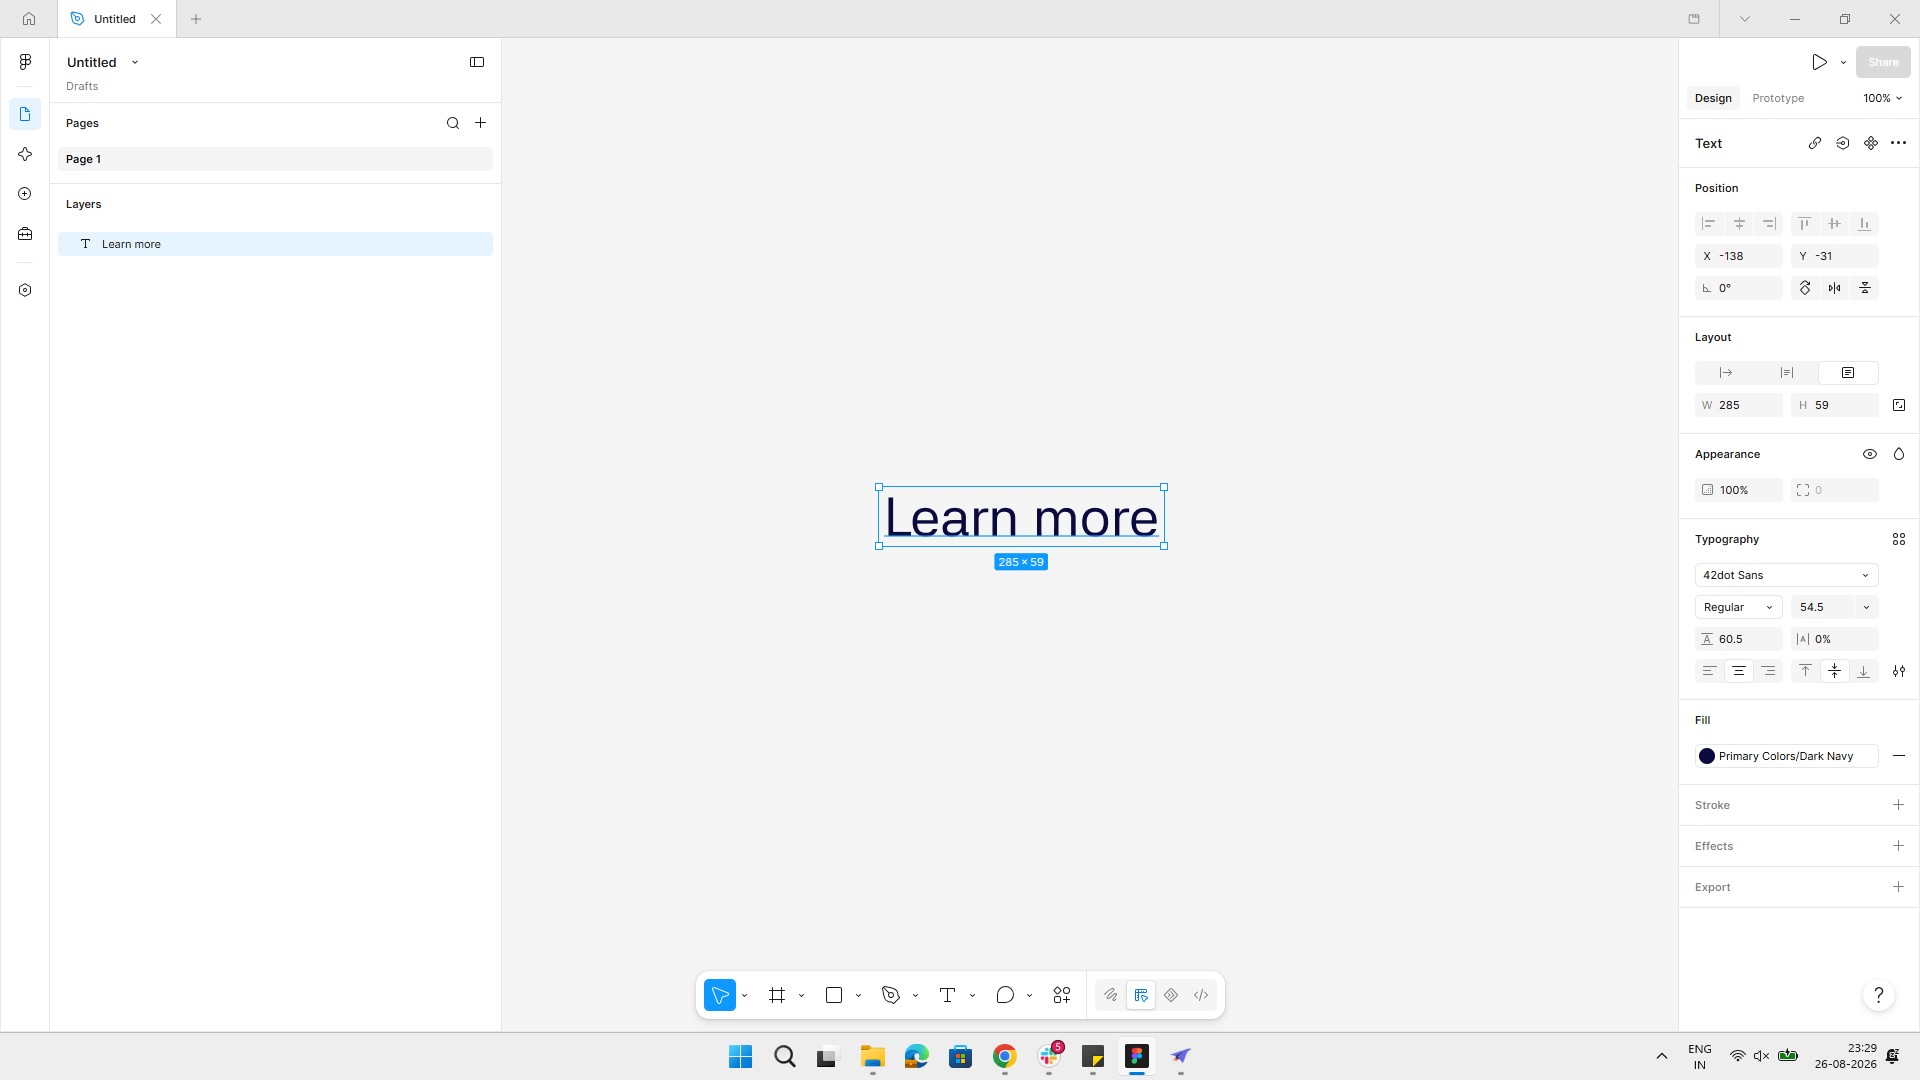
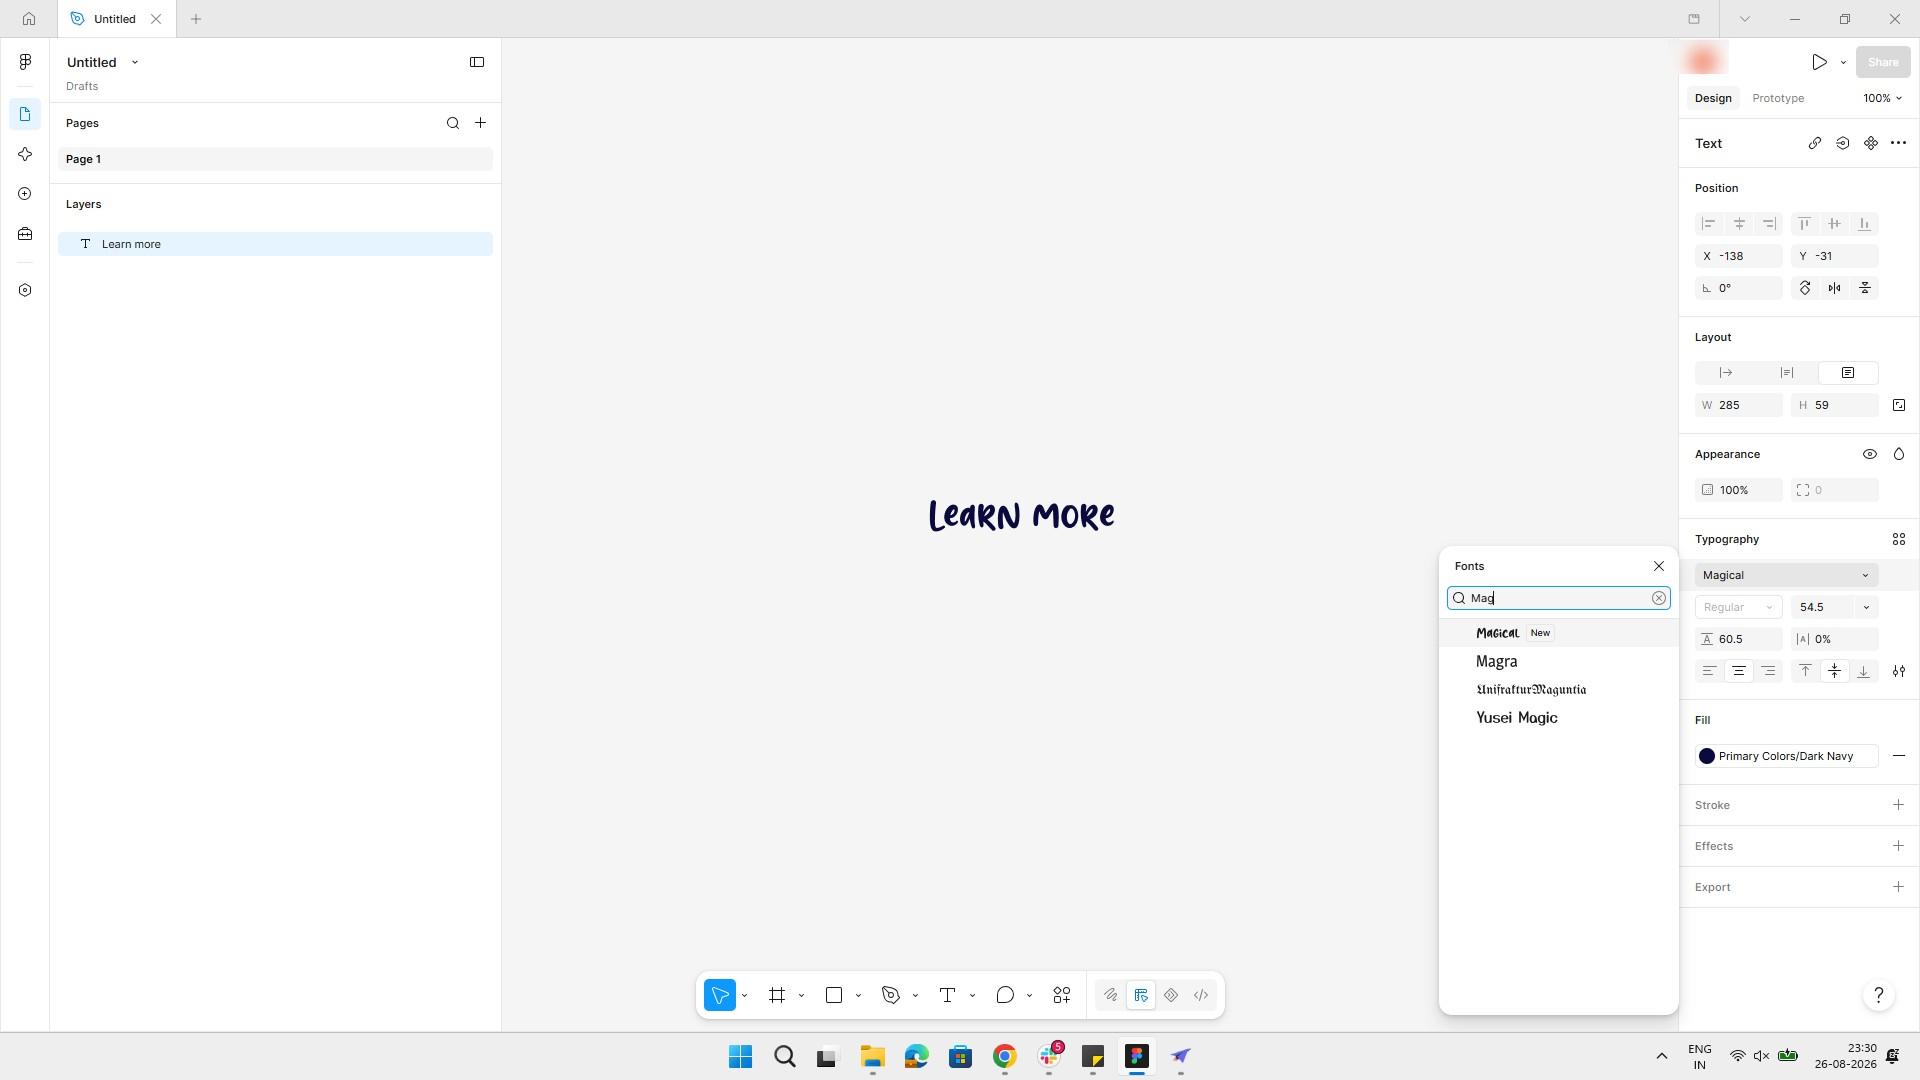
Select the text and click on Typography to choose a custom font.
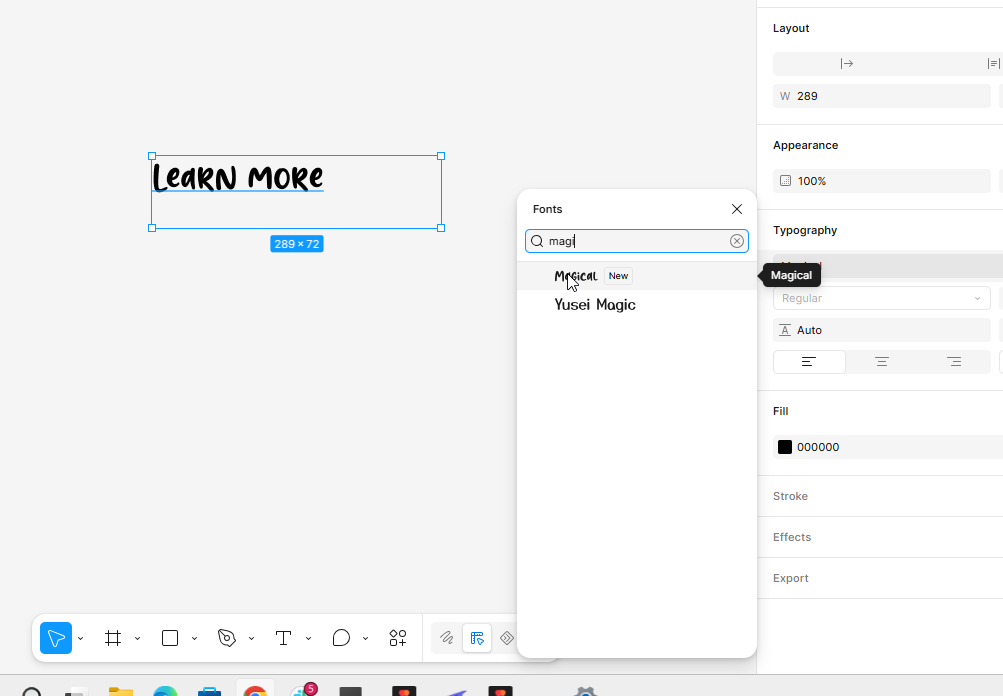
Click the "Magical" font option in the Fonts dropdown list to apply it to your text.
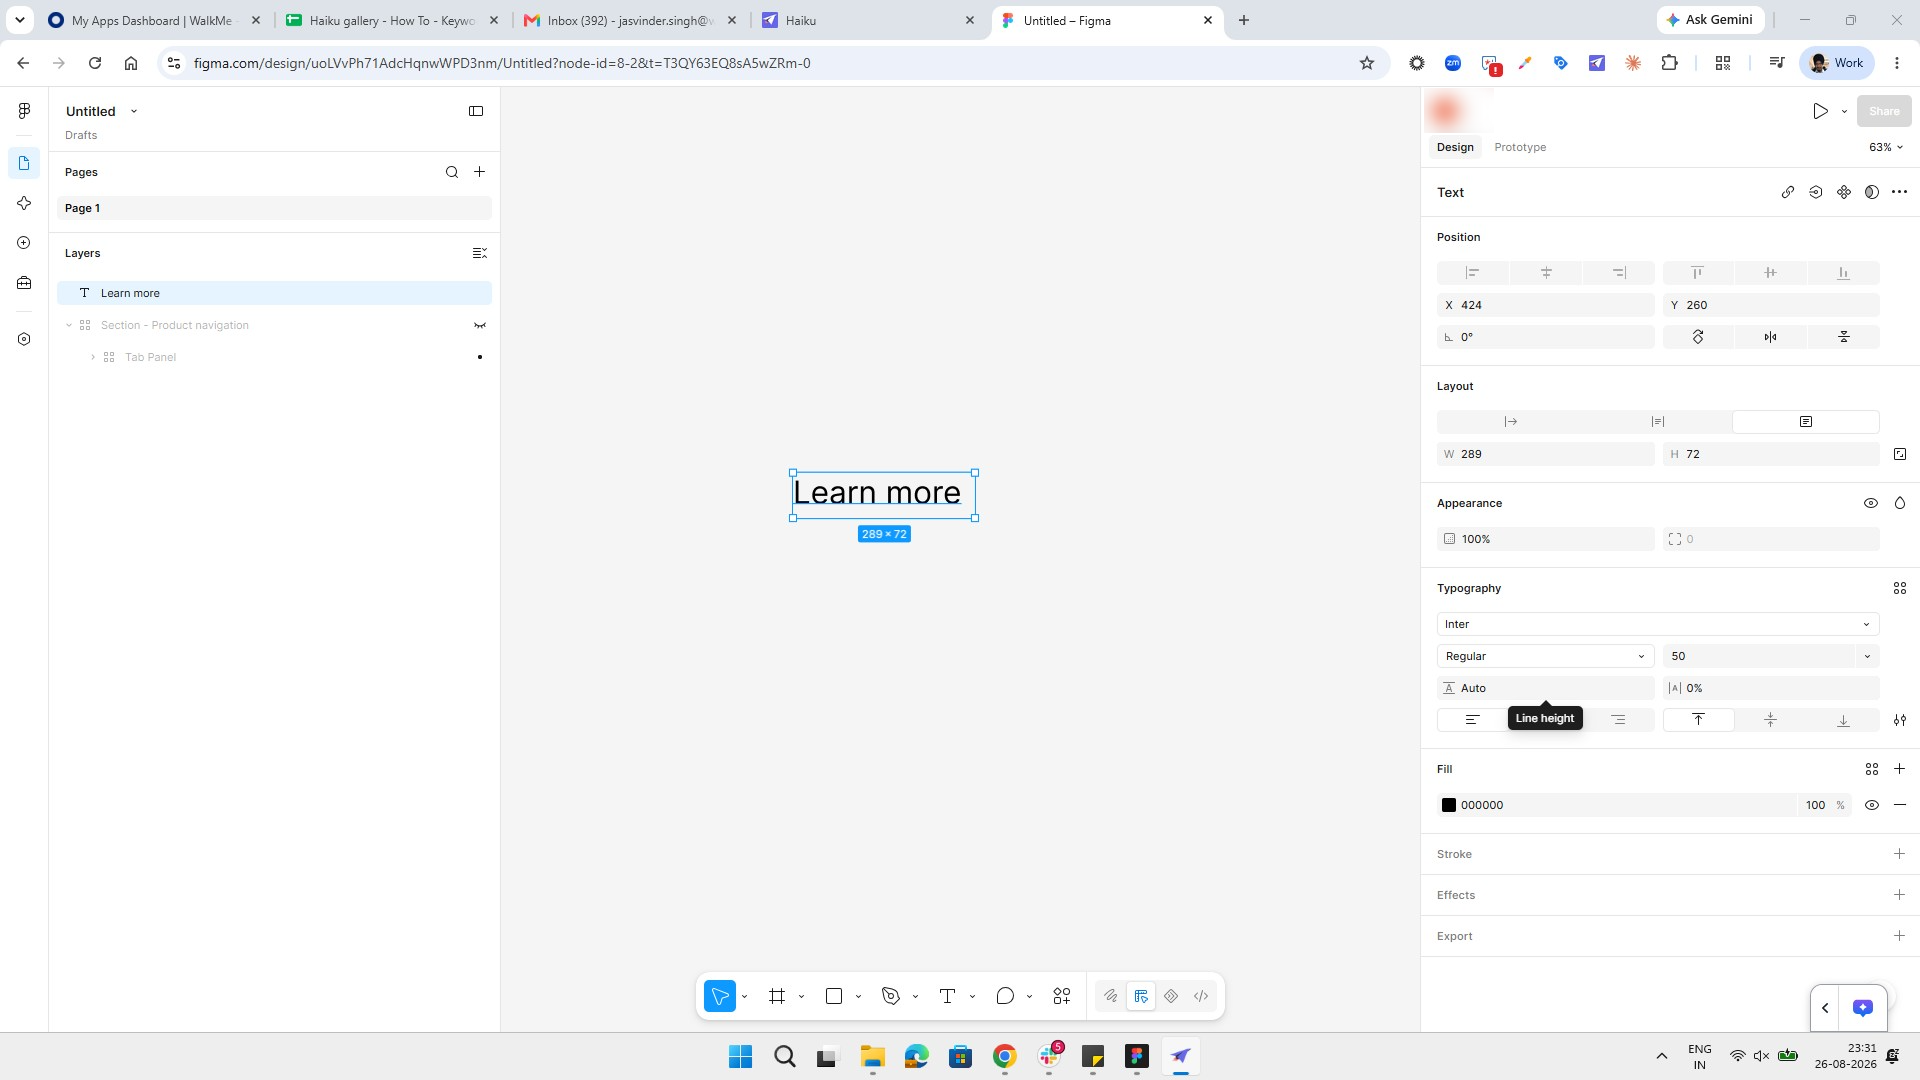
Open the figma file in your browser
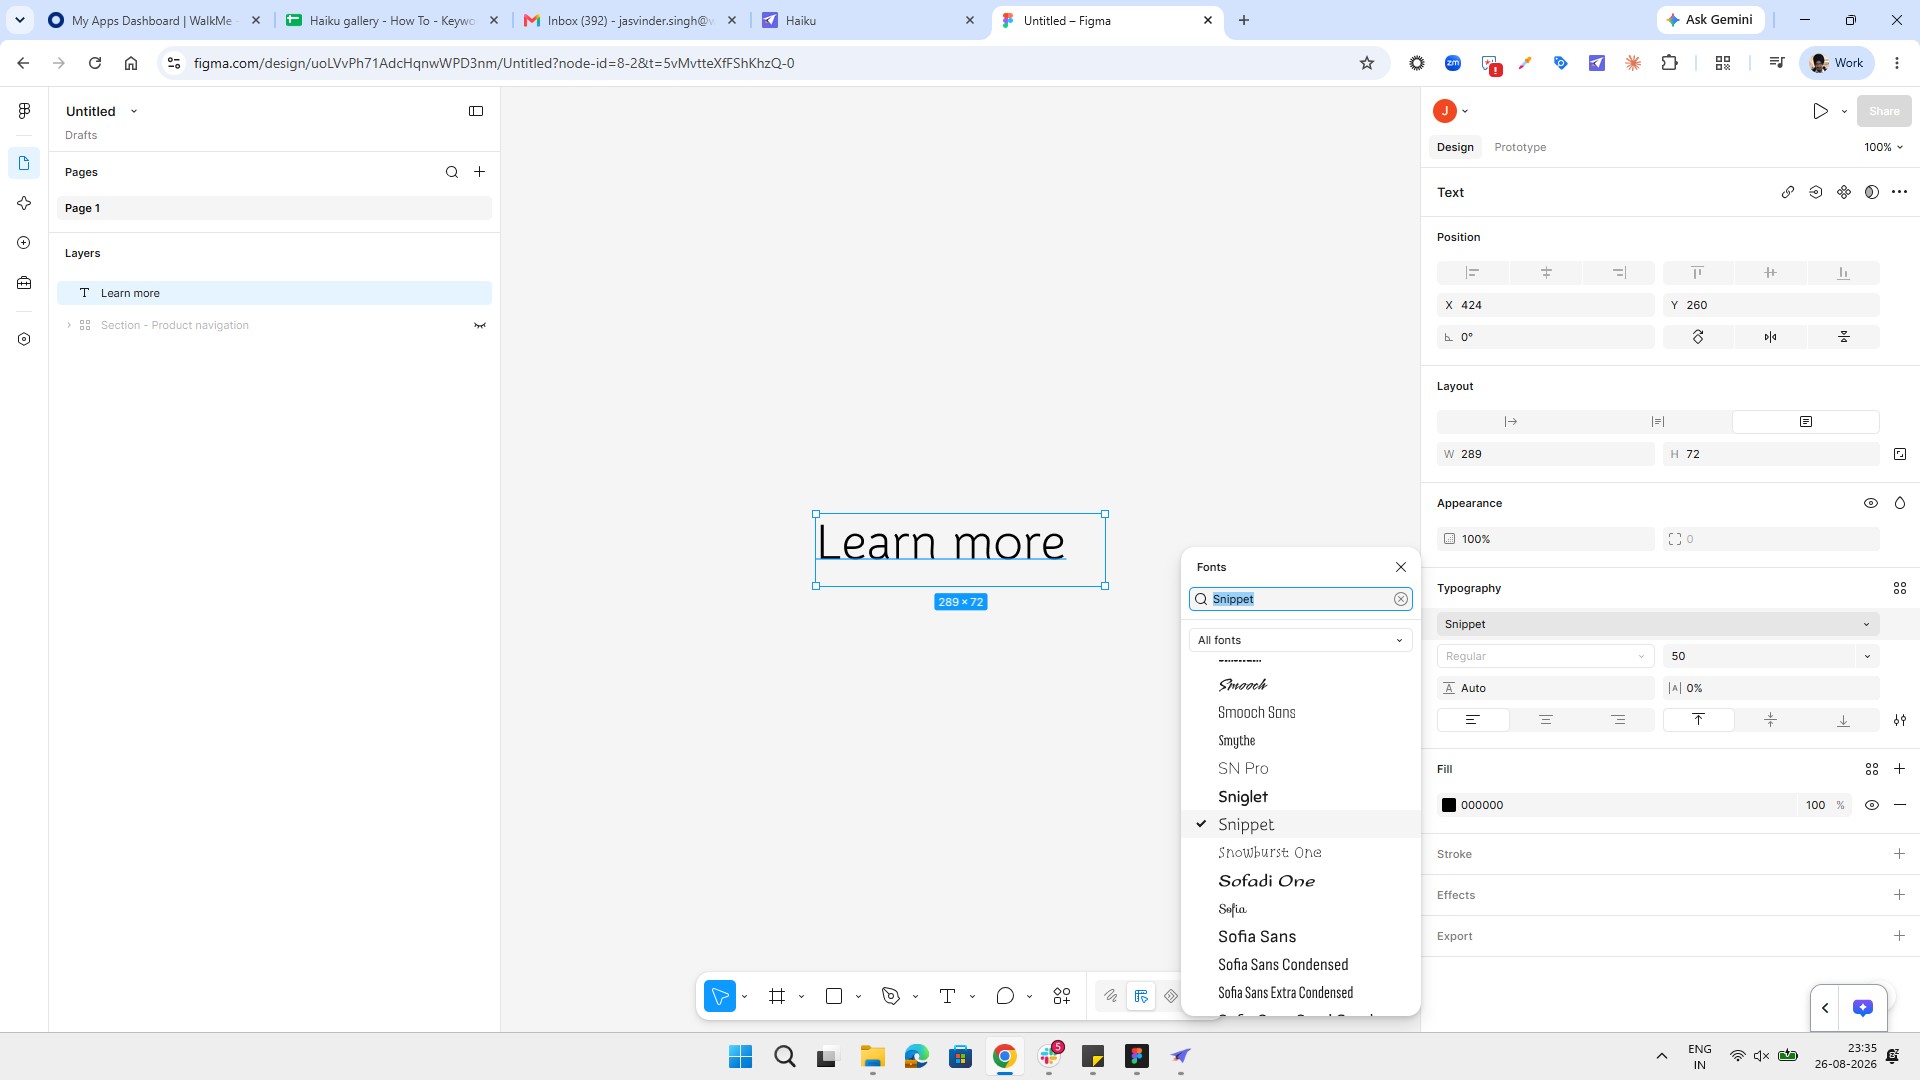
Click the All fonts dropdown in the Fonts panel to filter the font list.
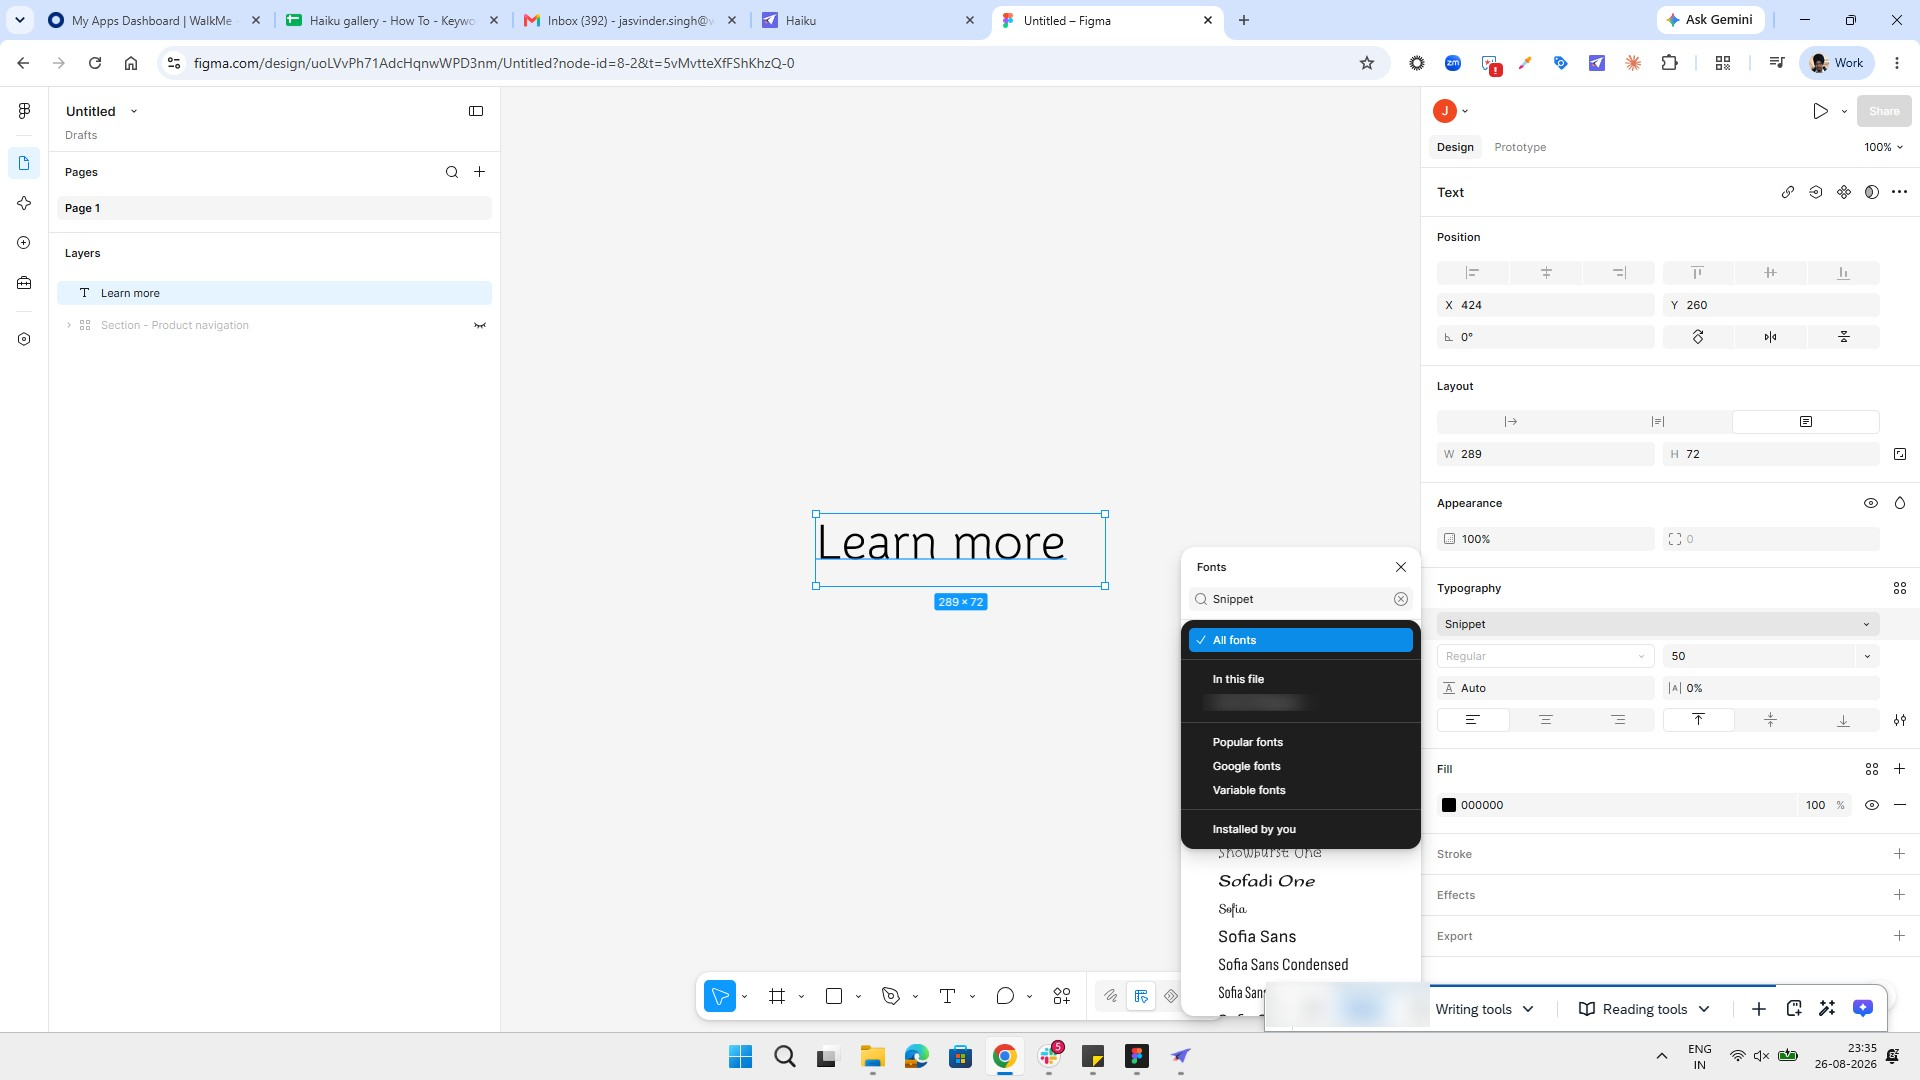
Click the "Installed by you" option in the font dropdown menu to view your custom fonts.
Click the "Show me how" button in the font installer warning message to learn how to connect local fonts.
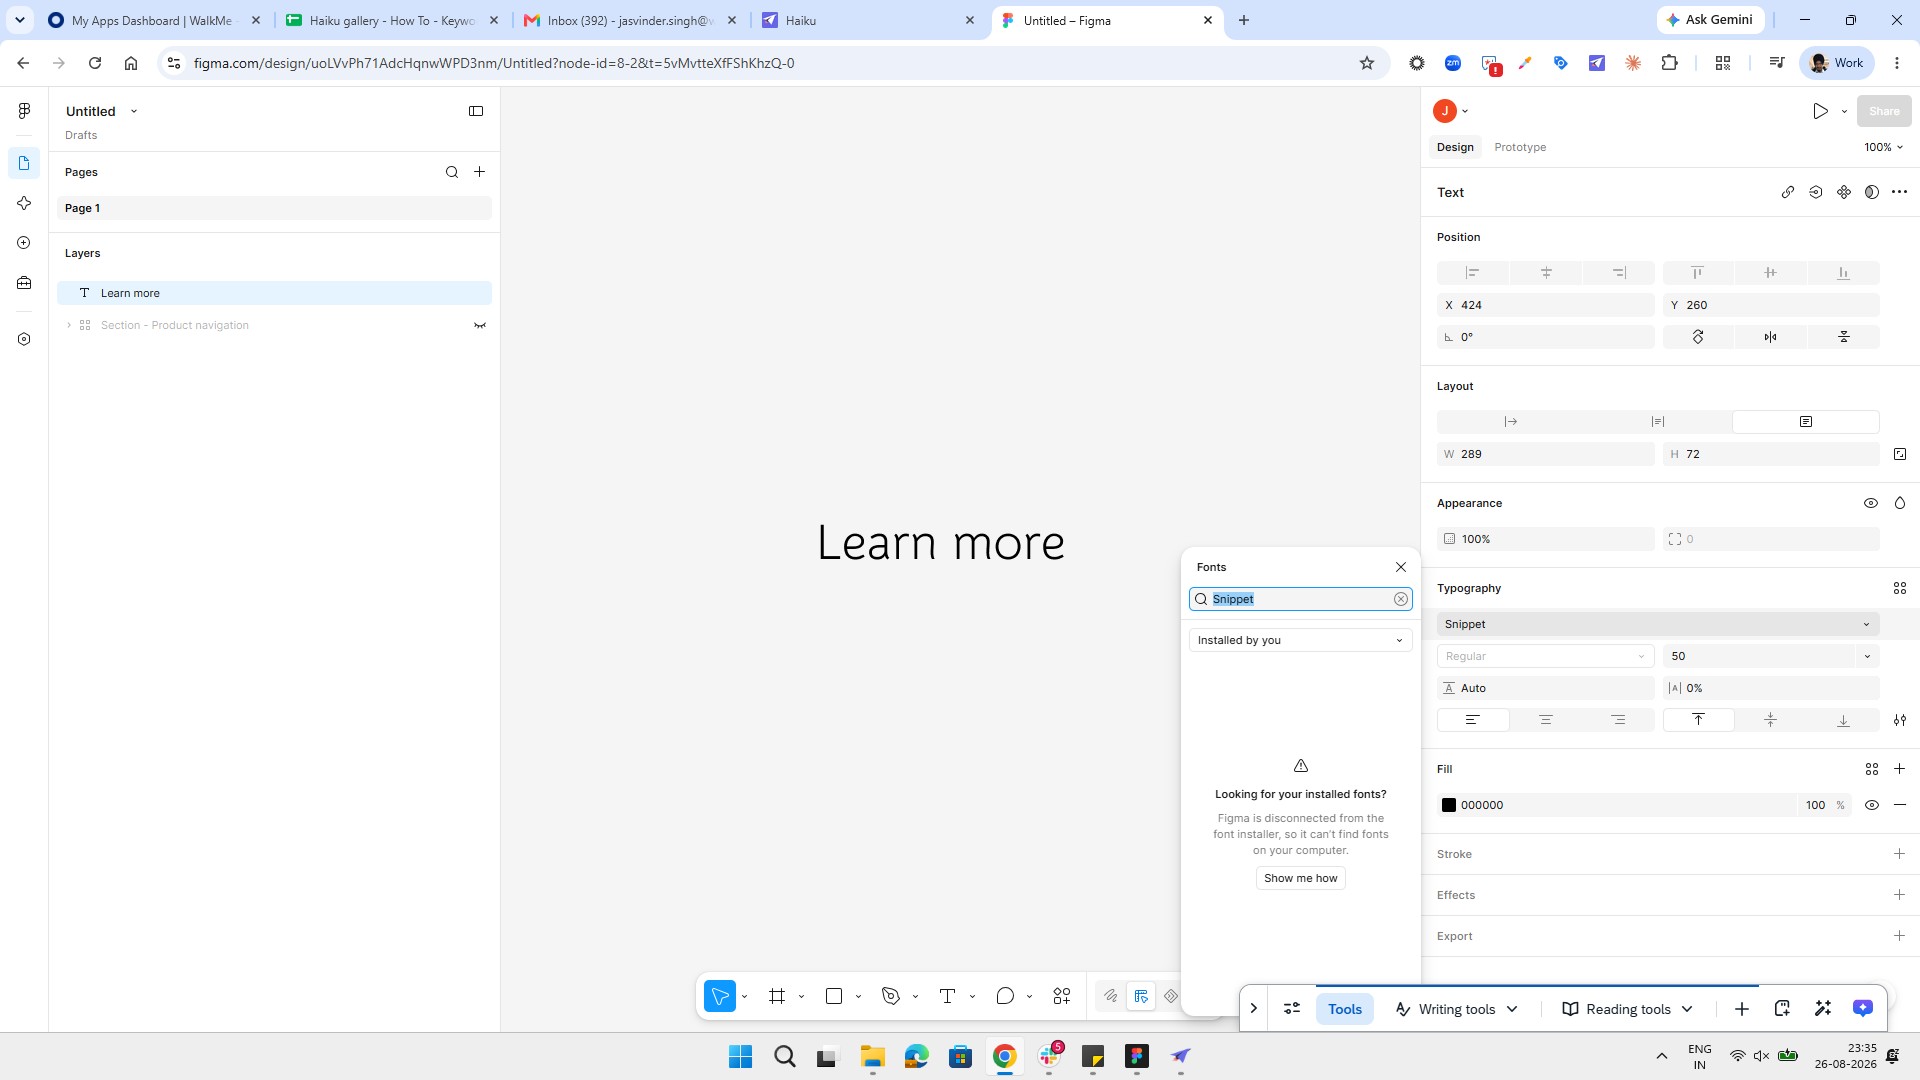
Click the "Downloads" link in the Permissions and helpers modal to access the font installer.
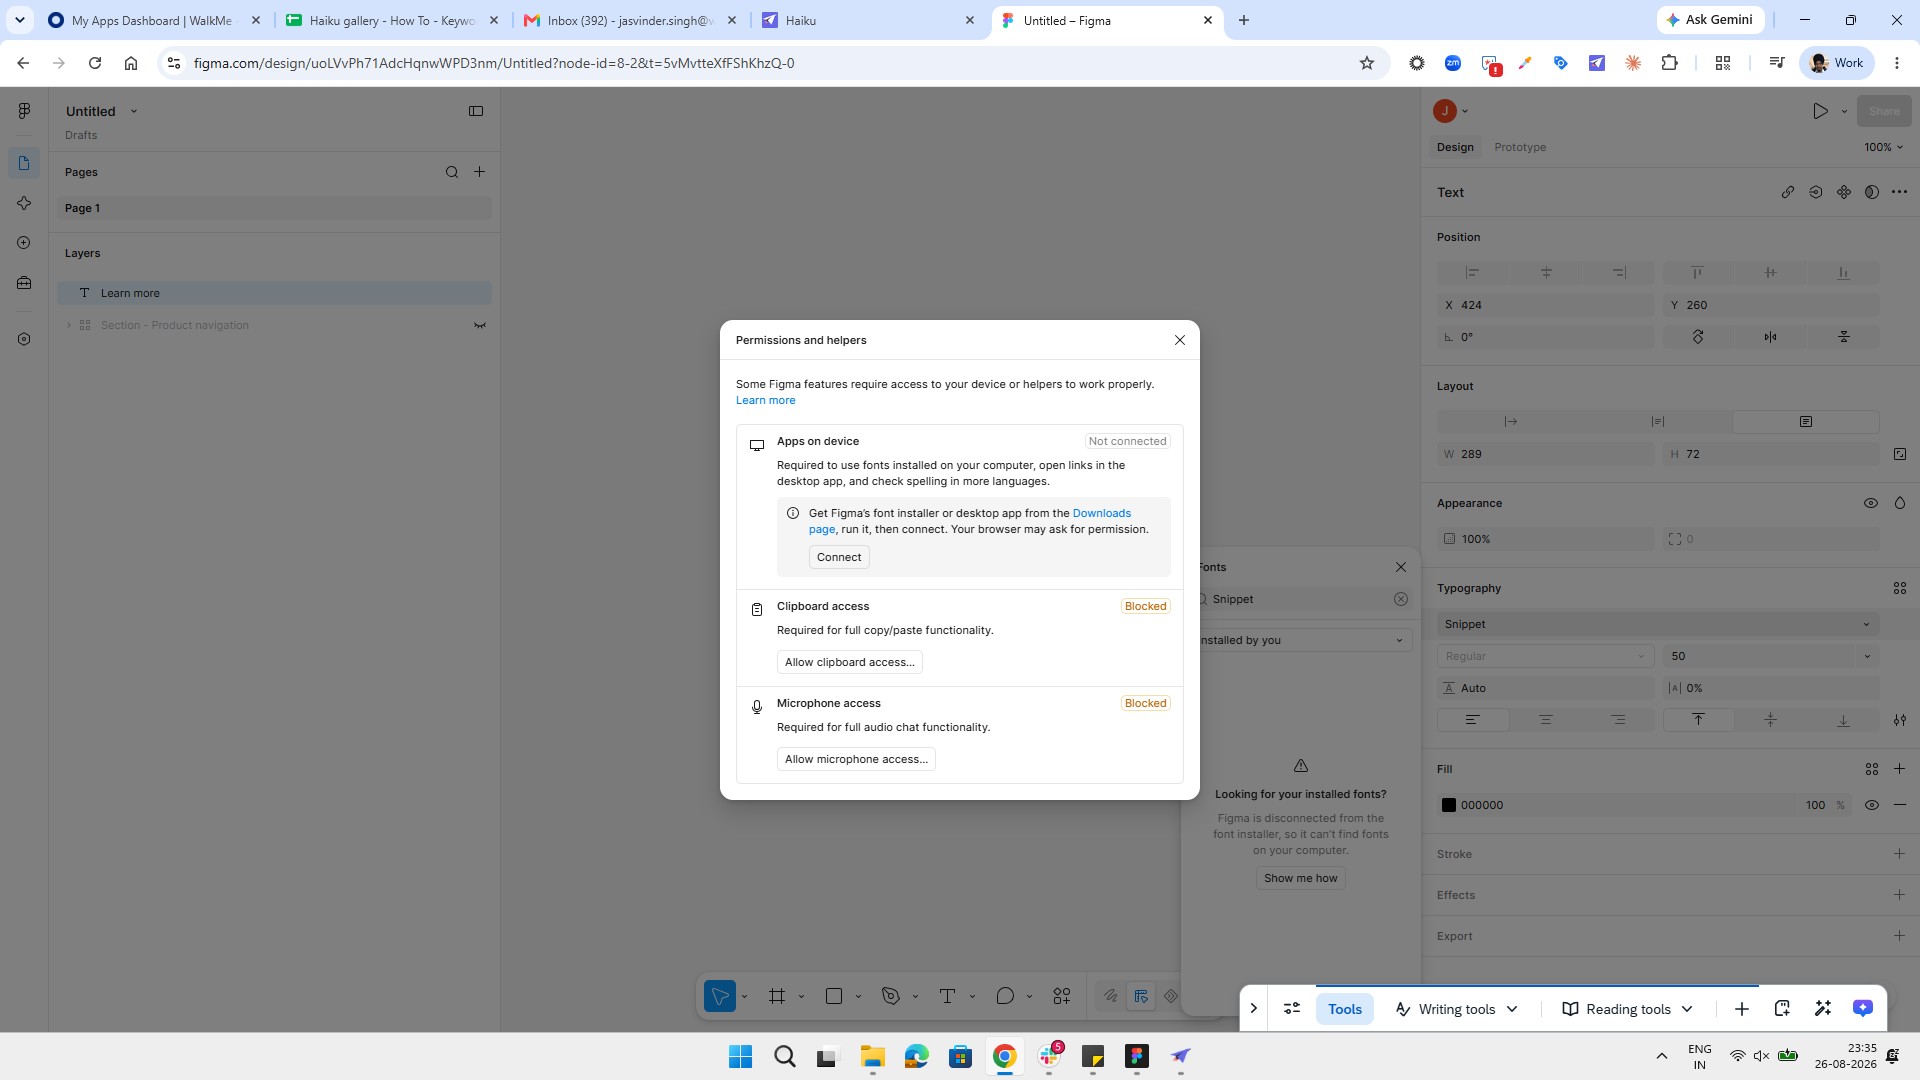
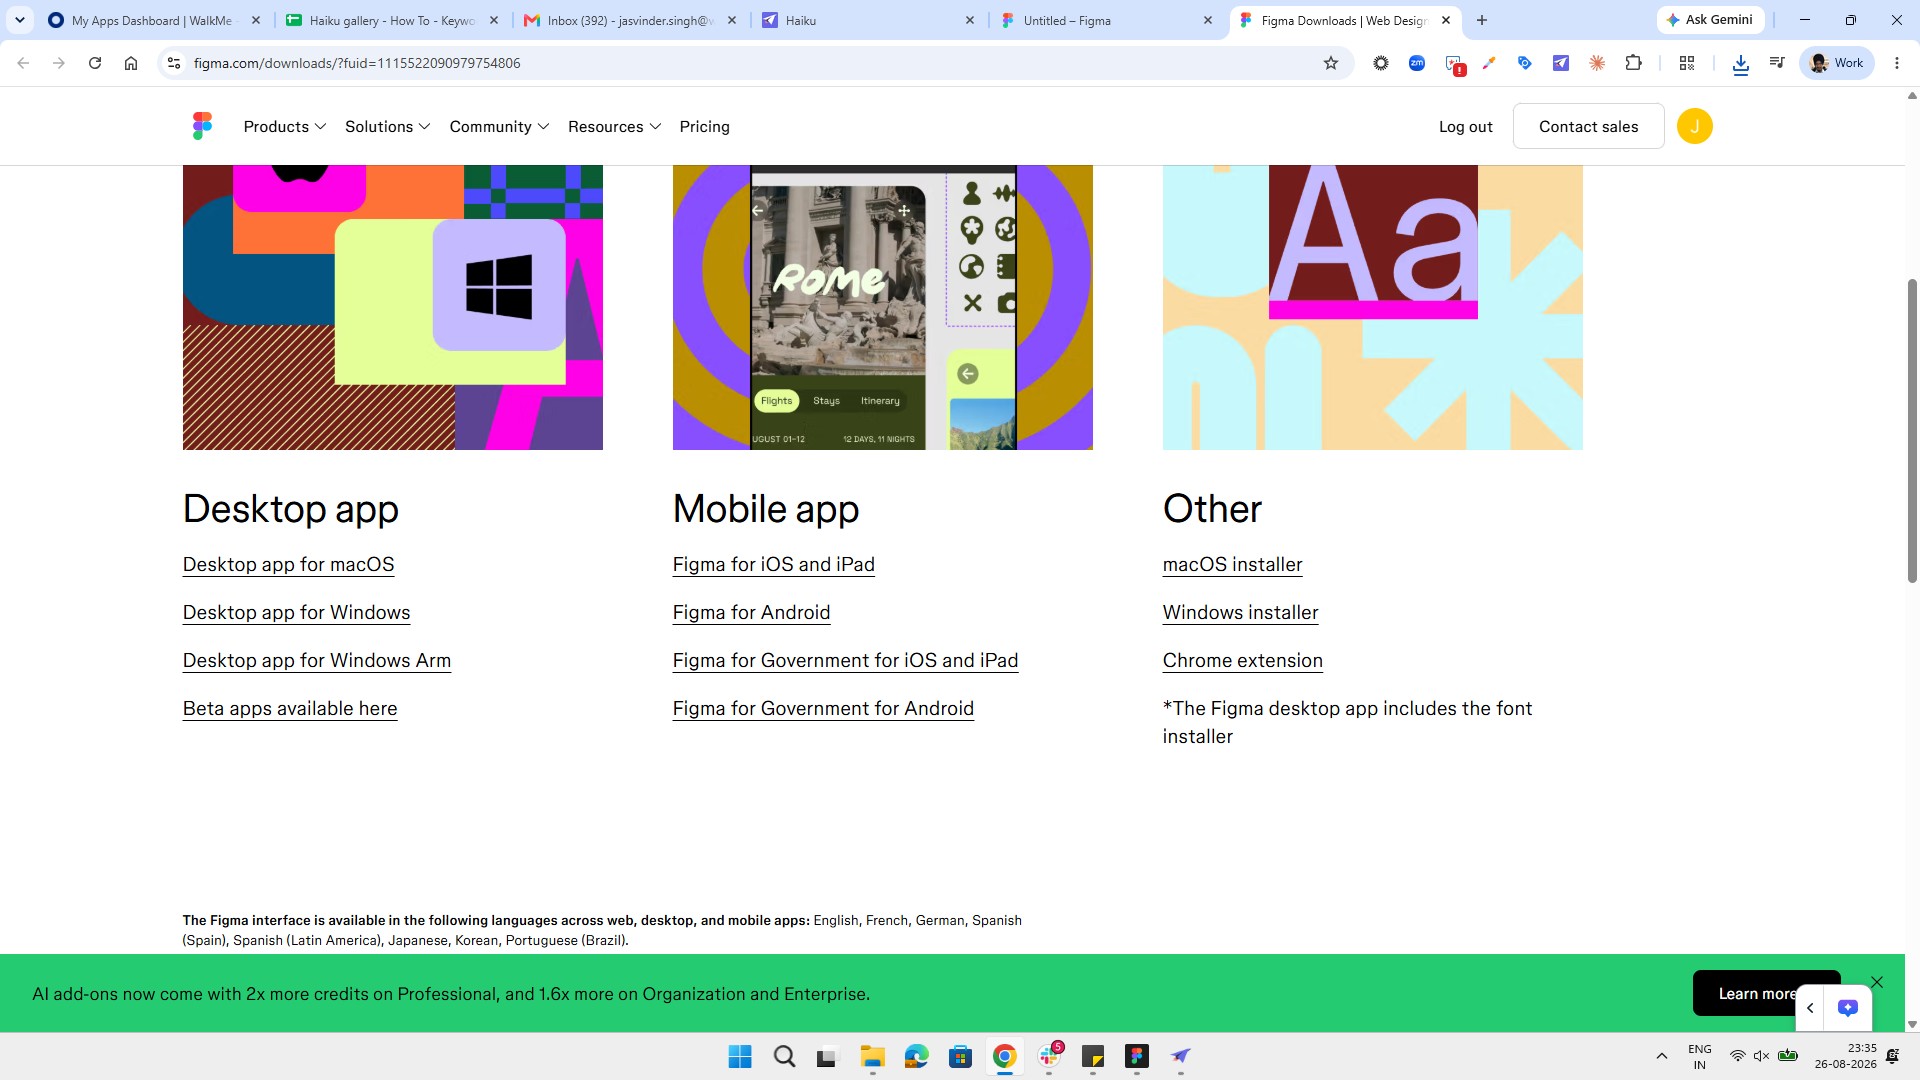
Click the Windows installer link under the Other section to download the font installer for Windows.
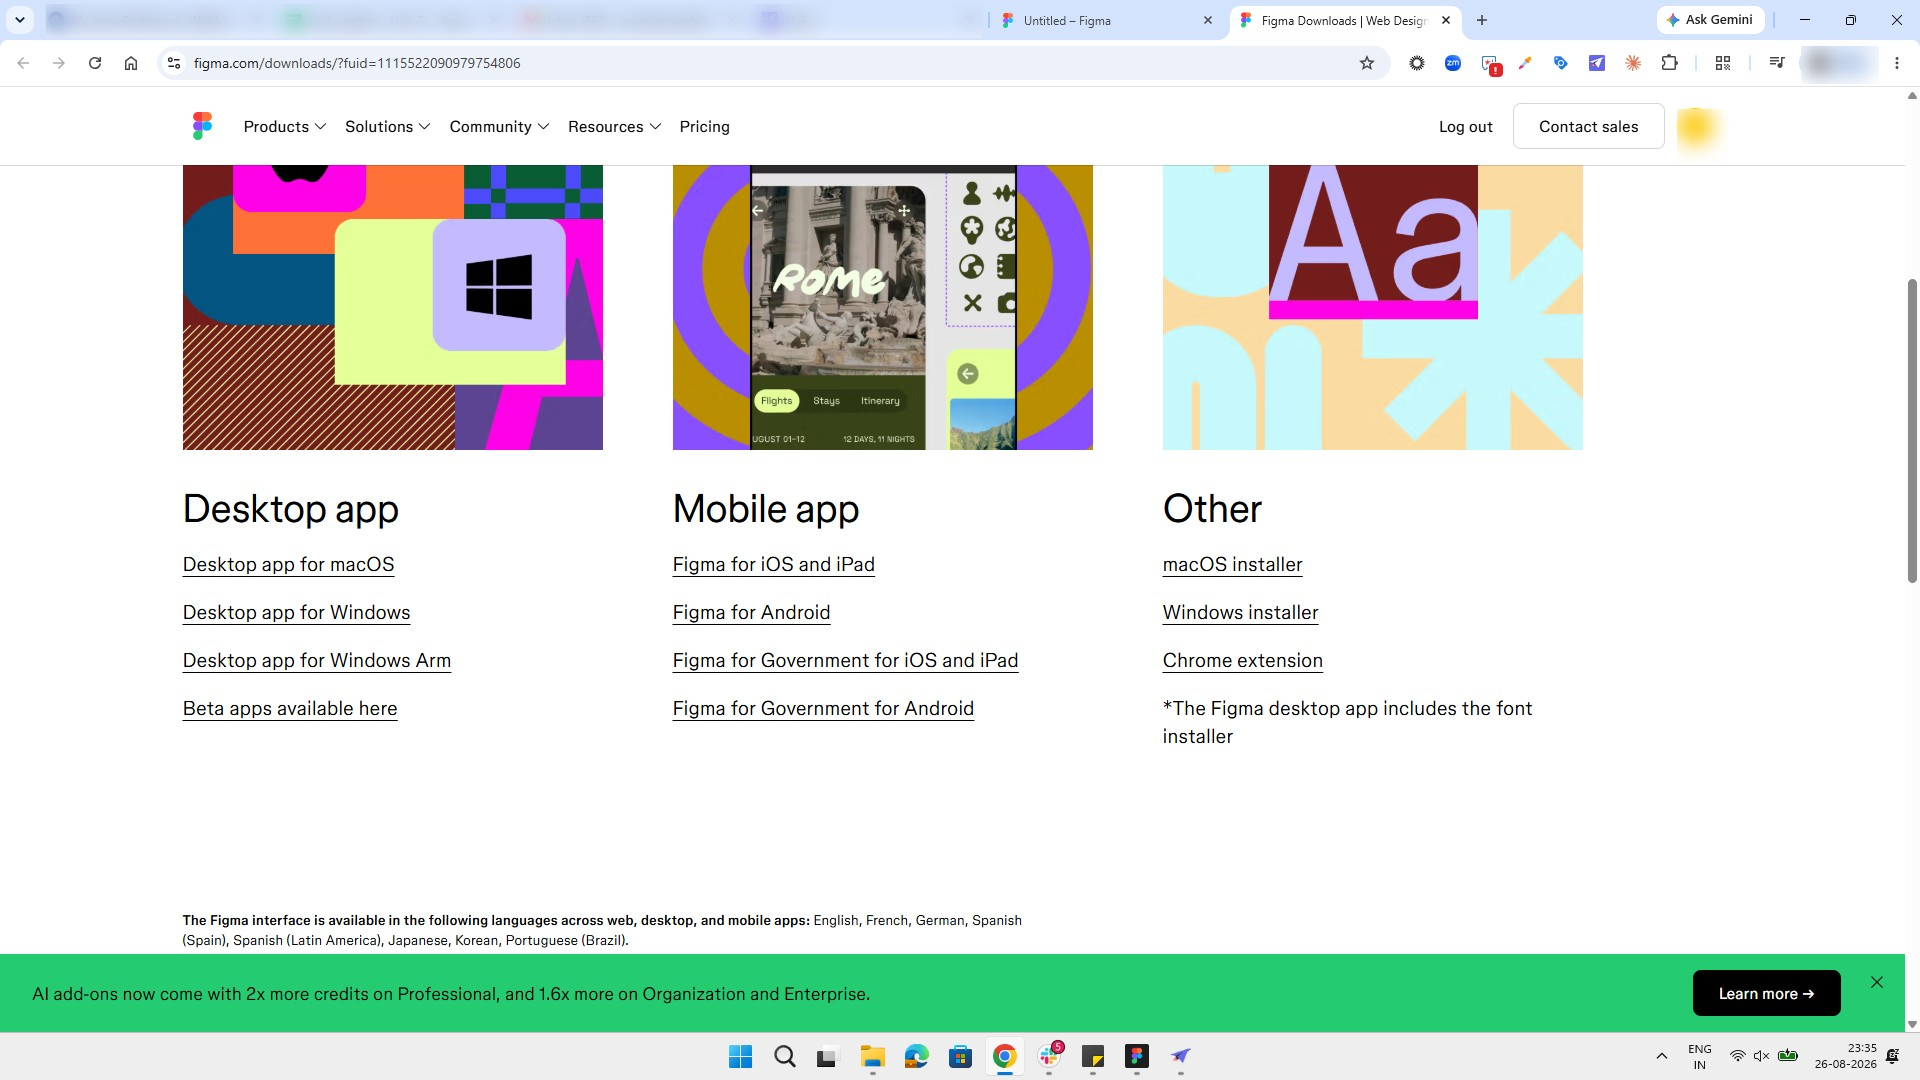
Click the Close button in the top right corner of the recent download history popup to dismiss it.
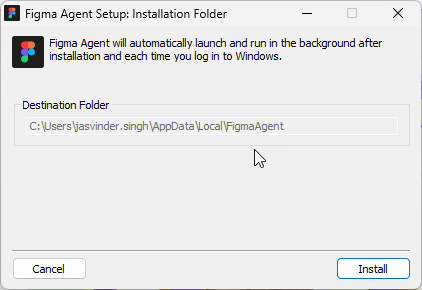
Click the Install button at the bottom right of the setup window to begin the installation.
Click the "Untitled - Figma" tab in the browser's tab bar to switch back to your Figma workspace.
The Figma agent will get the browser connected.
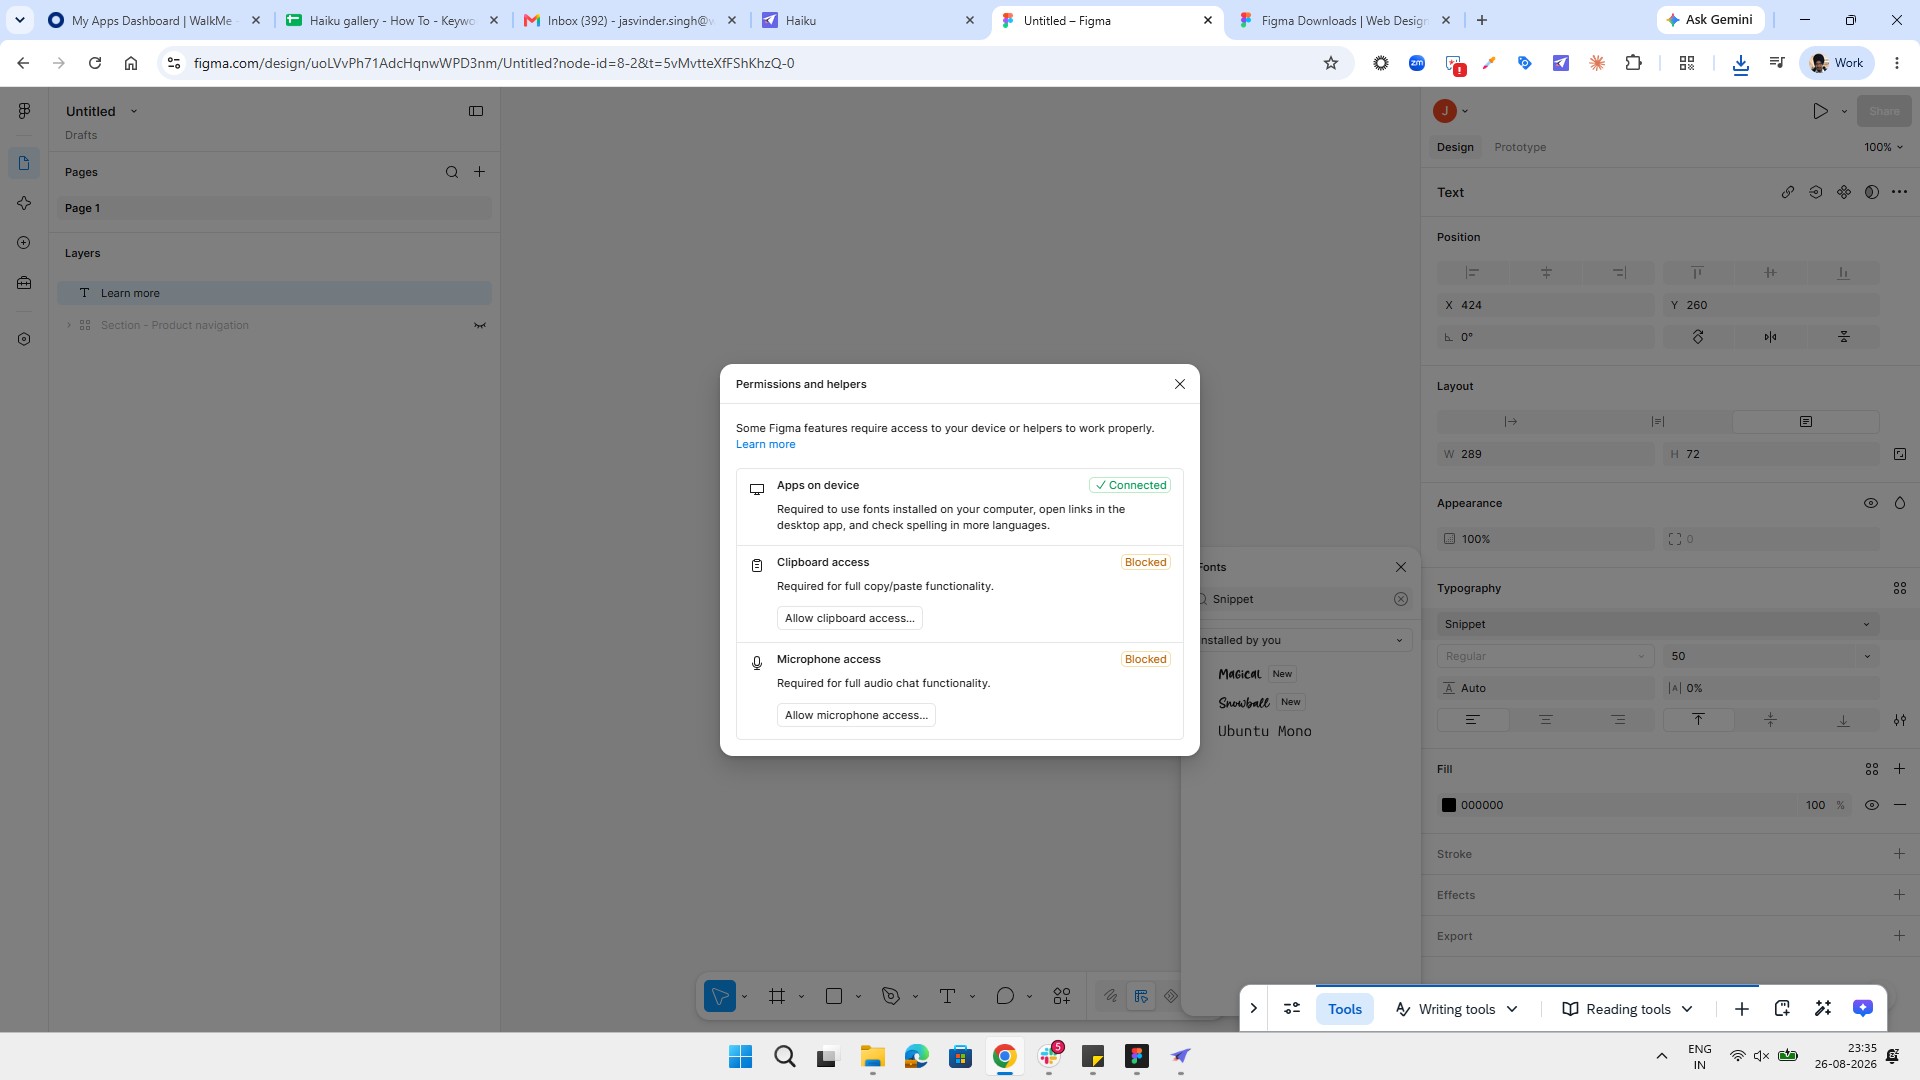
Click the Close button in the top right corner of the Permissions and helpers modal to dismiss it.
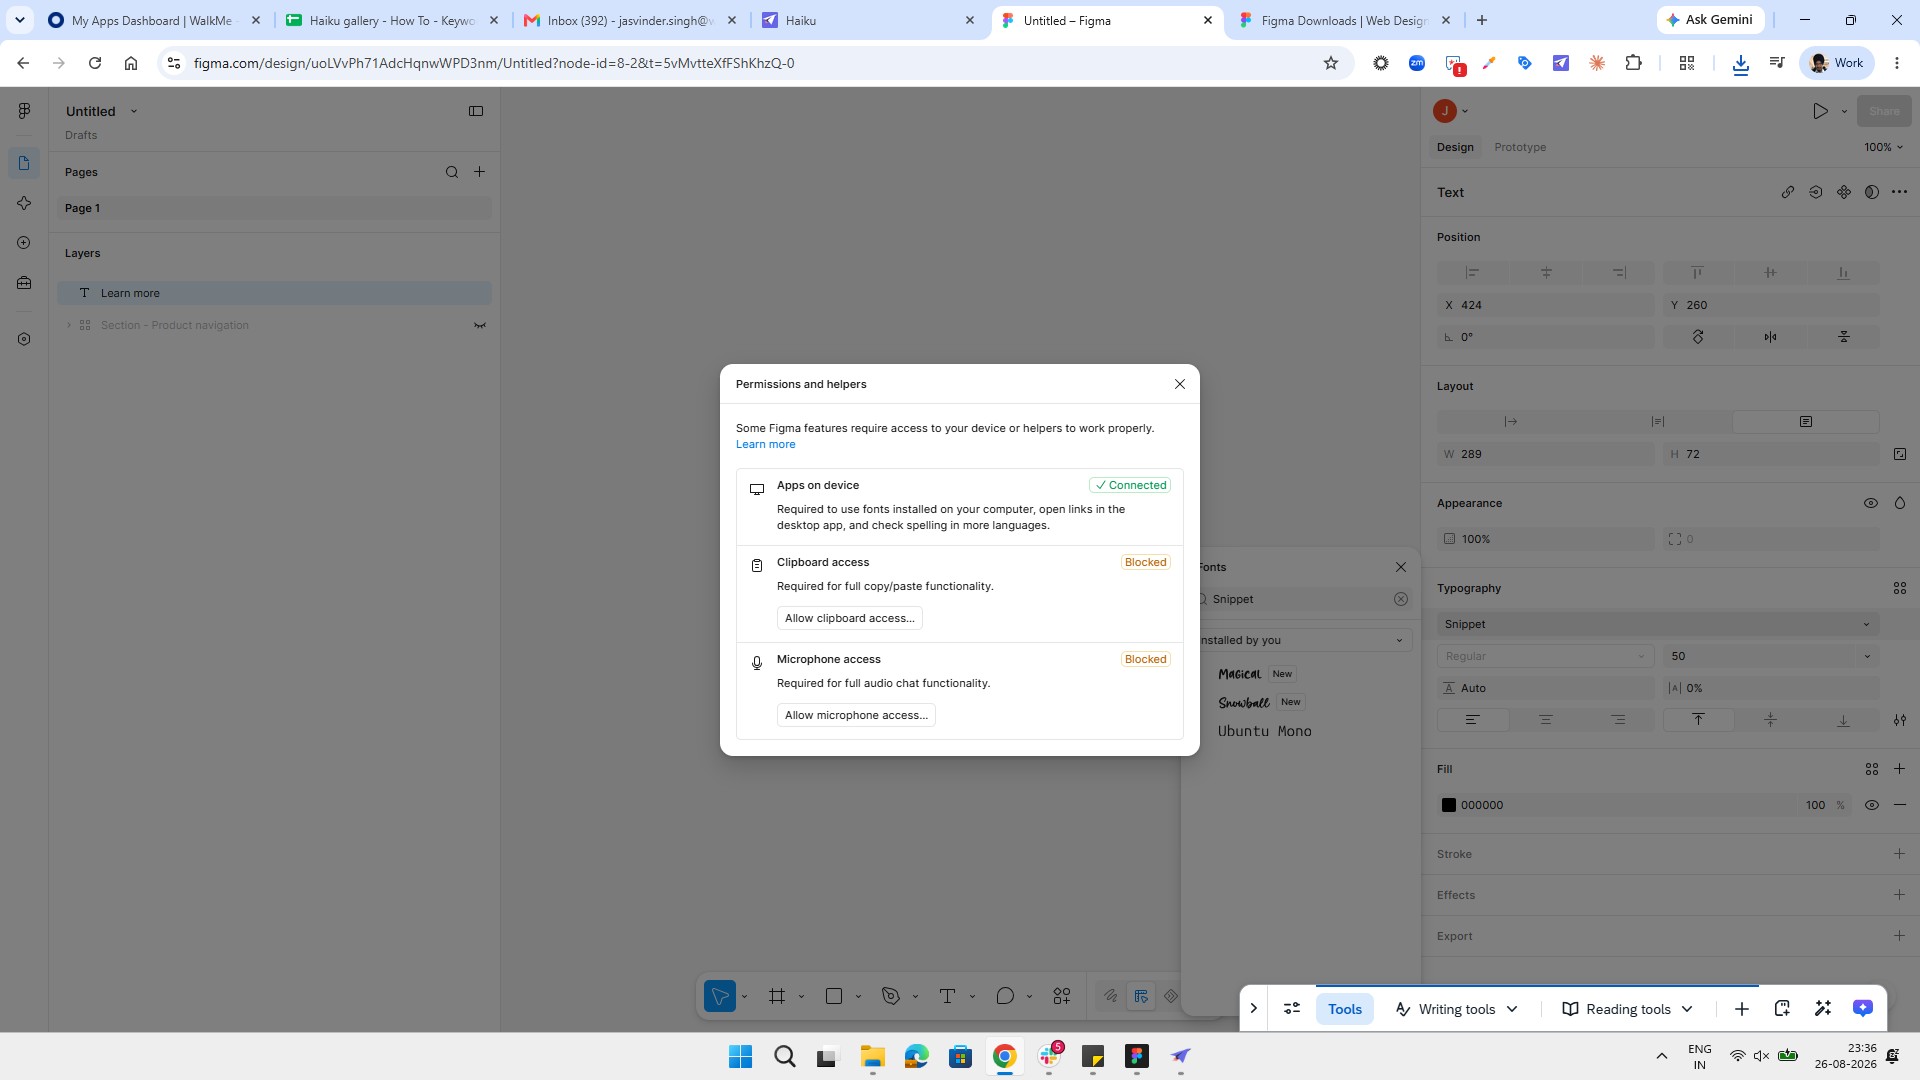
Select the Magical font option from the search results in the Fonts modal to apply it to your text.
Duplicate this template, swap in your own screens, and share it with your team. Free to start — no credit card.
Fill out the form and we'll get back to you as soon as possible.
Tell us about your team and we'll find the right plan together.